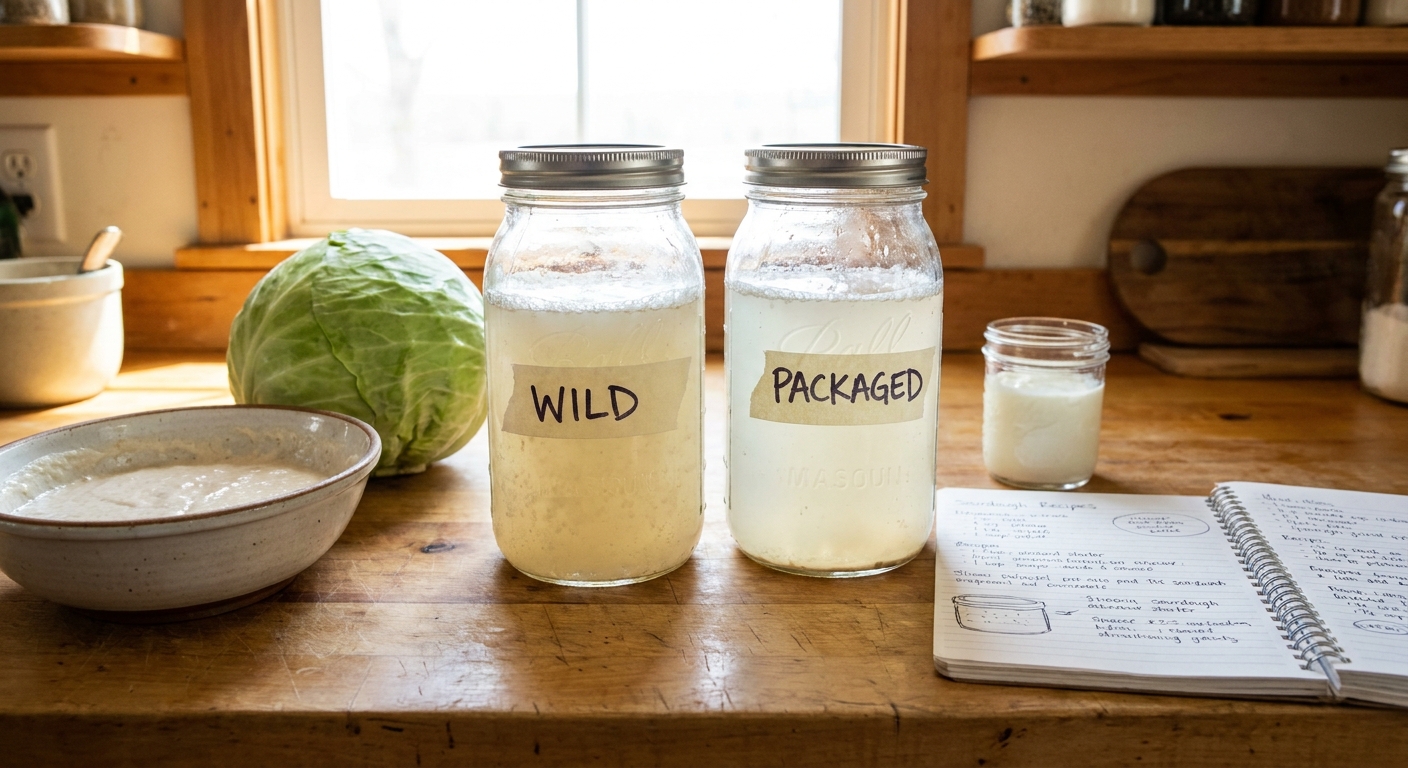
Every home fermenter eventually faces the same question: Should I trust the wild microbes, or should I add a packaged starter culture?
Two Paths to Fermentation: Wild and Controlled
Both approaches can be safe, delicious, and deeply satisfying. The trick is knowing when each shines and how to use them without stress.
We’ll compare wild and commercial starters across common ferments, walk through timing, and troubleshoot typical issues so you can decide what works best for your kitchen.
What Do We Mean by “Wild” and “Packaged” Starters?
Wild Starter Cultures
- Microbes already present on ingredients, in the air, and on your tools
- Developed over time (like a sourdough starter) or allowed to take over (wild sauerkraut)
Examples:
- Sauerkraut made with just cabbage and salt
- A brand‑new sourdough starter from only flour and water
- Naturally fermented pickles with no added culture
Packaged or Defined Starter Cultures
- Selected strains grown under controlled conditions and sold as powders, liquids, or grains
Examples:
- Freeze‑dried yogurt or cheese cultures
- Wine and beer yeast packets
- Packaged vegetable starter cultures
Microbiology: Diversity vs. Precision
Wild Fermentation: A Whole Ecosystem
Wild ferments start with multiple species competing for space and food. Over time, as salt, acid, and temperature shape the environment, a stable community emerges.
For example, in wild sauerkraut:
- Early on, Leuconostoc mesenteroides dominates, producing CO₂ and mild acids.
- Later, more acid‑tolerant Lactobacillus species take over, driving the pH down further.
This succession often brings complex flavors—but also variable outcomes.
Packaged Starters: A Focused Team
With a defined culture, you jump straight to your chosen microbes:
- Example: Yogurt cultures usually contain just a few carefully selected strains.
- Result: Predictable acidity, texture, and flavor.
The tradeoff is less microbial diversity, which can mean a narrower flavor range but often greater safety and consistency, especially for dairy and meat.
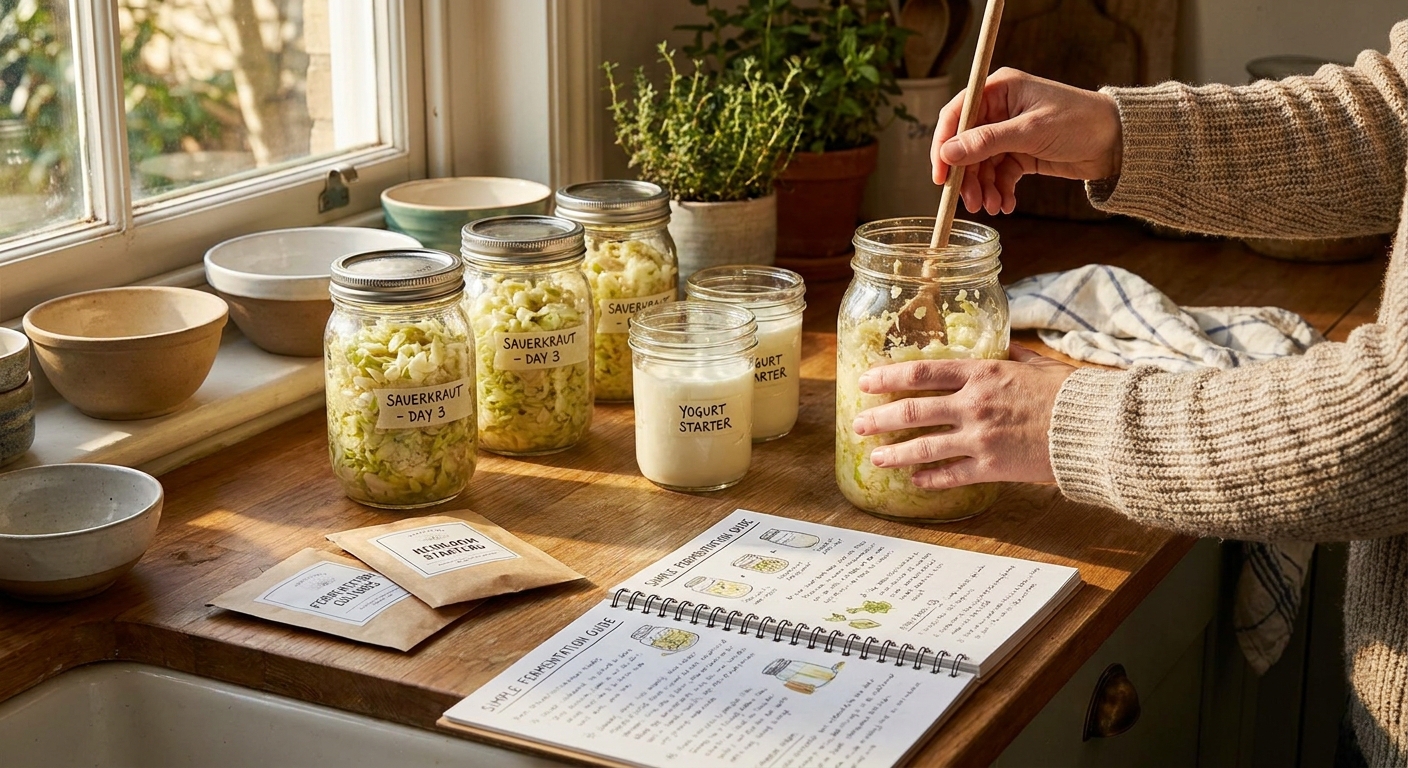
Best Uses for Wild Starters
1. Vegetable Ferments (Sauerkraut, Kimchi, Pickles)
Veggies come preloaded with lactic acid bacteria. With salt and submersion, LAB reliably dominate.
When Wild Excels:
- You want complex, traditional flavors.
- You’re fermenting sturdy veggies like cabbage or carrots.
- Conditions: 18–22°C (64–72°F), 2–2.5% salt by weight, everything submerged.
Approximate Timing (Wild Only):
- Bubbles & aroma: 2–3 days
- Nice tang: 5–10 days
- Deep flavor: 2–4 weeks or more
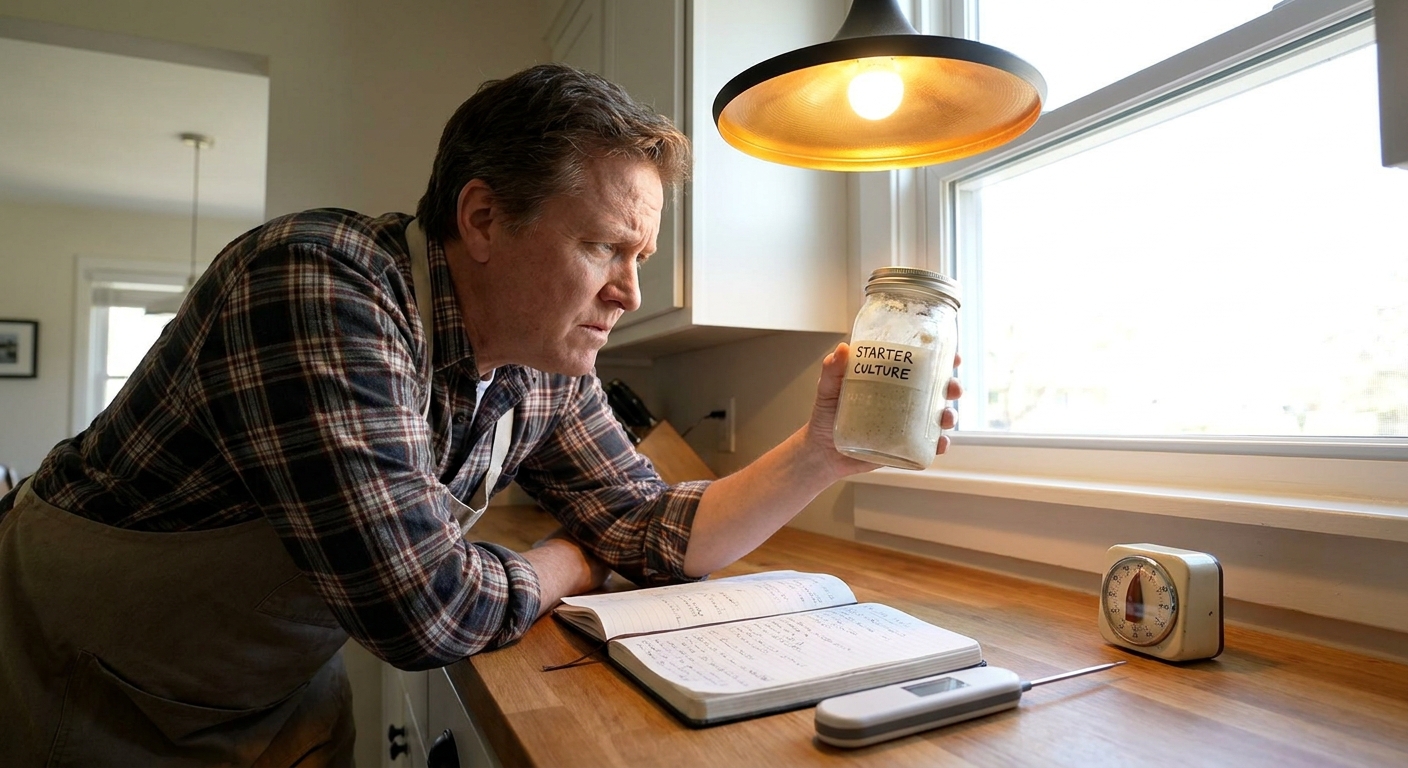
2. Sourdough Starter from Scratch
Flour carries yeasts and lactic acid bacteria. When you mix it with water and feed regularly, the right species eventually dominate.
When Wild Excels:
- You’re patient (7–14 days to a strong starter).
- You want a culture adapted to your flour and environment.
3. Wild Fruit Wines and Ciders (Advanced)
Natural yeasts on fruit skins can ferment juice into alcohol.
But: this is higher‑risk. Many home fermenters prefer commercial wine yeast for safety and predictability.
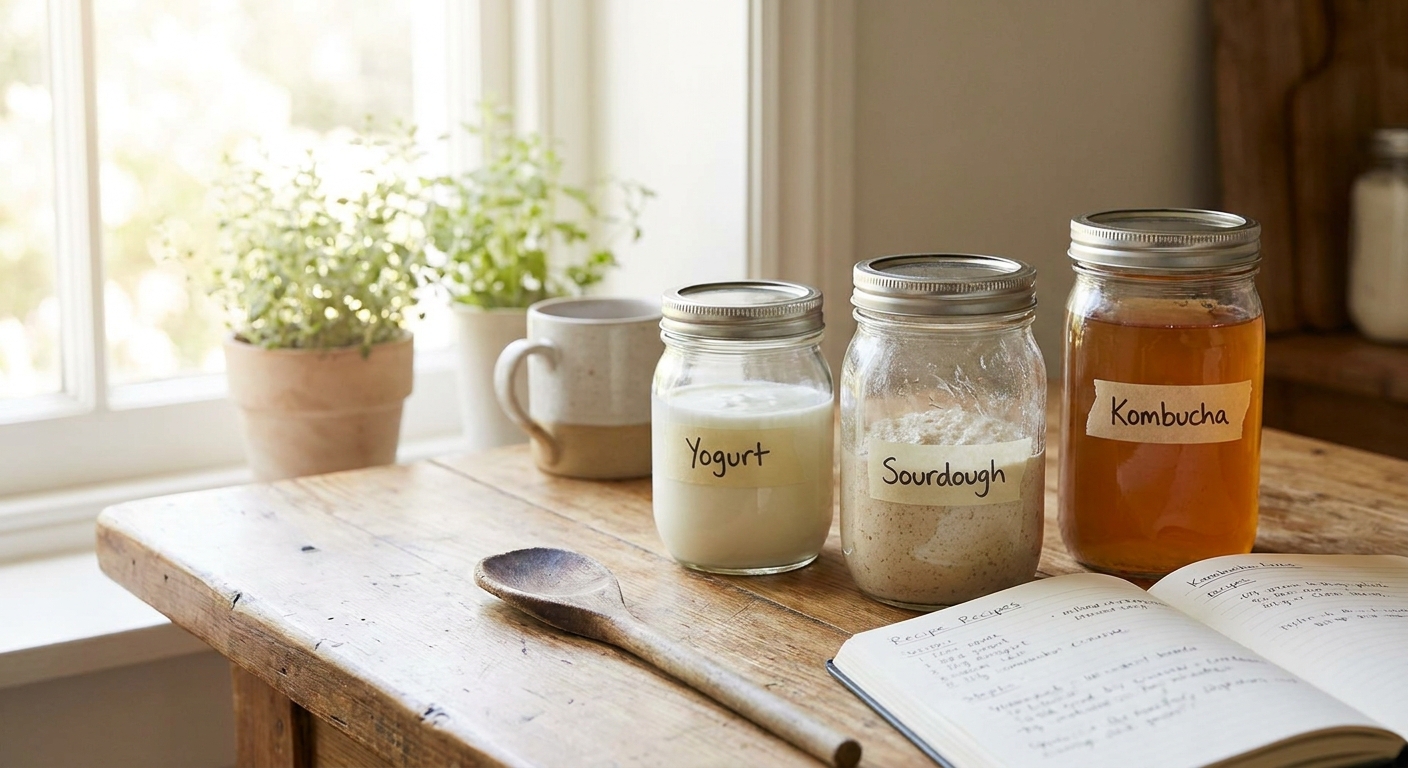
Best Uses for Packaged or Added Starters
1. Dairy Ferments (Yogurt, Cheese, Buttermilk)
Dairy is a rich medium—if the wrong microbes get in first, they can grow quickly.
Why Packaged is Safer Here:
- Specific temperature‑tolerant strains dominate fast.
- Consistent acidification protects against pathogens.
Example: Yogurt
- With starter: 6–12 hours to safe acidity at 42–45°C (108–113°F).
- Without starter (spontaneous milk fermentation): unpredictable, often unsafe.
2. Meat Fermentation (Salami, Fermented Sausages)
This is an area where defined starter cultures are strongly recommended.
- Purpose‑built LAB rapidly lower pH.
- They help inhibit pathogens like Clostridium botulinum and Listeria.
3. Consistent Bread, Beer, and Wine
If you want control over rise times or alcohol levels:
- Commercial baker’s yeast for predictable bread.
- Beer and wine yeasts for controlled fermentation, known alcohol tolerance, and flavor profiles.
Hybrid Strategy: Combining Wild and Added Starters
You don’t have to choose one forever. Many home fermenters use a hybrid approach.
Example: Veggie Ferments with a Boost
Use wild microbes on veggies plus a small amount of:
- Saved brine from a past successful batch, or
- A tablespoon of whey from live yogurt or kefir, or
- A bit of commercial LAB starter.
Benefits:
- Faster start (LAB outcompete unwanted microbes quickly).
- More consistent texture and flavor.
Example: Sourdough with a Commercial Kickstart
Start your sourdough with a bit of commercial yeast for the first few days, then gradually switch to pure flour and water feeds.
- Early days: yeast helps get activity going.
- Over time: LAB and wild yeasts establish and outcompete the commercial strain.
Timing Comparison: Wild vs. Packaged
Assuming comfortable room temperature (20–22°C / 68–72°F):
| Ferment | Wild Only | With Starter Culture |
|--------------------|-------------------------------|-----------------------------------|
| Sauerkraut | 5–10 days mild; 2–4 weeks deep| 3–7 days mild; 1–3 weeks deeper |
| Yogurt | Unsafe to rely on wild | 6–12 hours at 42–45°C |
| Milk Kefir | Uses grains (complex starter) | Same – grains are the starter |
| Sourdough Starter | 7–14 days to reliable starter | 3–7 days if back‑slopped |
| Fruit Wine | 1–3 weeks wild yeast | 5–14 days with wine yeast |
Troubleshooting by Starter Type
If Your Wild Ferment Misbehaves
Symptoms: slimy brine, unpleasant odor, or strange colors.
- Check salt: Did you use 2–2.5% salt by weight for veggies?
Check submersion: Are ingredients below brine?
3. Check temperature: Too warm (above ~24°C / 75°F) favors soft textures and off‑flavors.
If the smell is putrid, appearance is discolored or moldy (fuzzy green/black/pink), discard.
Next time, consider:
- Adding 2–4 tablespoons of live brine from a successful veg ferment.
- Using a fermentation weight and airlock to limit oxygen.
If Your Packaged Starter Doesn’t Work
Symptoms: No thickening (yogurt), no rise (bread), or no souring.
Temperature check: Were you in the recommended range?
Starter viability: Was the culture fresh and stored properly (cold, dry)?
3. Chlorine/chloramine: For some cultures (like sourdough), chlorinated water can slow microbes.
Fixes:
- Try a new packet or fresh live product.
- Verify your thermometer with boiling/ice water.
- Use filtered or dechlorinated water when appropriate.
Safety Considerations: When to Be Strict
You can be more relaxed with high‑salt, high‑acid ferments, like veggies, once you understand the basics.
You must be more strict with:
- Meat ferments: always use reputable starter cultures and follow tested recipes.
- Dairy ferments: use known live cultures and clean equipment.
- Low‑salt or low‑acid experiments: stick to proven methods.
Remember: a healthy lactic acid fermentation will smell pleasantly sour, not rotten or sharp‑chemical.
How to Decide: A Simple Checklist
Ask yourself these questions:
Is this ferment low‑risk by nature?
- High salt, low pH (like sauerkraut)? Wild is usually fine. - Protein‑rich (milk, meat)? Prefer a starter.
Do I need repeatable results?
- If yes (for business, gifting, or specific recipes), a starter culture helps.
Am I willing to troubleshoot?
- If you like experimenting, wild ferments are fun classrooms.
What’s my goal flavor?
- Complex, rustic: lean wild. - Clean, defined: choose a starter.
A Practical Starting Strategy for Home Fermenters
If you’re building your fermentation practice from scratch:
- Use packaged starters for: yogurt, cheese, and any meat ferments.
- Use wild fermentation for: sauerkraut, kimchi, carrot sticks, garlic honey.
- Use hybrids for: tricky vegetables (like cucumbers in hot weather) by adding a splash of active brine or whey.
Over time, keep notes: temperature, salt %, starter used, and timing. You’ll learn how wild and packaged cultures behave in your kitchen and can choose the right path ferment by ferment.
You don’t have to pick a side. Think of wild and packaged starters as two tools in the same toolbox. The skill is knowing which one to reach for—and that wisdom comes from exactly what you’re doing now: reading, trying, observing, and adjusting.