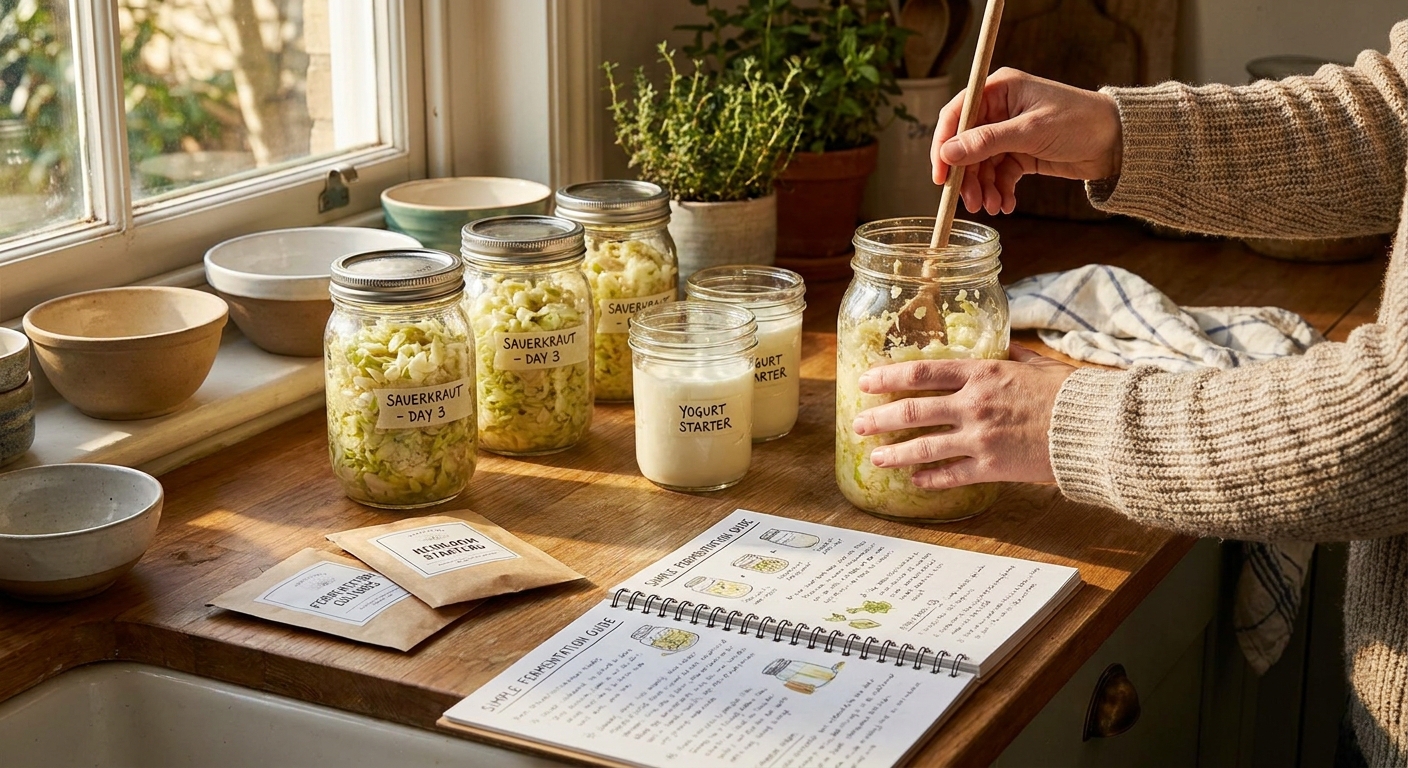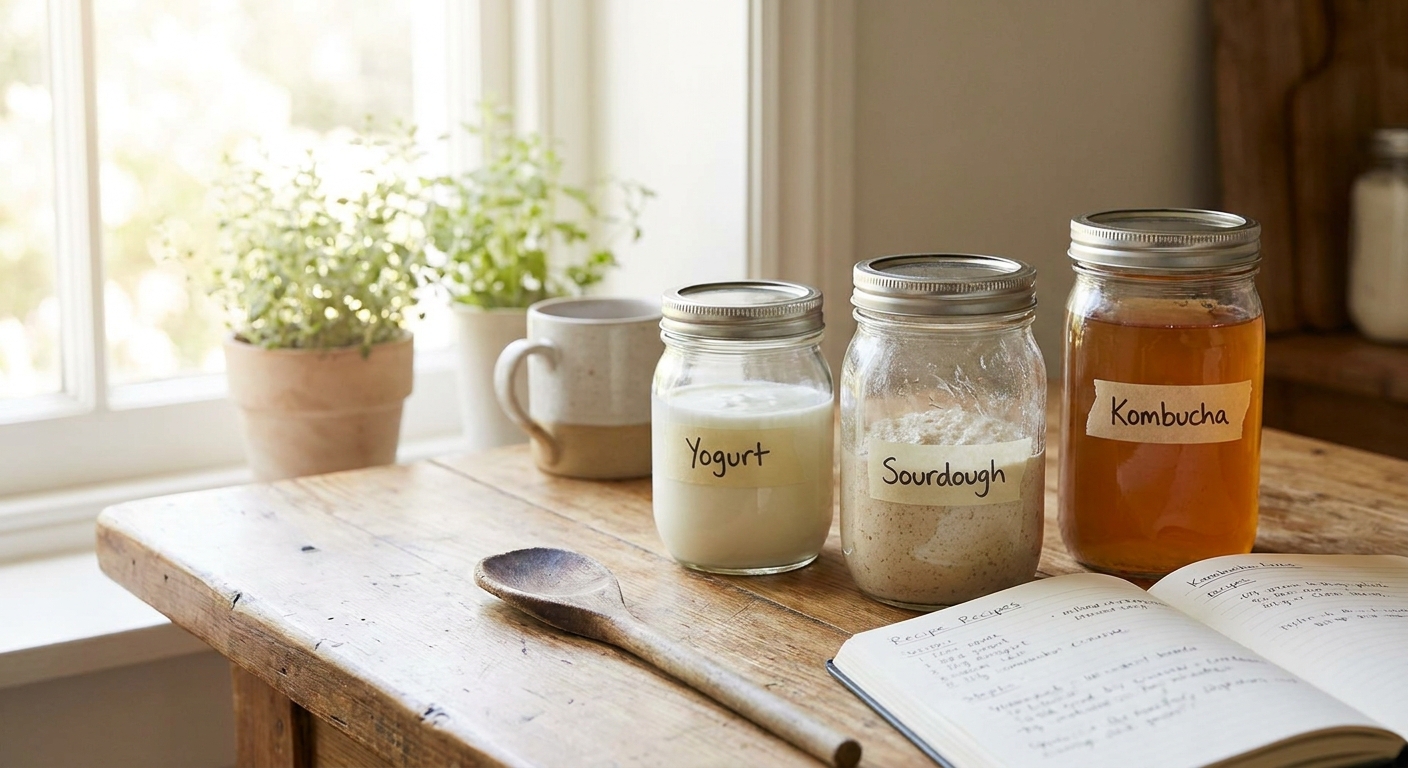
If you’re new to starter cultures, three projects give you the most learning for the least stress:
The Big Picture: Why Start with These Three Cultures?
- Yogurt starter – teaches you about temperature and incubation time.
- Milk kefir grains – shows you how mixed cultures behave.
- Sourdough starter – introduces you to wild fermentation and feeding schedules.
Together, they cover most of the skills you’ll need for more advanced ferments.
We’ll walk through each one slowly, with step‑by‑step instructions, realistic timing, and common failure fixes.
Part 1: Yogurt Starter – Precise but Forgiving
Yogurt cultures are like a friendly lab experiment in your kitchen. They prefer warmth and reward you with thick, tangy dairy.
The Microbiology of Yogurt
Most traditional yogurt starter cultures contain at least two bacteria:
- Streptococcus thermophilus – starts fast, acidifies milk, and helps with thickness.
- Lactobacillus delbrueckii subsp. bulgaricus – follows with deeper acidity and flavor.
They work best at 40–45°C (104–113°F), converting lactose (milk sugar) into lactic acid, which:
- Drops pH (to ~4.0–4.5)
- Causes milk proteins to gel (thickening)
- Creates that classic yogurt tang
What You Need
- 1 liter (1 quart) of milk (cow, goat, or sheep; whole milk is easiest)
- 1–2 tablespoons of live cultured plain yogurt or a commercial yogurt starter
- A pot for heating milk
- A thermometer (very helpful)
- A clean jar with lid
- A warm place: yogurt maker, oven with light on, or insulated cooler
Step‑By‑Step Yogurt
- Heat the milk: Gently warm to 82–85°C (180–185°F). Hold there for 5–10 minutes.
- This isn’t just about safety; it also denatures proteins so the yogurt sets thicker.
- Cool the milk: Let it cool to 43–45°C (110–113°F).
- Too hot will kill your starter; too cool will slow it down.
- Add the starter: Whisk in 1–2 tablespoons of live yogurt or the amount of culture specified on the package.
- Incubate: Pour into your jar, cover, and keep at 40–45°C (104–113°F) for 6–12 hours.
- Check and chill: When it’s thickened and pleasantly tangy, move it to the fridge. It will firm up more as it cools.
Timing Guide
- Mild, softer yogurt: 5–6 hours
- Medium tang, thicker: 8–10 hours
- Very tangy: 10–12 hours (beyond that, it may become grainy)
Common Yogurt Problems
Problem 1: Yogurt is runny
Likely causes:
- Incubation temperature too low
- Not long enough fermentation
- Weak starter
Fixes:
- Make sure the milk stays warm the whole time.
- Extend incubation by 2–4 hours.
- Try a new starter or fresh store‑bought live yogurt.
Problem 2: Yogurt separated into curds and whey
Likely causes:
- Too hot during incubation
- Over‑fermented (very long time)
Fixes:
- Check your incubator temperature with a thermometer.
- Next time, start checking taste and texture around 6–8 hours.
Part 2: Milk Kefir Grains – Your Personal Microbial Forest
Kefir grains are a rubbery, cauliflower‑like mass of bacteria and yeast living together.
Microbiology of Kefir
Kefir grains are complex, but typically contain:
- Lactic acid bacteria (Lactobacillus, Lactococcus, Leuconostoc)
- Acetic acid bacteria
- Yeasts (Saccharomyces, Kluyveromyces, and others)
They ferment lactose into lactic acid, small amounts of alcohol, CO₂, and flavor compounds. This gives kefir its slight fizziness and layered flavor.
What You Need
- 1–2 tablespoons of active milk kefir grains
- 500 ml (2 cups) milk (whole milk is best to start)
- A jar and breathable cover (cloth or loose lid)
- A non‑metal strainer (plastic or nylon is ideal)
Step‑By‑Step Kefir
- Combine grains and milk: Put kefir grains in the jar, add milk, and gently stir.
- Cover: Use a cloth or loose lid to keep dust out but allow gas to escape.
- Ferment at room temperature: 18–24°C (64–75°F) is ideal.
- Timing: Usually 24 hours is enough for a first fermentation.
- Strain: Pour the kefir through a strainer, stirring gently to separate the grains.
- Re‑start: Put grains into fresh milk and repeat.
Timing & Flavor Guide
- 12–18 hours: milder, thinner, less tangy
- 24 hours: balanced tang, lightly thickened
- 36+ hours: more sour, thicker, separation into curds and whey may begin
Common Kefir Problems
Problem 1: Kefir Too Sour
Likely causes:
- Fermenting too long
- Warmer temperatures
Fixes:
- Shorten fermentation time.
- Move jar to a cooler spot.
Problem 2: Grains Not Growing or Shrinking
Likely causes:
- Too infrequent feeding
- Very hot conditions
- Long periods in the fridge without refresh
Fixes:
- Refresh with new milk daily or every other day at room temperature.
- Give grains a few cycles at comfortable room temperature after a fridge rest.
Problem 3: Off Smell (Cheesy, Rotten, or Bitter)
Likely causes:
- Contamination
- Very long ferment with no grain refresh
Fixes:
- Discard the batch.
- Rinse grains gently in cool, non‑chlorinated water and start in fresh milk.
- If smell doesn’t improve after 1–2 cycles, consider replacing grains.
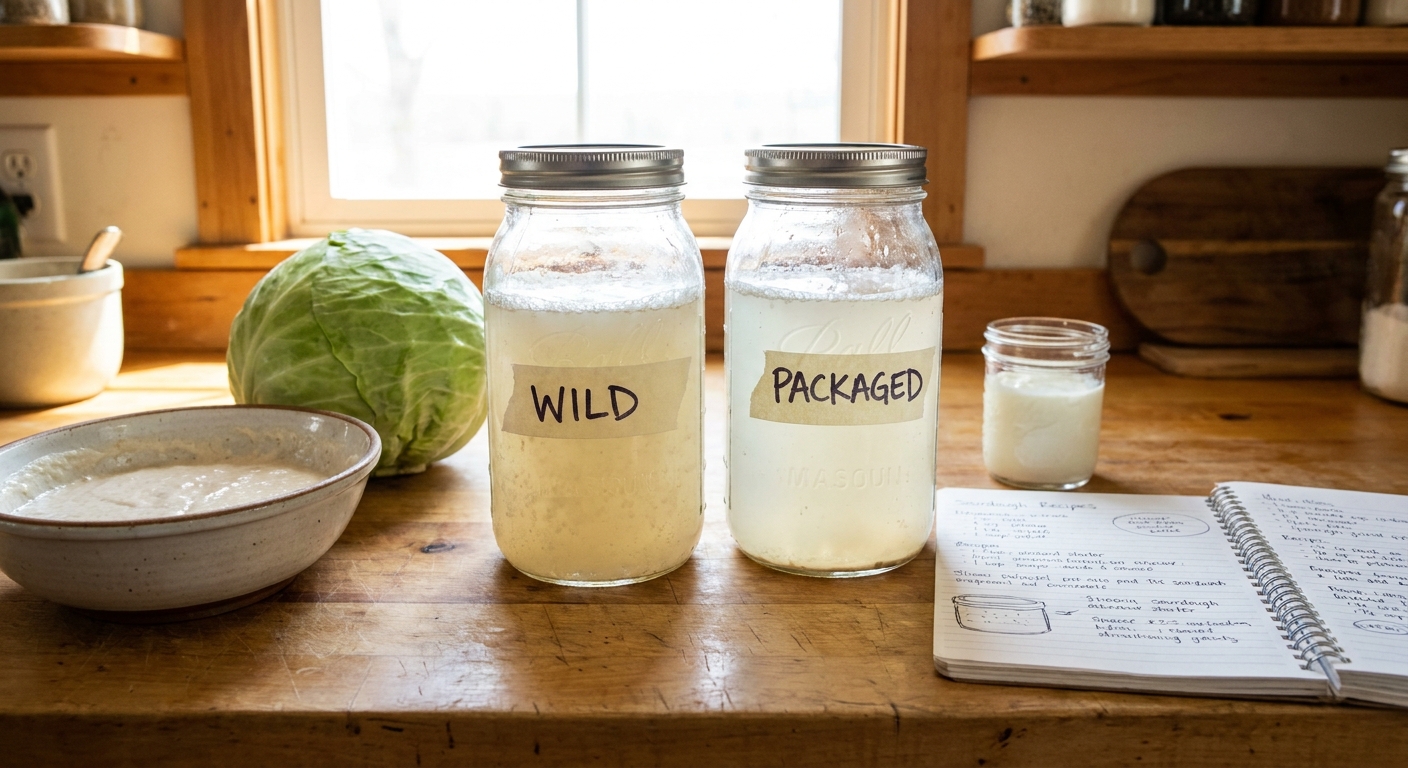
Part 3: Sourdough Starter – A Wild Culture You Tame with Routine
A sourdough starter is a stable ecosystem of wild yeasts and lactic acid bacteria living in flour and water.
Microbiology of Sourdough
Typical sourdough communities include:
- Yeasts like Saccharomyces cerevisiae, Kazachstania humilis – produce CO₂ to leaven bread
- Lactic acid bacteria like Lactobacillus sanfranciscensis and relatives – produce lactic and acetic acids
The acids give bread tang and help with gluten structure and shelf life.
What You Need
- Whole grain (or all‑purpose) flour
- Non‑chlorinated water
- A jar or clear container
- A scale (very helpful for consistent feeding)
Step‑By‑Step: Creating a New Starter (7–10 Days)
We’ll use equal weights of flour and water: 1:1 hydration.
Day 1
- Mix 50 g flour + 50 g water into a paste.
- Cover loosely and leave at room temperature (20–24°C / 68–75°F).
- You may see a few bubbles or none—that’s fine.
- Discard about half.
- Add 50 g flour + 50 g water to what remains; mix.
- Bubbles and a slight sour smell usually appear.
- Continue the pattern: discard about half, feed 50 g flour + 50 g water once per day.
- Starter should be rising noticeably between feedings.
- If it doubles within 4–8 hours after feeding, it’s close to ready.
- Move to feeding every 12 hours if you bake frequently.
Day 2
Day 3–4
Day 5–7
You’ll know your starter is mature when:
- It reliably doubles (or more) in volume after a feeding.
- It smells pleasantly sour, fruity, or yeasty—not harsh or putrid.
Common Sourdough Problems
Problem 1: Starter Smells Like Nail Polish or Solvent
Likely causes:
- Hungry starter producing more acetic acid and solvents
Fixes:
- Feed more often (twice daily at room temperature).
- Increase the ratio of fresh flour and water relative to the amount you keep.
Problem 2: No Rise After Several Days
Likely causes:
- Temperature too low
- Flour low in natural microbes (sometimes bleached flour)
Fixes:
- Move starter to a warmer place.
- Use at least part whole grain flour for a few feedings.
Problem 3: Pink or Orange Streaks, Fuzzy Mold
Likely causes:
- Contamination by unwanted microbes
Fixes:
- Discard the starter.
- Clean your container thoroughly and start again.
How These Three Cultures Teach You Fermentation Basics
As you work with yogurt, kefir, and sourdough, notice:
- Temperature sensitivity:
- Feeding and timing:
- Flavor development:
Yogurt demands warmth; sourdough and kefir prefer moderate room temp.
Yogurt is a batch ferment; kefir and sourdough are ongoing relationships.
Longer times mean more acid and complexity, but also more risk of overdoing it.
You’re not just memorizing recipes—you’re learning how microbes behave, what they need, and how they reward your patience.
Once you trust these three, every new starter culture—from cheese to kombucha to specialized vegetable starters—will feel like a familiar conversation instead of a mystery.