If you’ve ever wondered why some ferments turn out crisp, tangy, and safe while others go soft or weirdly funky, the answer is often starter cultures. Think of them as a head start for the microbes you want in your jar. Instead of leaving everything to chance, you invite in a trusted team of bacteria or yeast to do the job.
Why Starter Cultures Matter in Your Fermentation Journey
This guide walks you through what starter cultures are, how they work, and how to use them at home. We’ll go slowly, like a patient kitchen mentor at your side, and we’ll peek under the microscope together.
What Is a Starter Culture?
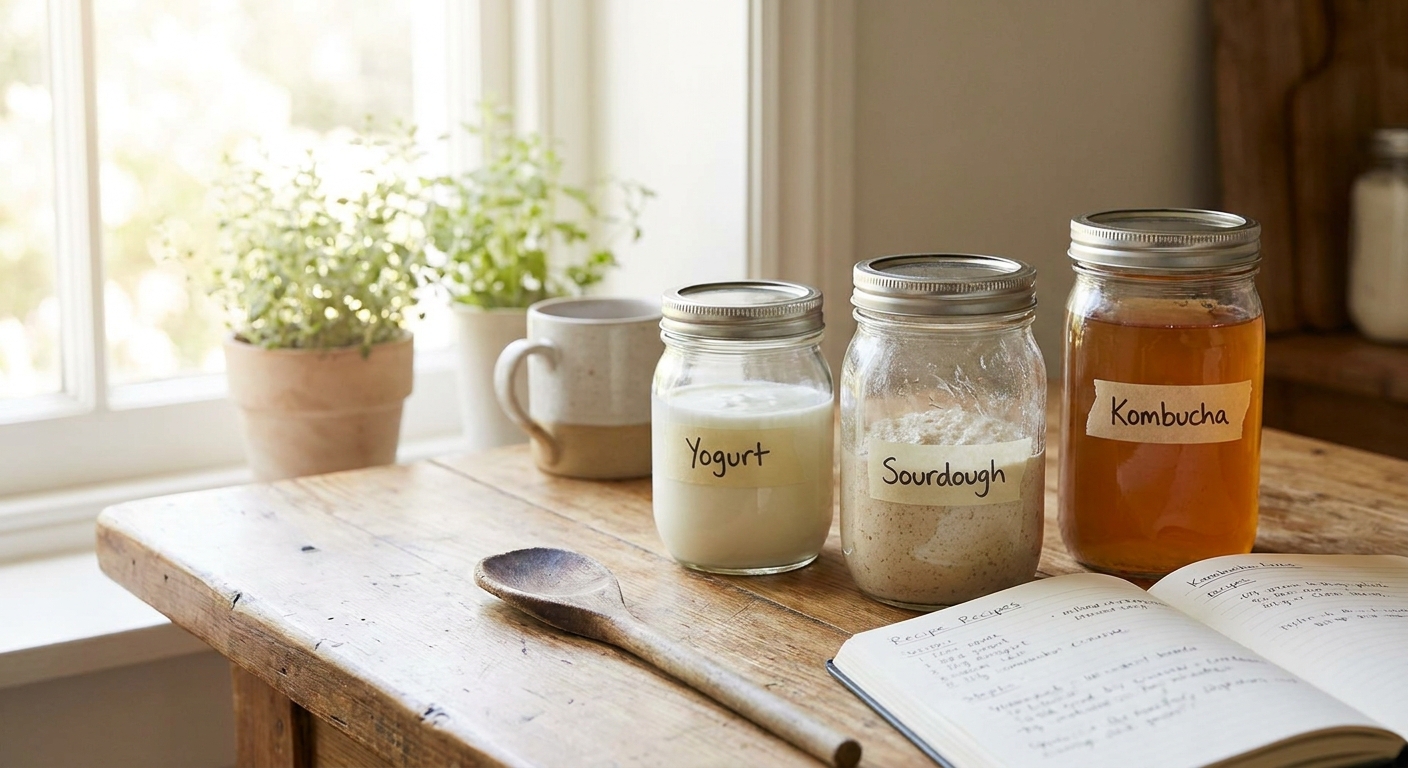
A starter culture is a mix of live microorganisms—usually bacteria, yeast, or both—that you add to food or drink to start and control fermentation.
Common examples:
- Sourdough starter – wild yeasts + lactic acid bacteria for bread
- Kefir grains – complex community of bacteria and yeasts for milk or water kefir
- Yogurt starter – specific strains like Lactobacillus delbrueckii subsp. bulgaricus and Streptococcus thermophilus
- Whey or brine from a previous ferment – used to kick-start new vegetable ferments
- Commercial freeze‑dried cultures – precisely selected microbes for cheese, yogurt, salami, etc.
They do three big jobs:
Acidify the food (dropping the pH, making it safe)
Flavor the food (sour, buttery, fruity, complex)
Protect the food (outcompeting spoilage microbes)
The Microbiology: Who’s Actually Doing the Work?
Let’s meet a few core players. Don’t worry—we’ll keep it friendly.
Lactic Acid Bacteria (LAB)
These are your main workers in many ferments:
- Genera: Lactobacillus (now split into several new genera), Leuconostoc, Lactococcus, Pediococcus
- Food homes: sauerkraut, kimchi, pickles, yogurt, cheese, sourdough
- Job: eat sugars and produce lactic acid, lowering the pH, which:
- Gives tangy flavor
- Inhibits pathogens like Listeria, Salmonella, E. coli
Some LAB also produce bacteriocins—natural antimicrobial compounds that help protect your ferment.
Yeasts
Yeasts show up where sugars are plentiful and oxygen is limited.
- Common species: Saccharomyces cerevisiae (bread, wine, beer), Candida milleri / Kazachstania humilis (often in sourdough)
- Job: turn sugars into alcohol and CO₂
- In mixed cultures (like kefir or sourdough), yeasts work alongside LAB to build flavor and texture.
Mold
In many ferments, mold is unwelcome. But in a few, it’s intentional:
- Examples: Penicillium camemberti (Camembert, Brie), Penicillium roqueforti (blue cheese)
- These are used as starter cultures in cheesemaking, but for basic home ferments, you usually want to avoid random mold.
Where Do Starter Cultures Come From?
You have three main options at home:
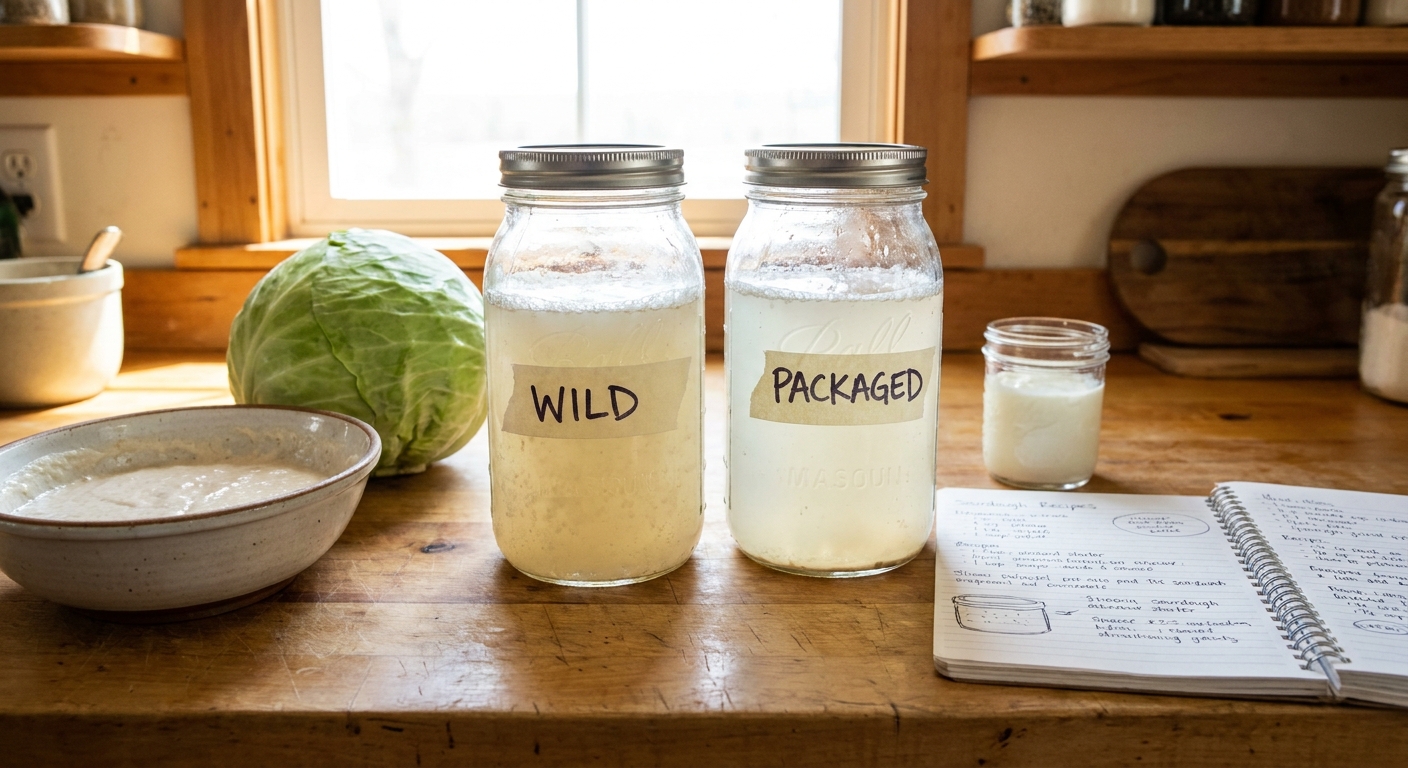
1. Wild Fermentation (No Added Culture)
You rely on microbes naturally present on food, in the environment, or in your kitchen.
- Example: classic sauerkraut made from just cabbage and salt
- Pros: cheap, traditional, can be very flavorful
- Cons: less predictable; more prone to texture or flavor surprises
2. Back‑Slopping (Using a Previous Ferment)
You use a portion of a successful batch to start the next one.
- Example: using brine from a crunchy pickle jar to start a new batch
- Pros: more consistency; encourages a stable microbe community
- Cons: if something subtle is off, you may propagate problems
3. Commercial Starter Cultures
These are purchased as powders, liquids, or grains.
- Example: freeze‑dried yogurt cultures, cheesemaking cultures, wine yeast
- Pros: reliable, strain‑specific, repeatable results
- Cons: cost, less microbial diversity compared with wild ferments
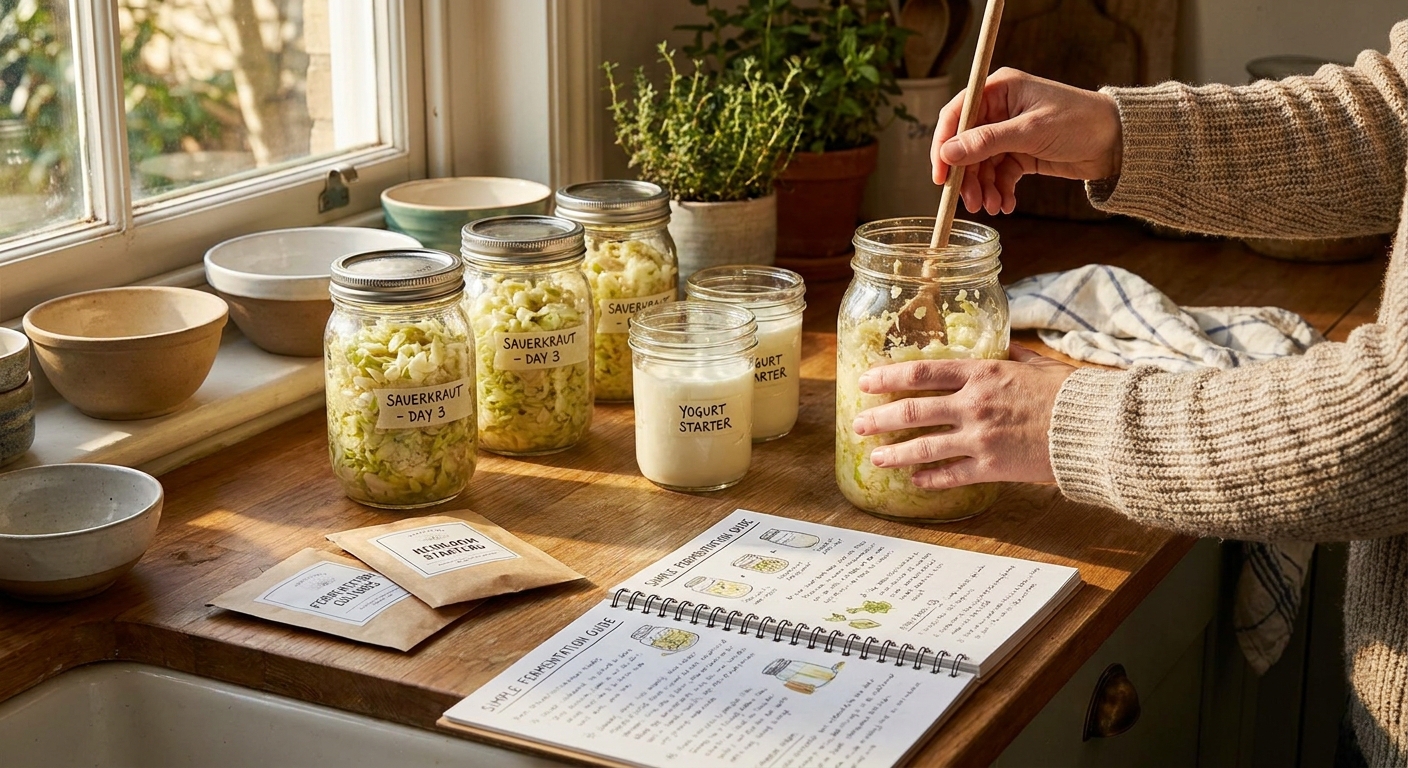
How to Use a Starter Culture: A Simple Step‑By‑Step Framework
We’ll use a generic vegetable ferment as an example so you can adapt it.
Step 1: Choose Your Culture
For vegetables, you might use:
- 2–4 tablespoons of active brine from a previous successful batch, or
- 2–4 tablespoons of whey from live cultured yogurt or kefir, or
- A commercial vegetable starter per package instructions
Step 2: Prepare the Vegetables
- Wash vegetables (cabbage, carrots, radishes, etc.).
- Slice or shred to your preferred size.
- Weigh the vegetables.
- Add 2–2.5% salt by weight (20–25 g salt per 1 kg vegetables).
- Massage until they release enough liquid to make a brine.
Step 3: Add the Starter
- Dissolve your starter (brine/whey/culture) in a small amount of non‑chlorinated water if needed.
- Add to the salted vegetables and mix well.
- Pack into a jar, pushing down below the brine.
- Ensure everything stays submerged (use a weight if possible).
Step 4: Fermentation Conditions
- Temperature: 18–22°C (64–72°F) is a comfortable range for most vegetable LAB.
- Time:
- First signs of activity: 12–24 hours
- Pleasantly sour: 3–7 days
- More intense tang and complexity: 2–4 weeks
Check daily:
- Look for bubbles and cloudy brine – normal
- Smell for pleasant sour, maybe garlicky or spicy aromas
Step 5: Taste and Adjust
At day 3, start tasting:
- If still bland: continue fermenting and check daily.
- When you like the acidity and crunch: move to the fridge.
Lower temperatures slow the microbes, preserving flavor and texture.
Timing Guide: Typical Ferment Durations with Starters
Approximate at 20–22°C (68–72°F):
- Yogurt with starter culture: 6–12 hours
- Milk kefir grains: 24–48 hours
- Sourdough starter refresh: 4–12 hours to peak after feeding
- Vegetable ferments (with starter brine): 3–10 days for everyday tang; longer for deeper sour
These are ranges, not rigid rules. Trust your senses:
- Smell: sour, fruity, dairy‑tangy = good; putrid, rotten, or harsh chemical = bad
- Look: bubbly, cloudy, maybe some harmless surface yeast = usually okay; bright colored molds with hair = discard
Common Problems and How to Fix Them
1. Ferment Isn’t Getting Sour
Symptoms: After several days at room temperature, your ferment is still mostly salty or bland.
Likely causes:
- Temperature too low
- Starter culture weak or inactive
- Too little sugar (for dairy ferments) or too much salt (for veggies)
Fixes:
- Move the jar to a slightly warmer spot (but not above ~24°C/75°F for most veg ferment).
- Add a bit of fresh active starter: a tablespoon or two of brine from a very lively batch or a splash of whey.
- Check your salt levels next time—aim for 2–2.5% for veggies.
2. Slimy or Mushy Vegetables
Symptoms: Texture turns soft, slippery, or mushy.
Likely causes:
- Too warm
- Inadequate salt
- Vegetables not fully submerged, allowing unwanted microbes
- Over‑ripe or damaged starting produce
Fixes:
- Ensure vegetables stay fully under brine (use weights).
- Use a bit more salt in hot weather.
- Try adding some starter brine from a crisp, successful batch next time; its established LAB help crowd out texture‑destroying microbes.
Once mushy, texture can’t be fully fixed, but often it’s still safe if smell and appearance are normal. Use your judgment.
3. White Film on Top (Kahm Yeast)
Symptoms: Thin white or slightly cream‑colored film on the surface.
Likely causes:
- Wild yeasts thriving on oxygen at the surface
Fixes:
- Gently skim off the film.
- Push veggies down and top up brine if needed.
- Add an airlock lid if you’re frequently battling this.
Kahm yeast is usually harmless but can affect flavor.
4. No Bubbles or Visible Activity
Symptoms: Ferment looks quiet.
Likely causes:
- Temperature on the cool side
- Culture still in lag phase (they often need a day or two)
Fixes:
- Wait at least 3–4 days before worrying too much for veggie ferments.
- For dairy (yogurt, kefir), if there is no thickening or tang after typical time, discard and try again with a fresh starter.
Caring for Your Starter Cultures Long‑Term
Think of starters as pets you keep in the fridge.
Sourdough Starter
- At room temp: feed 1–2 times daily.
- In the fridge: feed once weekly (discard most, then add fresh flour and water).
Kefir Grains
- Strain daily or every other day.
- To rest them, cover with fresh milk in the fridge; change milk weekly.
Yogurt Cultures
- Re‑culture by using 1–2 tablespoons of finished yogurt to inoculate new milk.
- Most store‑bought yogurts can be re‑cultured a few times before weakening.
Saved Brine for Veggies
- Keep a small jar of active, sour brine in your fridge.
- Use a few tablespoons to kick‑start new projects, especially in winter or for tricky vegetables.
Putting It All Together: Choosing the Right Starter for You
When you’re starting out:
- Use commercial starters for yogurt and cheesemaking where temperature and specific strains matter.
- Use kefir grains and sourdough starter if you enjoy ongoing, living cultures.
- Use saved brine or whey to boost your vegetable ferments, especially if you’ve had failures before.
Over time, you’ll get to know the behavior of your starters in your own kitchen—how fast they work, what flavors they create, and how they respond to the seasons.
Remember: you’re not just following recipes; you’re building relationships with living cultures. Be patient, observe closely, and don’t be afraid to start small, taste often, and learn as you go.