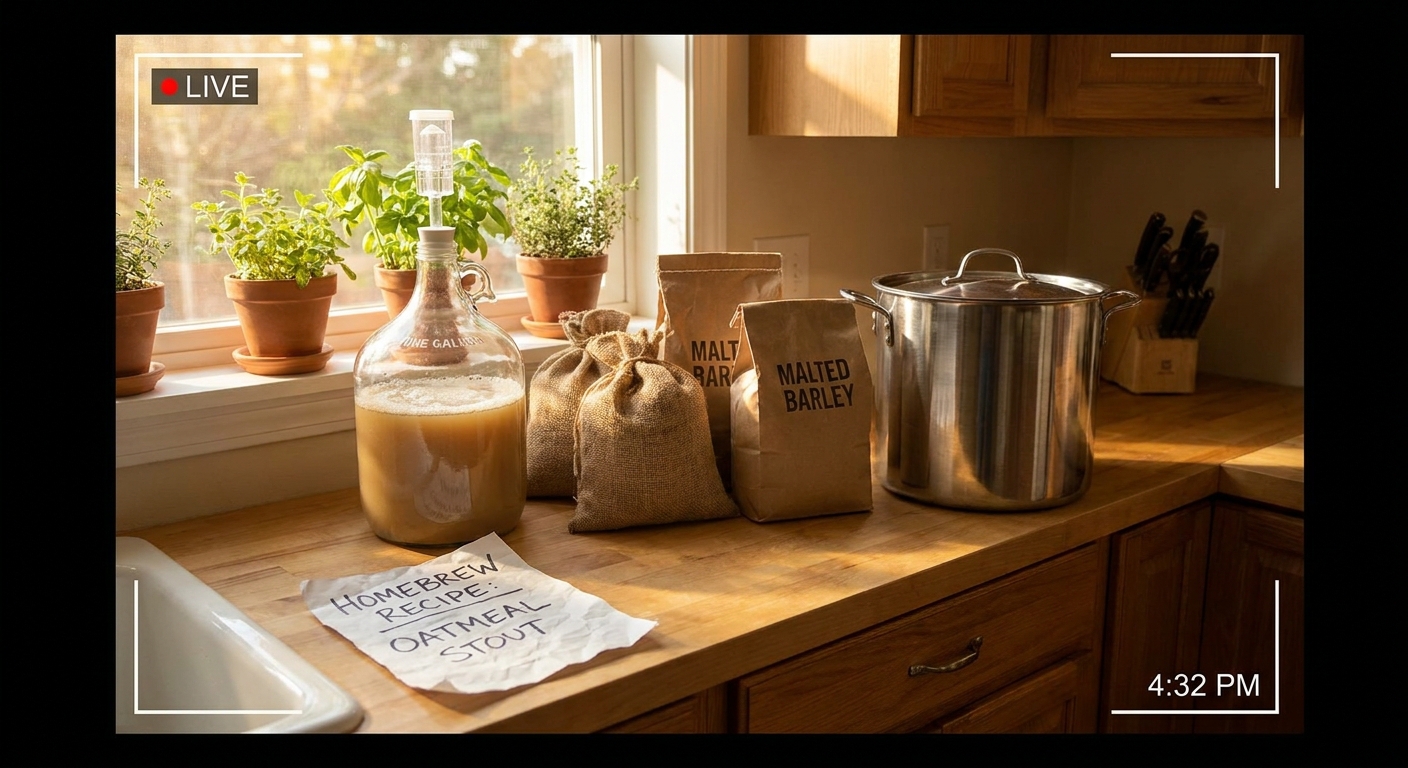
Shiny equipment is nice, but your beer’s personality comes mostly from yeast: how they eat, breathe, stress, and rest. Once you understand yeast behavior, you can adjust temperature, timing, and recipe choices to get cleaner lagers, fruitier ales, and fewer off-flavors.
Why Yeast Behavior Matters More Than Fancy Gear
This playbook focuses on what yeast do during fermentation, how to recognize their signals, and the practical steps you can take to guide them.
1. Lag Phase: When “Nothing” Is Actually Happening Fast
Timeline: 0–12 (sometimes 24) hours after pitching
You may see:
- No airlock activity yet
- Slight foaming or a thin film on top
What’s Happening Microbiologically
Yeast are:
- Hydrating (if dry) and repairing cell walls
- Absorbing oxygen and sterols to strengthen membranes
- Uptaking key nutrients (nitrogen, minerals) to prepare for division
How to Support This Stage
- Aerate well before pitching: Shake your fermenter for 60–90 seconds or pour wort back and forth between sanitized buckets. Oxygen is friends-with-benefits for yeast at this point.
- Match pitching temperature to wort: Ideally, yeast slurry and wort within ~3°C (5°F) of each other to avoid thermal shock.
- Be patient: Lack of airlock bubbles in the first 12–24 hours is not a failure.
Troubleshooting
- No signs after 36–48 hours:
- Confirm fermentation temperature is in range.
- Check for a small krausen ring—if present, fermentation may be happening quietly.
- If absolutely nothing: gently warm a few degrees and consider repitching fresh yeast.
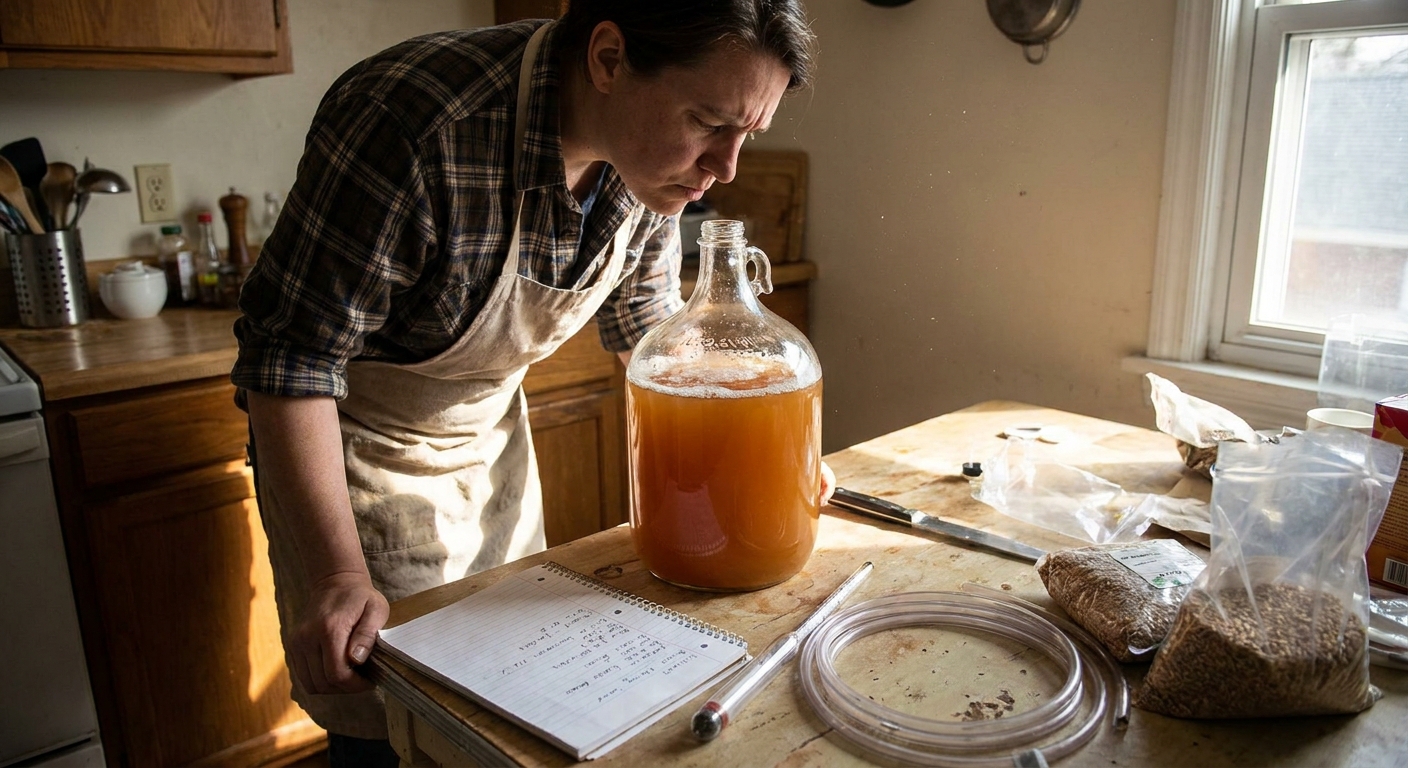
2. Exponential Growth: The Roaring Middle
Timeline: ~12 hours to Day 3–4
You’ll see:
- Vigorous airlock activity
- Thick krausen (foam) that may climb toward the airlock
- Yeasty, bready smells; sometimes sulfur or fruity
Microbiology in Action
Yeast reproduce rapidly, doubling cell counts every few hours. They:
- Consume simple sugars (glucose, fructose, sucrose) first
- Produce CO₂ and ethanol as primary byproducts
- Create flavor-active compounds like esters (fruity) and phenols (spicy, clove-like in some strains)
How Temperature Shapes Flavor
- Warmer (within strain’s range): More ester production (banana, pear, stone fruit), potentially some fusel alcohols (solventy, hot) if too warm.
- Cooler: Cleaner profile, fewer esters, slower fermentation.
Practical Tips
- Keep ale yeasts roughly 18–22°C (65–72°F) unless your strain prefers otherwise.
- For fruity Belgian beers, you can intentionally push toward the high end of the range.
- If krausen threatens the airlock, use a blow-off tube into sanitizer.
3. Sugar Shift: When Yeast Switch Fuel Sources
Timeline: Days 2–6
Once simple sugars are mostly gone, yeast shift to more complex ones like maltose and maltotriose.
Microbiology Moment
This shift can slow fermentation and stress yeast if:
- Nutrients are insufficient
- Alcohol levels have risen too quickly
- Temperature drops suddenly
What You Can Do
- Avoid big temp drops: Keep fermentation within a small band; a 1–2°C (2–3°F) gradual change is fine.
- Give a gentle swirl: Around Day 3–5, a gentle swirl can help resuspend yeast, especially in high-gravity beers.
- Don’t rush to cold crash: Let yeast finish these more stubborn sugars before chilling the beer.
4. Cleanup Crew: Diacetyl and Friends
Timeline: Late primary, Days 5–10 (and beyond for strong beers)
By now, fermentation looks mostly done, but your beer still tastes green.
Off-Flavor Chemistry
- Diacetyl: Buttery or butterscotch-like flavor produced as an intermediate in amino acid synthesis.
- Acetaldehyde: Green apple or cut pumpkin aroma; an intermediate in ethanol production.
Yeast can reabsorb and reduce both—if you give them enough time.
Supporting the Cleanup Phase
- Diacetyl rest for lagers: Raise temperature from ~9–12°C (48–54°F) to ~15–18°C (59–64°F) for 2–3 days near the end of fermentation.
- For ales: Simply allowing an extra 2–4 days at the fermentation temperature lets yeast tidy up.
Practical Taste Test
- Pull a small sample. If you taste butter, movie popcorn, or green apple, give it more time warm before chilling or packaging.
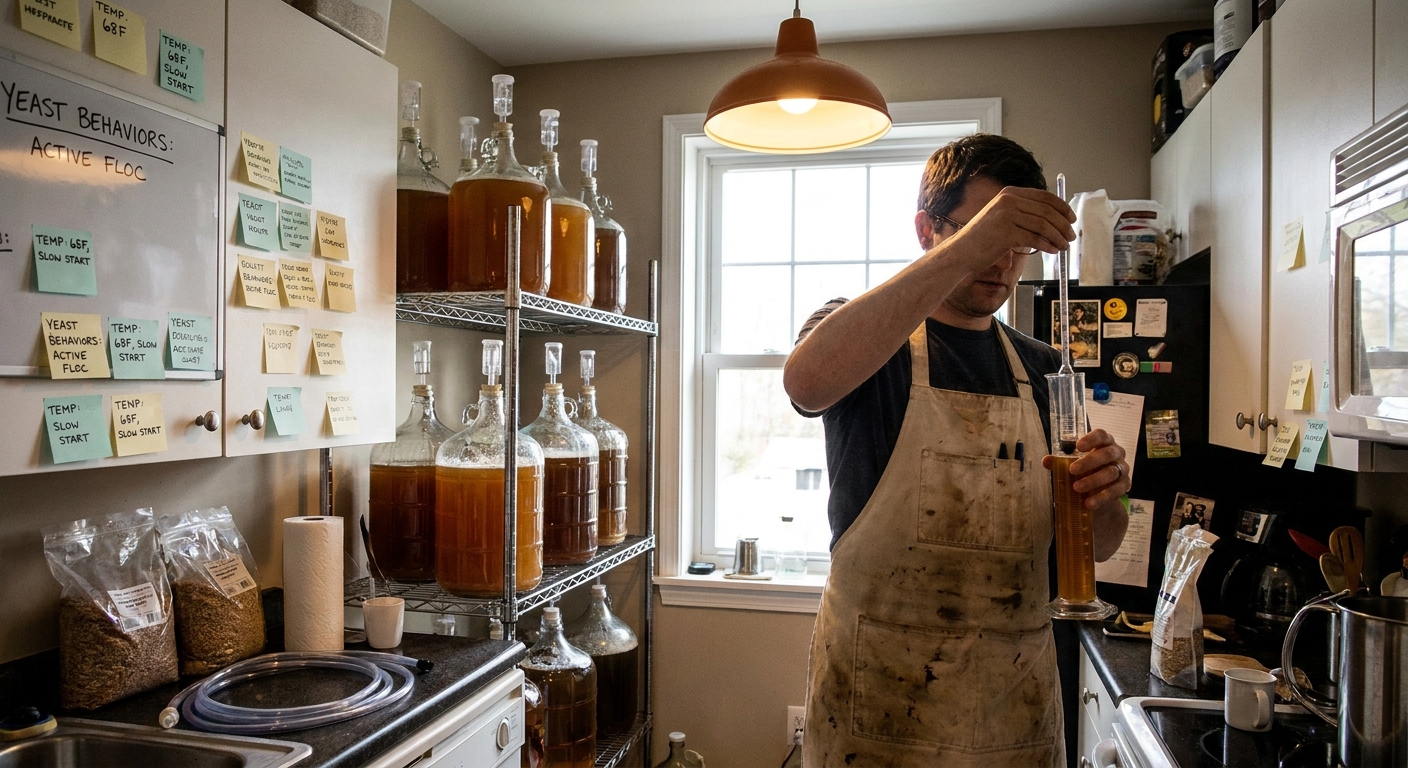
5. Flocculation: Yeast Decide to Settle Down
Timeline: Days 7–21+ depending on strain and beer strength
You’ll notice:
- Yeast cake forming at the bottom
- Beer gradually clearing (unless using hazy-intended strains)
The Biology of Flocculation
Yeast express surface proteins (flocculins) that cause cells to stick to each other and fall out of suspension. Different strains:
- High flocculation: Clear quickly but may drop out before fully finishing fermentation if stressed.
- Low flocculation: Stay cloudy longer; sometimes keep working on difficult sugars.
What You Can Do
- Don’t rush to rack off yeast: If you remove beer from yeast too early, it can stall or retain off-flavors.
- Cold crash carefully: Chilling to near 0–4°C (32–39°F) helps yeast and haze-forming proteins drop, but only after fermentation and cleanup are complete.
6. Bottle Conditioning: The Second Act
Timeline: 10–21 days at room temperature
After bottling with priming sugar, yeast wake up again.
Microbiology in the Bottle
- Yeast ferment the small sugar dose, producing CO₂.
- The sealed bottle traps gas, which dissolves into the beer.
- A conditioning phase continues where flavors meld and harsh edges soften.
Practical Conditioning Guide
- Standard ales: 2 weeks at 18–24°C (65–75°F).
- High-gravity beers: 3–6 weeks (or more) to reach their peak.
- Lagers: After carbonation, extended cold storage (lagering) at near-fridge temps for several weeks.
Common Conditioning Issues
- Under-carbonated: May need more time warm; if very under-primed, you might have mis-measured sugar.
- Over-carbonated (gushers): Too much priming sugar, bottling before fermentation finished, or wild yeast activity.
7. Stress Behaviors: Recognizing When Yeast Are Unhappy
Yeast tell you when they’re stressed; you just need to learn the language.
Signs of Stress
- Sulfur smells (rotten egg): Common with lager yeasts, or stressed ale yeasts.
- Solventy, nail-polish aroma: Fusel alcohols from high temperatures or nutrient deficiency.
- Phenolic, band-aid flavors (when not desired): Often from wild yeast or bacterial contamination.
Root Causes and Fixes
Too Hot
- Symptom: Fusels, solventy heat, harshness. - Prevention: Control fermentation temp, not just room temp (fermenting beer can run 1–3°C / 2–5°F warmer than ambient). - Fix (current batch): Age the beer longer; some fusels soften with time.
Too Cold
- Symptom: Sluggish or stalled fermentation, sweet beer, high final gravity. - Fix: Move fermenter to a slightly warmer place; give yeast a gentle swirl.
Under-Pitching
- Symptom: Long lag time, stressed ester profile, possible under-attenuation. - Fix: For next batch, use adequate yeast—rehydrate dry yeast, build a starter for liquid cultures.
Poor Nutrition (for very simple or adjunct-heavy worts)
- Symptom: Stalls, off-flavors, slow fermentation. - Fix: Use yeast nutrient per manufacturer’s guidelines, especially with sugar-heavy or very high-gravity recipes.
A Simple Fermentation Timeline Cheat Sheet
For a typical 1.050 OG ale at 20°C (68°F):
- Day 0: Pitch yeast; vigorous aeration.
- Day 1–3: Active fermentation, lots of activity.
- Day 4–7: Activity slows; yeast cleaning up byproducts.
- Day 8–10: Take gravity readings; if stable and flavors are clean, ready to package.
- Day 10–24: Bottle conditioning at room temp.
- Day 24+: Chill and enjoy.
Bringing It All Together: You’re the Yeast Shepherd
Think of yourself less as a beer maker and more as a yeast shepherd. Your main jobs:
- Give yeast the right wort (good nutrition, proper gravity).
- Pitch enough healthy cells at the right temperature.
- Maintain a stable, appropriate environment through fermentation.
- Allow time for each microbial phase to complete before moving on.
Once you see your fermenter as a living ecosystem rather than a black box, troubleshooting becomes calmer and more intuitive. You’ll taste the difference in every batch.