Lacto‑fermentation isn’t about dairy—it’s about lactic acid bacteria (LAB). These microbes live on raw vegetables, in your kitchen, and even on your hands. When we give LAB the right conditions, they convert vegetable sugars into lactic acid, preserving the food and creating that tangy, complex flavor we love.
The Big Picture: What Is Lacto‑Fermentation?
Think of your jar as a guided wild ecosystem. You’re not sterilizing and then re‑seeding; you’re steering the microbes that are already there.
The Three Pillars: Salt, Oxygen, and Temperature
1. Salt: The Gatekeeper
Salt is your first line of control:
- Draws water from veggies to form brine
- Slows down or inhibits many spoilage microbes
- Only mildly slows LAB, which are more salt‑tolerant
For vegetables, a 2–3% salt concentration by weight is the sweet spot for most home ferments.
How to calculate:
- Weigh your prepared veggies (e.g., 1000 g)
- Multiply by 0.02 (for 2%): 1000 × 0.02 = 20 g salt
Small changes in salt concentration shift the microscopic cast:
- Lower salt (1.5–2%): faster fermentation, brighter flavor, slightly higher risk of soft texture or unwanted microbes.
- Higher salt (2.5–3%): slower, crisper ferment, more stable, especially useful in warmer kitchens.
2. Oxygen: Friend to Mold, Foe to LAB
Lactic acid bacteria are happiest in low‑oxygen (anaerobic) environments. Many molds and spoilage organisms prefer air.
We take advantage of that by:
- Keeping vegetables fully submerged in brine
- Using jars instead of open crocks in most home kitchens
- Minimizing headspace and oxygen exposure
This doesn’t need to be perfect, just good enough that LAB dominate.
3. Temperature: The Fermentation Thermostat
Most vegetable ferments do best at 18–22°C (64–72°F).
- Too cold (<15°C / 59°F): fermentation is very slow; LAB barely multiply.
- Comfortable range (18–22°C / 64–72°F): ideal speed and flavor.
- Too warm (>24°C / 75°F): faster fermentation, softer veggies, higher chance of surface issues.
You can’t always control room temperature, but you can adjust:
- Salt level (a bit higher in warm weather)
- Fermentation time (shorter in warm seasons)
Who’s in the Jar? A Simple Microbial Timeline
Microbial communities shift over time in a fairly predictable pattern.
Phase 1 (Days 1–2): Early Settlers
Main players: Salt‑tolerant bacteria like Leuconostoc mesenteroides.
What they do:
- Start converting sugars to lactic acid, lowering pH.
- Produce carbon dioxide (bubbles) and flavor compounds.
Signs you’ll see:
- A few bubbles
- Very mild tang in smell and taste
Phase 2 (Days 3–7): LAB Takeover
Main players: Lactobacillus plantarum, Lactobacillus brevis, and friends.
What they do:
- Rapid lactic acid production
- pH drops toward 4.0 or lower
- Pathogens and many spoilage microbes are now strongly inhibited
Signs you’ll see:
- Cloudy brine
- More vigorous bubbling
- Noticeable sour aroma
Phase 3 (After Day 7): Maturation
Main players: More acid‑tolerant LAB, often L. plantarum dominating.
What they do:
- Continue slow acid production
- Develop complex flavor and aroma
Signs you’ll see:
- Bubbling slows
- Flavor deepens and stabilizes
Understanding this sequence helps you interpret what you see in the jar and avoid panicking when things change.
pH: The Safety Net You Can’t See (But Can Measure)
As LAB create lactic acid, the pH drops. Pathogenic bacteria don’t like acidic environments.
For vegetable ferments:
- Target pH: 4.0 or lower
- Many ferments land between 3.2 and 3.8 when fully mature
If you want extra confidence:
- Get simple pH strips that measure in the 2.5–6 range.
After 4–5 days at room temperature, test:
- Dip a strip into a small sample of brine. - Aim for pH ≤ 4.0 before moving to long‑term storage.
Not required, but it’s a nice science‑minded habit.
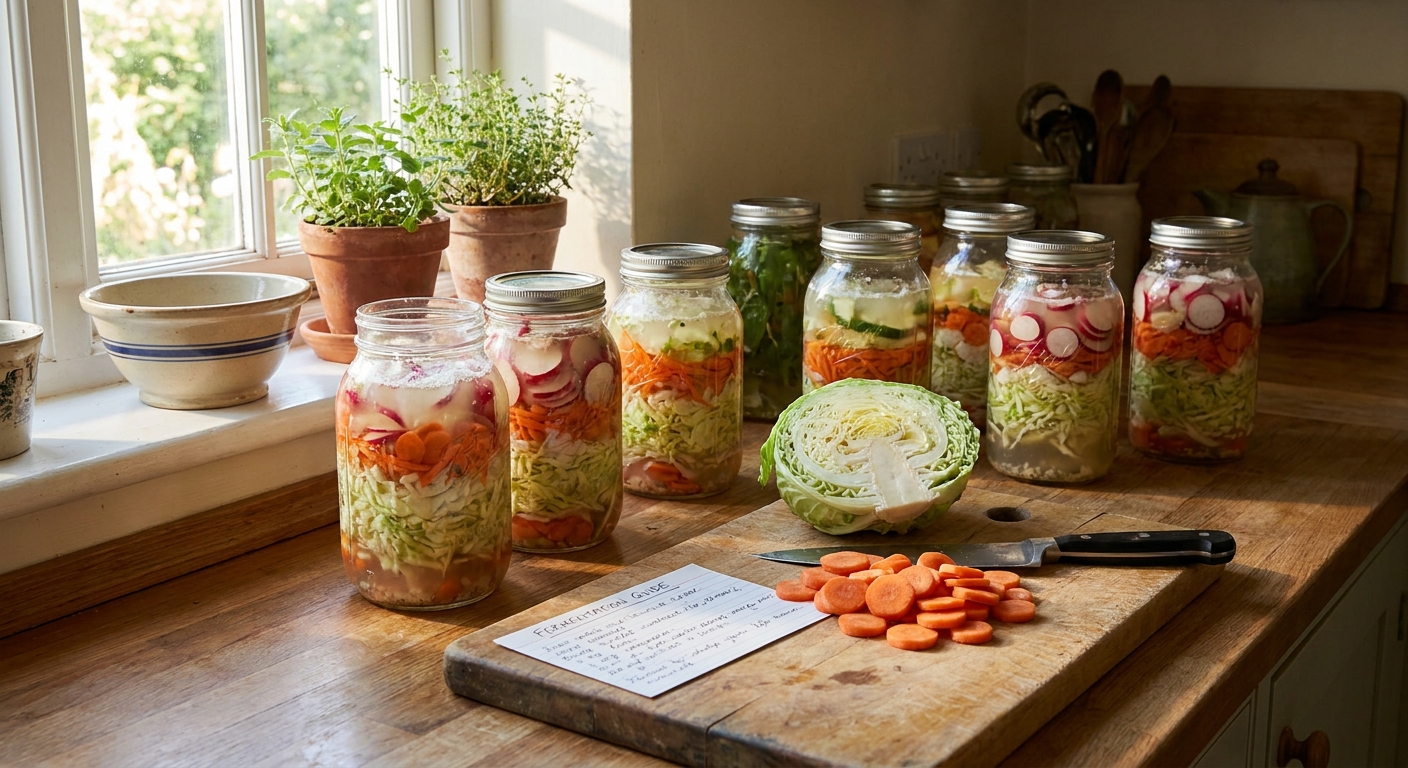
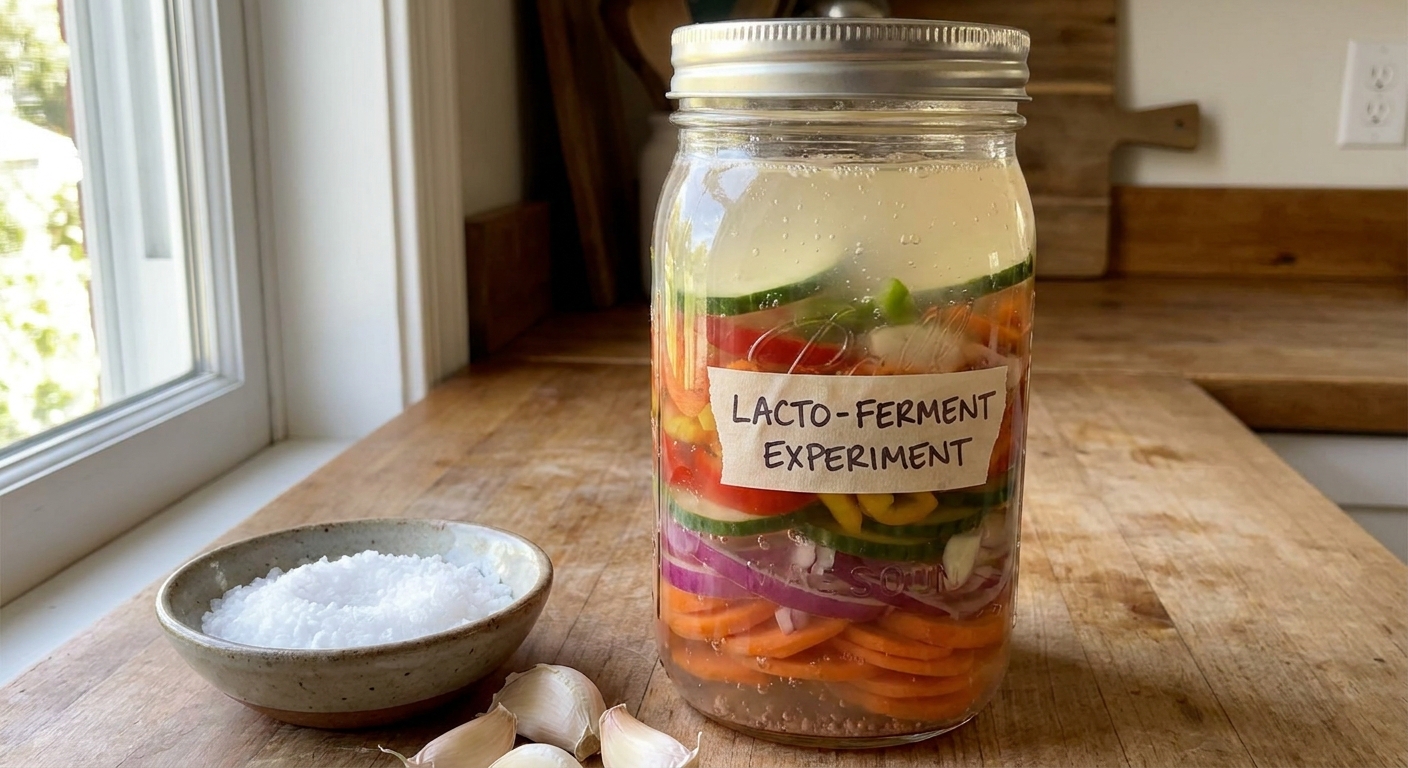
Step‑by‑Step: A Science‑Grounded Basic Brine Ferment
Let’s apply the microbiology to a straightforward brined carrot stick ferment.
Ingredients (1 L jar)
- 600 g peeled carrot sticks (cut to fit jar height)
- 500–600 ml filtered water
- 15 g salt (for about a 2.5–3% brine)
- Optional: 3 garlic cloves, a few peppercorns, 1–2 bay leaves
Step 1: Make the Brine
- Dissolve 15 g salt in 500 ml warm water.
- Let cool to room temperature.
You want a 2.5–3% brine: 15 g salt ÷ 500 ml water = 3%.
Why brine instead of dry salt? Brined ferments are ideal for whole or chunky veggies where massage‑and‑brine methods are less practical.
Step 2: Pack the Jar
- Place garlic, spices, or bay leaves at the bottom.
- Pack carrots vertically, snug but not jammed.
- Leave 2–3 cm (about 1 inch) headspace.
Step 3: Add Brine and Exclude Oxygen
- Pour cooled brine over carrots until fully covered.
- Use a fermentation weight or a smaller jar to keep carrots under brine.
- Close with a loose lid or airlock.
You’ve now set salt and oxygen conditions that heavily favor LAB.
Step 4: Ferment at Room Temperature
- Keep at 18–22°C (64–72°F) if possible.
- Expect small bubbles after day 2–3.
- Brine may become slightly cloudy around day 4–5.
Taste around day 5. Move to the fridge when:
- Flavor is pleasantly sour
- Texture is crisp but not raw‑tasting
For most rooms, that’s 5–10 days.
Common Failures, Microbiology Edition
Understanding why things go wrong makes troubleshooting less stressful.
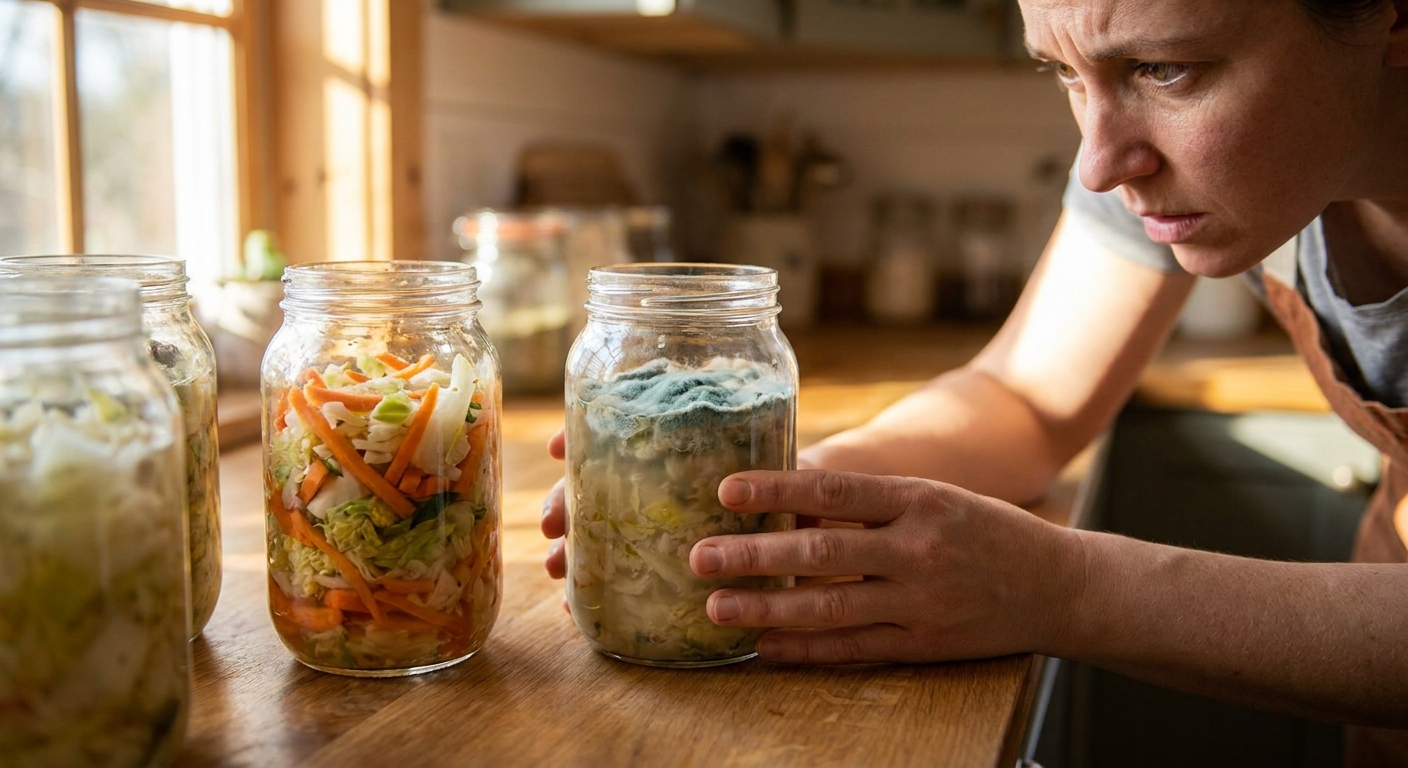
Problem: Fuzzy Mold
What’s happening:
- Molds are aerobic fungi—they love oxygen.
- If veggies protrude above brine, they become mold platforms.
Prevention:
- Keep everything submerged.
- Avoid floating herbs or garlic on the surface.
- Top off with matching brine if evaporation lowers liquid.
If fuzzy, colored mold appears, especially with off smells, discard the batch.
Problem: Kahm Yeast (White Film)
What’s happening:
- Wild yeasts have taken advantage of oxygen at the surface.
- They’re usually harmless but can affect flavor.
Signs:
- Thin, milky or chalky white film
- Not fuzzy, not hairy
Fix:
- Skim off gently.
- Smell and taste—if it tastes normal, continue fermenting.
- Improve oxygen control next time.
Problem: Mushy Vegetables
Likely causes:
- Too warm for too long
- Too little salt
- Long fermentation at room temperature
Microbial explanation:
- Pectin‑degrading enzymes (from microbes or the vegetables) break down cell walls.
Prevention:
- Use 2.5–3% salt in hot weather.
- Move jars to the fridge earlier once they taste right.
- Avoid excessive fermentation times at room temp.
Problem: No Bubbles, No Action
Possibilities:
- Very cool environment
- Fermentation happening slowly but you’re just not noticing
Check:
- Smell: slightly tangy or pickled?
- Taste after 5–7 days: any sourness?
If yes, it’s fermenting—just slowly. If nothing changes after 10–14 days at normal room temperature, suspect:
- Old or heavily washed produce (fewer surface microbes)
- Excessive salt
Next time, lower salt slightly (still stay above 2%), and use fresher, unpeeled, un‑chlorinated produce when possible.
When Is It “Done”? The Microbial View
Vegetable ferments don’t have a single finish line. They move along a flavor and acidity curve.
You can consider three practical milestones:
- Microbial safety stage: pH has dropped below ~4.0 (usually within 2–4 days at room temp with proper salt).
- Flavor sweet spot: Balance of sourness, aroma, and texture you enjoy (often days 5–14).
- Stability stage: In the fridge, very slow ongoing fermentation and flavor development.
You choose your stopping point based on taste, as long as safety basics are met.
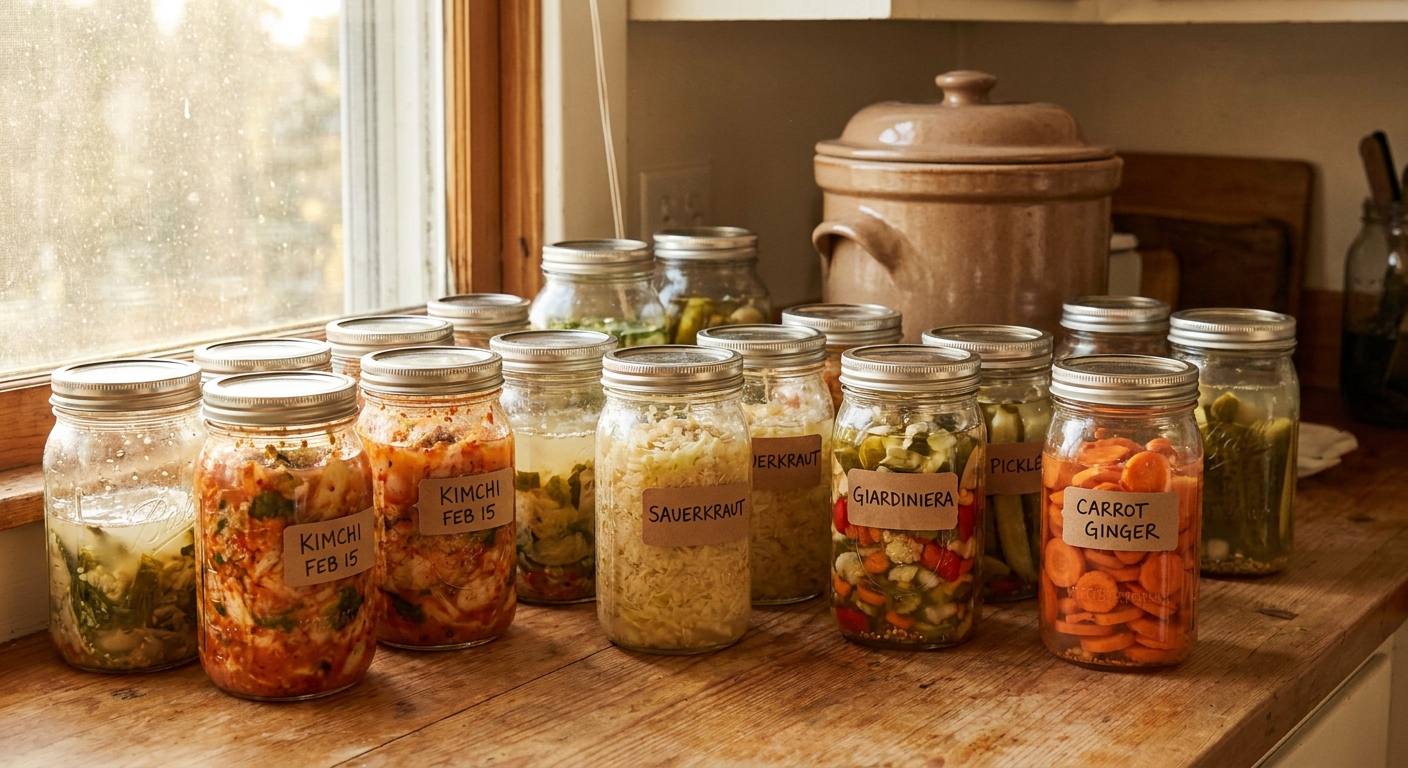
Putting It All Together in Your Kitchen
To work like a confident, science‑minded fermenter, build these habits:
- Weigh your vegetables and salt. Aim for 2–3%.
- Submerge everything. Weights, jars‑in‑jars, or brine‑filled bags all work.
- Watch the temperature. Shorten or extend time depending on the season.
- Use your senses and notes. Smell, taste, and jot down how long each stage takes.
- Start simple, change one variable at a time. Salt level, temperature, or fermentation time.
Once you grasp that you’re managing salt, oxygen, and temperature to train tiny allies, fermentation becomes far less mysterious—and a lot more fun.
Your jars are not just recipes; they’re ongoing experiments. The more you listen to their bubbles, aromas, and textures, the better a microbial coach you become.