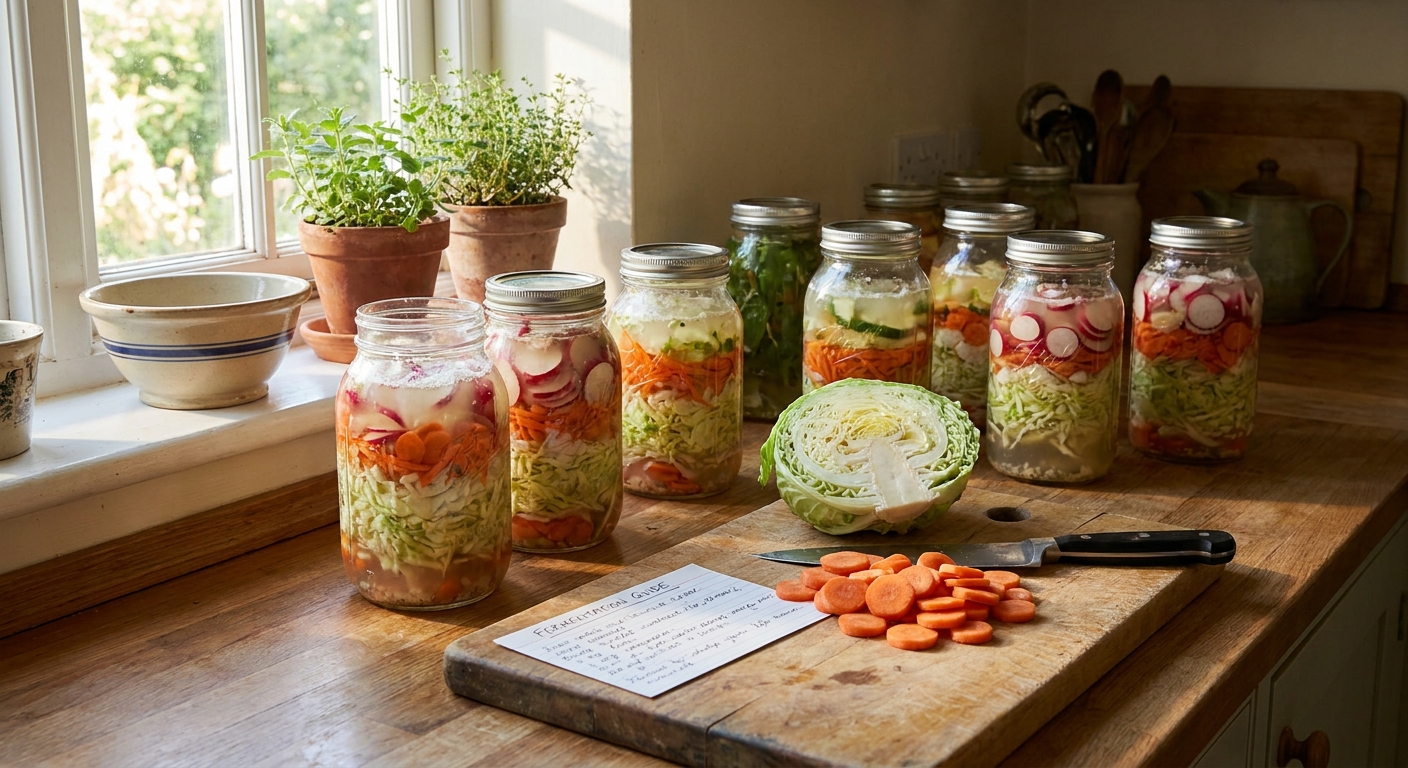
Instead of one “perfect” recipe, this guide gives you 10 progressively challenging fermented veggie projects. Each project teaches a specific skill: controlling crunch, layering flavors, managing longer ferments, and staying calm when something looks odd.
How to Use This Project Path
You don’t have to follow them in strict order, but if you’re new, starting from Project 1 and moving down will gently build your confidence.
Each project includes:
- Approximate fermentation time
- Key skills you’ll practice
- Troubleshooting tips tailored to that style
Project 1: Quick Garlic‑Dill Cucumber Sticks (3–5 Days)
Timeframe: 3–5 days at room temp + fridge storage
Skill focus: Brined ferments, keeping veggies submerged, watching for early bubbles.
Basic Formula (1 L jar)
- 500 g cucumber sticks or spears
- 15 g salt
- ~600 ml water
- 3–4 garlic cloves
- 1 tsp black peppercorns
- 1–2 heads fresh dill (or 1 Tbsp dried)
- Dissolve salt in water.
- Pack cucumbers, garlic, dill, and pepper in jar.
- Cover with brine, leaving 2–3 cm headspace.
- Weigh down cucumbers and loosely lid.
Troubleshooting:
- Soft cucumbers: Next time, choose very fresh, small cucumbers and ferment fewer days.
- Floaters: Use a weight, leaf, or a brine‑filled bag to hold them down.
Project 2: Classic Carrot Coins with Ginger (5–10 Days)
Timeframe: 5–10 days
Skill focus: Simple flavor pairing, recognizing cloudiness as normal.
Basic Formula (1 L jar)
- 600 g carrot coins
- 15–18 g salt
- 20–30 g fresh ginger, sliced
- Water to cover
- Pack carrots and ginger into jar.
- Pour 2.5–3% brine (15–18 g salt per 600 ml water) over.
- Weigh down, close, and ferment.
You’ll notice:
- Cloudy brine around day 3–5 (good sign).
- Bubbles clinging to carrot surfaces.
Troubleshooting:
- Too sharp or spicy: Use less ginger next time or ferment for fewer days.
Project 3: Simple Sauerkraut (7–14 Days)
Timeframe: 7–14 days
Skill focus: Dry salting, creating natural brine without added water.
Basic Formula (1 L–1.5 L jar)
- 800 g green or white cabbage
- 16–20 g salt (2–2.5%)
- Optional: 1 tsp caraway seeds
- Shred cabbage, weigh, and calculate salt.
- Massage with salt until a pool of brine forms.
- Pack tightly into jar, pressing until brine covers.
- Use a cabbage leaf and weight to submerge.
Troubleshooting:
- Not enough brine: Massage longer or add a little 2% brine.
- Strong sulfur smell: Often normal early; should mellow into sour and clean. If it smells rotten or putrid, discard.
Project 4: Rainbow Slaw Ferment (7–10 Days)
Timeframe: 7–10 days
Skill focus: Mixing vegetables with different textures and water contents.
Suggested Mix
- 400 g green cabbage
- 150 g red cabbage
- 150 g carrots
- 50 g red onion
- 20–30 g salt (2–2.5% of total weight)
- Optional: 1 Tbsp mustard seeds, 1 Tbsp coriander seeds
- Shred or slice all veggies thinly.
- Weigh, calculate salt, and massage.
- Pack into jar, ensuring a generous brine covers everything.
You’ll learn:
- How high‑water veggies (cabbage) help hydrate low‑water ones (carrot, onion).
- How colors bleed and mingle.
Troubleshooting:
- Overpacked jar: If brine overflows constantly, transfer some to a second jar or leave more headspace next time.
Project 5: Spicy Radish Rounds (5–9 Days)
Timeframe: 5–9 days
Skill focus: Handling strong aromas calmly, salt‑adjusted brine.
Basic Formula (1 L jar)
- 500–600 g sliced radishes (any color)
- 15–18 g salt
- 1–2 sliced chilies (or 1 tsp chili flakes)
- 2 garlic cloves
Use a 2.5–3% brine over packed radishes.
Expect:
- Strong smell on opening—peppery and sulfury but should still smell “food‑like.”
- Hot, peppery brine.
Troubleshooting:
- Overwhelming smell: Move to fridge earlier; odor calms with time.
- Too hot: Reduce chili or slice radishes thicker next time.
Project 6: Kimchi‑Style Napa Cabbage (10–21 Days Total)
Timeframe: 1 day salting + 2–3 days room temp + 7–18 days fridge
Skill focus: Multi‑step prep, chili paste, fermentation in two stages.
Rough Outline
- 1 large napa cabbage (~1.2–1.5 kg)
- 3–4 Tbsp salt for initial salting
- Korean chili flakes (gochugaru), garlic, ginger, scallions, maybe fish sauce
- Cut napa into large pieces, salt between leaves, and let wilt 1–2 hours.
- Rinse briefly and drain thoroughly.
- Mix seasoning paste; coat cabbage.
- Pack tightly into jar, pressing to reduce air pockets.
- Ferment at room temp 1–3 days, then move to fridge for at least 1 week.
Troubleshooting:
- Too sour too fast: Next time, shorten room‑temp stage or use a cooler spot.
- Soft leaves: Start with very fresh napa and don’t over‑salt at the start.
Project 7: Whole Garlic Cloves in Brine (3–6 Weeks)
Timeframe: 3–6 weeks
Skill focus: Long ferments, patience, monitoring for surface growth.
Basic Formula (500 ml jar)
- 250–300 g peeled garlic cloves
- 12–15 g salt
- Water to cover (2.5–3% brine)
- Pack garlic in jar.
- Cover with brine; ensure all cloves stay submerged.
- Ferment at cool room temp.
Over weeks, cloves may:
- Turn slightly yellowish or bluish‑green (a natural pigment reaction)
- Soften slightly
Troubleshooting:
- Surface yeast: Skim off, keep submerged, and continue.
- Harsh smell vs. rotten: Strong, sharp garlic is normal; rotten or putrid is not.
Project 8: Mixed Garden Crock (3–6 Weeks)
Timeframe: 3–6 weeks
Skill focus: Using a crock or large vessel, managing a bigger batch.
Concept
Use whatever is abundant:
- Cabbage, carrots, green beans, cauliflower, turnips, radishes, peppers
- Chop or leave small vegetables whole.
- Estimate total weight and use 2–2.5% salt.
Massage or brine depending on the main vegetable:
- If mostly cabbage: dry‑salt and massage. - If mostly firm veggies: use brine. 4. Pack into a crock with weights on top.
Troubleshooting:
- Uneven textures: Cut denser vegetables smaller, delicate ones larger.
- Surface issues: With larger crocks, watch weekly and remove any surface growth promptly.
Project 9: Fermented Pepper Paste (2–4 Weeks)
Timeframe: 2–4 weeks
Skill focus: High‑flavor pastes, blending after fermentation.
Basic Pepper Mash
- 500 g mixed peppers (hot and/or sweet)
- 10–12 g salt (about 2–2.5%)
- 3–5 garlic cloves
- Roughly chop peppers, keep seeds if you like heat.
- Weigh, add salt, and pulse in a food processor.
- Pack paste into a jar, pressing out air.
- Use a small piece of plastic or parchment on top, then a weight.
- Ferment 1–2 weeks at room temp, then taste.
After fermentation, blend smoother if desired and refrigerate.
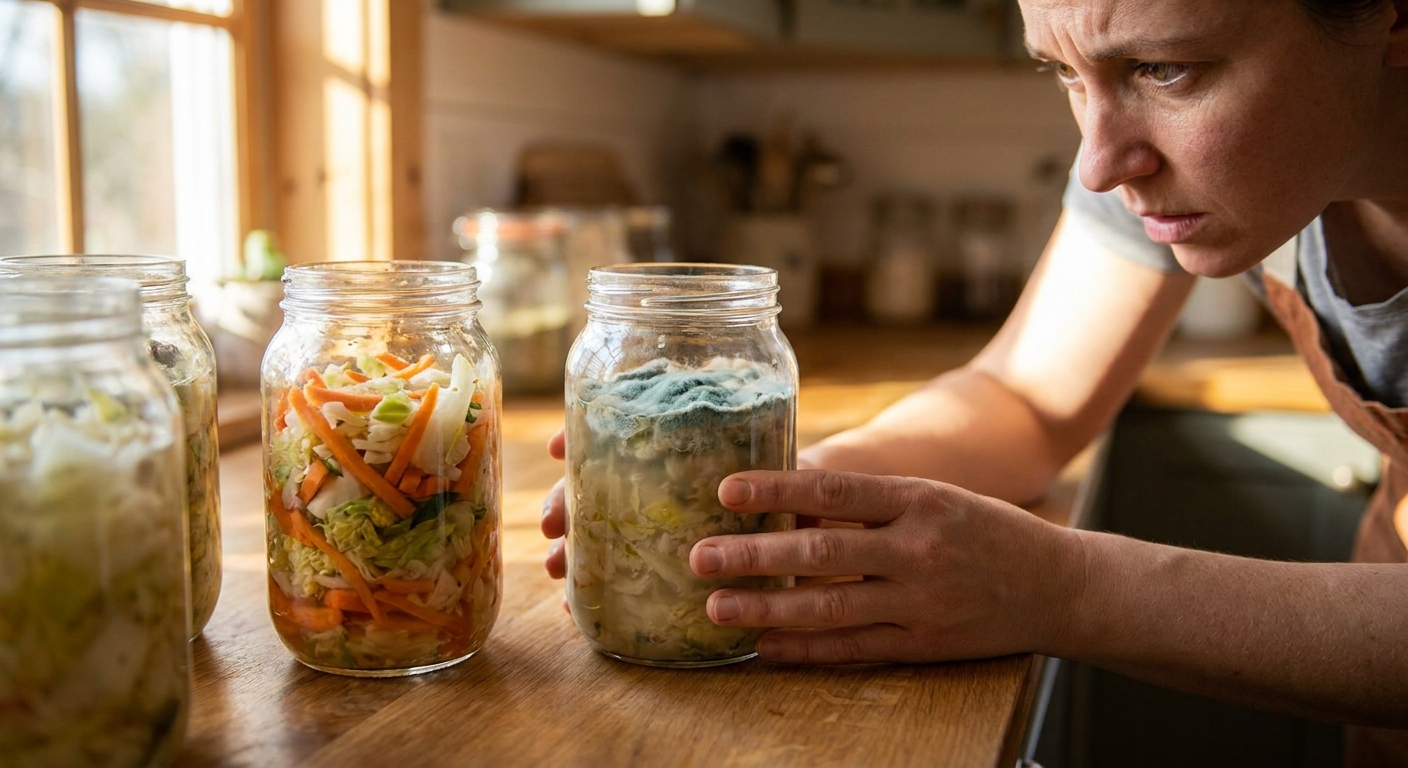
Troubleshooting:
- Surface mold on paste: The thin top layer is most vulnerable. Scrape off generously; if smell is fine and mold is superficial, you can keep the rest. If in doubt, discard.
Project 10: Seasonal Root Cellar Mix (4–8 Weeks)
Timeframe: 4–8 weeks (cool storage)
Skill focus: Long, cool ferments; leveraging ambient seasonal temperatures.
Example Winter Mix
- Turnips
- Carrots
- Parsnips
- Cabbage
- Garlic
- 2–2.5% salt by total weight
- Chop roots into similar‑sized chunks.
- Combine with shredded cabbage and garlic.
- Salt and massage until briny.
- Pack into a large jar or crock.
- Ferment in a cool area (12–16°C / 54–61°F) for 4–8 weeks.
You’ll practice:
- Recognizing very slow, steady fermentation.
- Tasting at intervals (every 1–2 weeks) and learning how flavors deepen over time.
Troubleshooting:
- Seems like nothing’s happening: With cool temps, bubbling is minimal. Let taste and aroma guide you, not bubbles alone.
How to Keep Learning from Each Project
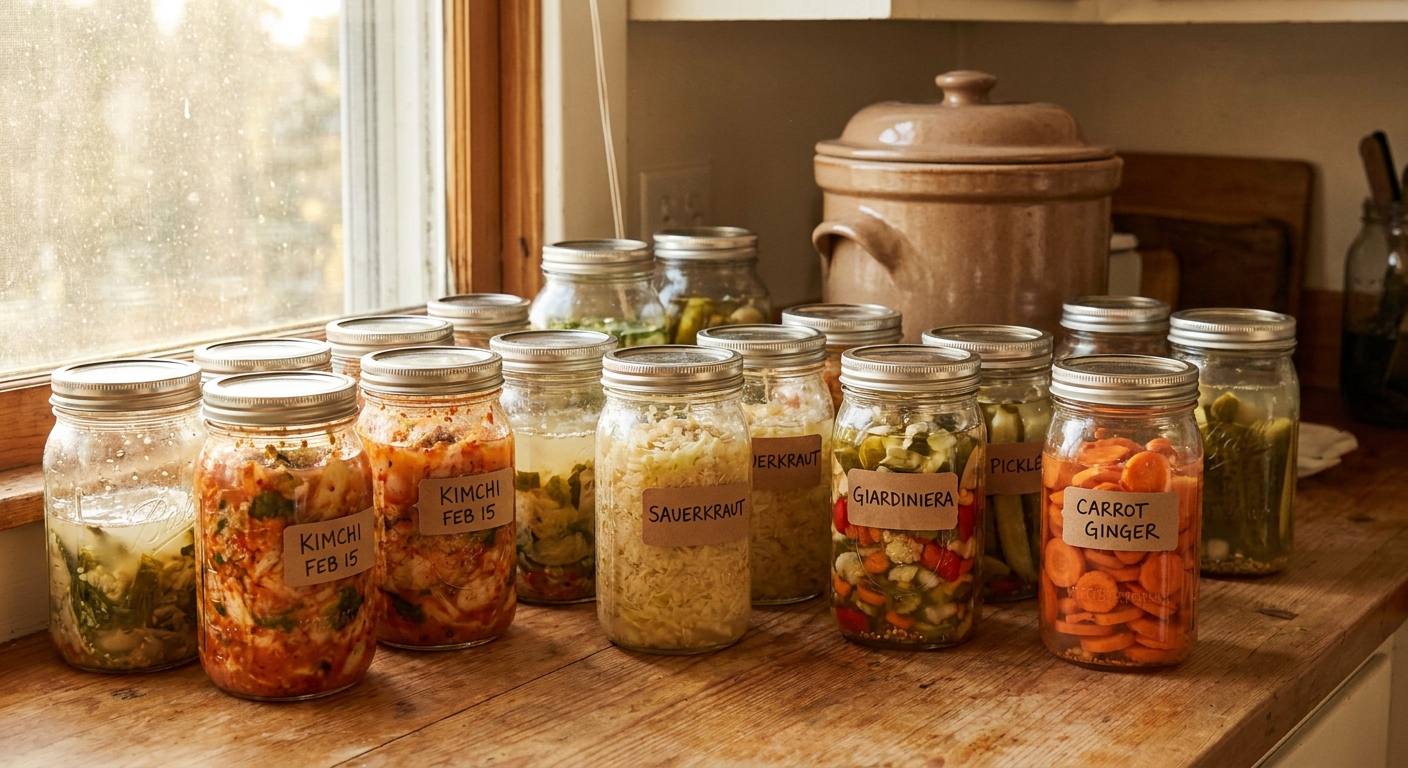
For every ferment, keep a simple log:
- Date started
- Vegetables and salt %
- Room temperature (roughly)
- When bubbles appeared
- First taste date and notes
- Final “move to fridge” date
This small habit turns each jar into a mini‑lesson. Over time, you’ll see patterns: how your kitchen’s seasons affect speed, which salt level fits your taste, and how long you enjoy each style.
You don’t need perfection. You just need repetition, curiosity, and a willingness to see each jar as practice. These ten projects will quietly turn you from an anxious beginner into a patient, observant fermenter with a shelf of colorful, living jars to show for it.