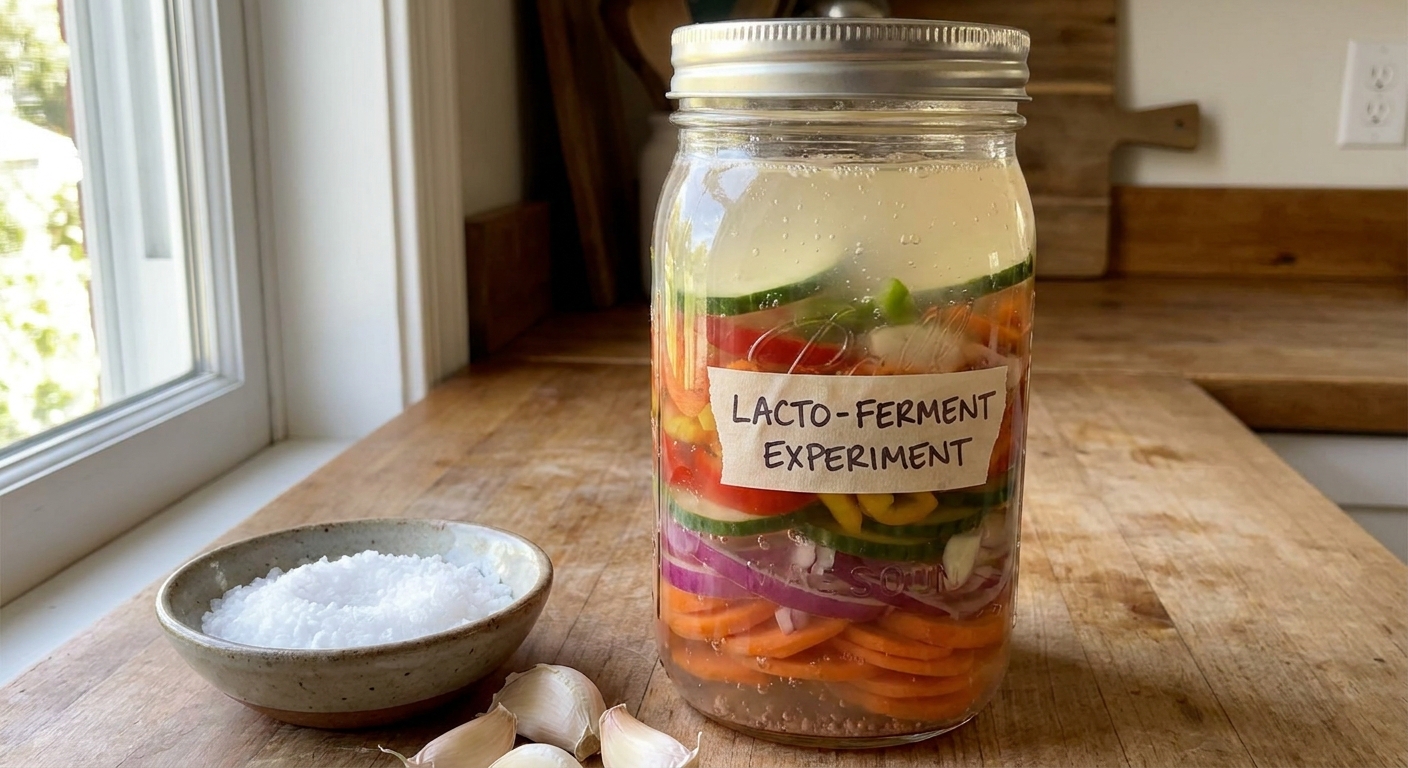
Fermenting vegetables at home isn’t just an old‑fashioned way to preserve food; it’s a controlled mini‑ecosystem on your countertop. Salt and time invite friendly lactic acid bacteria (LAB) to transform raw vegetables into tangy, crunchy, shelf‑stable jars of flavor.
Why Ferment Your Veggies?
In this guide, we’ll walk slowly and methodically through your first batch. We’ll talk about timing, texture, and what’s happening at the microscopic level so you not only follow the steps—you understand them.
The Microbiology in Your Jar
When you ferment vegetables with salt, you’re building a new environment:
- Salt draws water out of the vegetables, creating a salty brine.
- Oxygen‑poor conditions (anaerobic) discourage molds and many spoilage microbes.
- Naturally present lactic acid bacteria (on the veggies and in your kitchen) survive and thrive in salty, low‑oxygen conditions.
As they feast on vegetable sugars, LAB (mostly species of Lactobacillus, Leuconostoc, and Pediococcus) produce:
- Lactic acid – lowers pH, preserving the veggies
- Carbon dioxide – causes bubbling and pressure
- Flavor compounds – tang, complexity, and aroma
Your job is to give these microbes the right conditions. They’ll do the rest.
Gear Checklist (and Easy Substitutes)
You don’t need fancy equipment to start:
- Glass jar (500 ml–1 L mason jar with lid)
- Cutting board and knife
- Kitchen scale (highly recommended for accuracy)
- Bowl for mixing
- Something to weigh veggies down:
- Glass fermentation weight, or
- Small jar nested inside a larger jar, or
- A zip‑top bag filled with brine
Optional but helpful:
- pH strips or meter (target pH ≤ 4.0 for safety)
- Fermentation airlock lid (reduces burping needs)
Step‑by‑Step: Your First Fermented Cabbage & Carrot Jar
This basic mix is forgiving and flavorful.
Ingredients (for a 1 L jar)
- 700 g mixed veggies (e.g., 500 g cabbage, 200 g carrots)
- 2–2.5% salt by weight of vegetables (14–18 g salt for 700 g veggies)
- Optional flavorings:
- 2–3 garlic cloves
- 1 tsp caraway seeds or mustard seeds
- A few slices of ginger or chili
Use non‑iodized salt (sea salt, pickling salt, kosher salt without additives).
Step 1: Prep and Weigh
- Remove any damaged outer leaves from cabbage.
- Weigh your cleaned vegetables. Write this number down.
- Calculate salt:
veggie weight x 0.02–0.025(2–2.5%).
Example: 700 g veggies × 0.025 = 17.5 g salt.
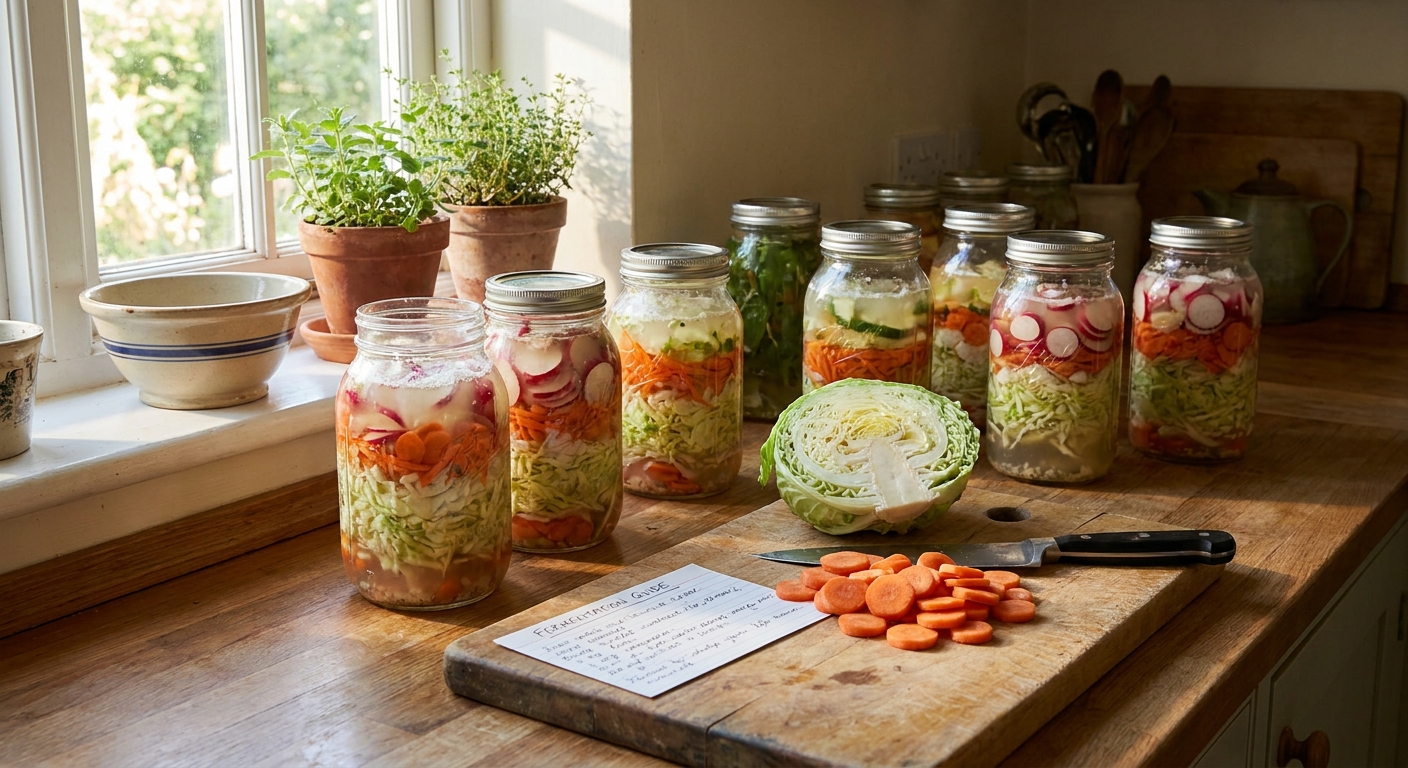
Step 2: Slice and Salt
- Shred cabbage into thin ribbons.
- Slice carrots into matchsticks or thin coins.
- Place veggies in a large bowl and sprinkle salt evenly.
- Add garlic, seeds, or spices if using.
Gently mix everything to distribute the salt.
Step 3: Massage and Make Brine
- With clean hands, massage and squeeze the veggies for 5–10 minutes.
- The salt will pull water out, and the bowl should slowly fill with liquid.
- Stop when the veggies feel limp and you can grab a handful and squeeze out visible brine.
If your kitchen is very cool or your veggies are very fresh and dry, this step may take a bit longer. Be patient; the brine will come.
Step 4: Pack the Jar
- Pack veggies tightly into the jar a handful at a time.
- Press down firmly with your fist or a tamper to remove air pockets.
- Pour any remaining brine from the bowl into the jar.
- The brine should rise above the surface of the veggies. If not, see troubleshooting below.
Leave at least 2–3 cm (1 inch) of headspace at the top.
Step 5: Weigh Down and Close
- Add a fermentation weight or a small, clean jar to keep veggies submerged.
- Wipe the rim.
Close with:
- A loose normal lid (not fully tightened), or - An airlock lid if you have one.
The key: gasses must escape, but air should not freely enter.
Fermentation Timeline: What to Expect Day by Day
These timings assume room temperature of 18–22°C (64–72°F).
Days 1–2: The Quiet Start
- Brine may look still, maybe a few tiny bubbles.
- Vegetables may look unchanged.
- Mild, fresh vegetable aroma.
Microbiology: Salt‑tolerant early LAB (often Leuconostoc) begin to wake up and start producing a little lactic acid and CO₂.
Days 3–5: Bubbling and Cloudiness
- Visible bubbles, sometimes a “fizz” when opened.
- Brine turns cloudy—this is normal and good.
- Aroma: tangy, slightly yeasty or cabbage‑y but not rotten.
Microbiology: LAB population booms. pH falls rapidly, creating a safer, more stable environment.
Days 6–10+: Slowing Down and Ripening
- Bubbling slows.
- Flavors become more sour and complex.
- Veggies soften slightly but should remain pleasantly crisp.
You can start tasting on day 5. Use a clean fork, press veggies down again, and re‑seal.
When the taste is pleasantly sour and aromatic (usually 7–14 days, depending on temperature and your preference), move the jar to the fridge. Cold slows fermentation and helps maintain texture.
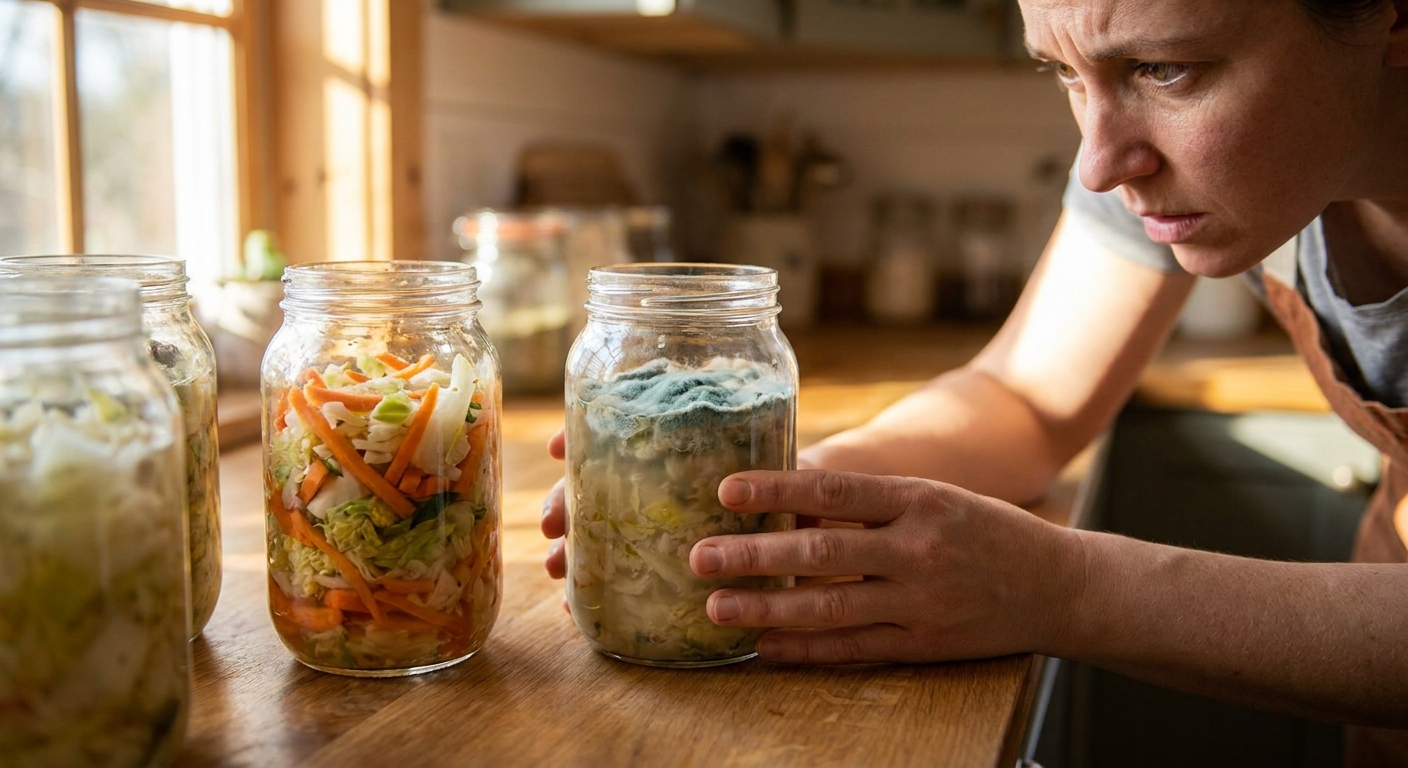
Key Safety and Quality Checks
Rely on your senses and some simple rules:
- Look: No fuzzy growth, no pink, blue, or black patches. Surface yeast (white, thin, flat) can be scraped off if odor is normal.
- Smell: Sour, tangy, pickled, garlicky, or funky‑vegetal is fine. Sharp rotten, fecal, or chemical smells—discard.
- Texture: Soft but not mushy, no slimy “ropes.”
Once pH drops below 4.0, the environment is very hostile to pathogens. Most properly salted vegetable ferments reach this within a few days at room temperature.
Troubleshooting Common Problems
1. No Brine Above the Veggies
Symptoms: Veggies poking out, dry top, or little visible liquid.
Causes:
- Veggies not massaged long enough
- Very dense or older vegetables
- Press down firmly; sometimes the brine rises.
- If still dry, make a 2% salt brine: 10 g salt in 500 ml water. Add enough to just cover veggies.
Fix:
2. Mold on the Surface
Symptoms: Fuzzy, colored patches (blue, green, black, or pink) on top.
Causes:
- Unsubmerged vegetables
- Too little salt
- Warm temperatures and long neglect
- If mold is localized, very small, and you caught it early, you may remove the top layer plus 2–3 cm below. But if you’re a beginner, when in doubt, discard the batch.
- Next time: ensure everything stays under brine and use correct salt percentage.
Fix:
3. Kahm Yeast (White Film)
Symptoms: Thin, dull, white film on surface, not fuzzy.
Causes:
- Wild yeasts thriving on surface oxygen
- Skim off gently.
- Smell and taste: if aroma is normal and flavor is good, the ferment is safe.
- Reduce oxygen exposure next time (better weight, fuller jar, or airlock).
Fix:
4. Slimy Texture
Symptoms: Brine feels thick or “snotty”; vegetables are ropy.
Causes:
- Undesirable bacteria (often from dirty equipment or too little salt)
- Discard. Don’t try to salvage.
- Next time: increase salt to at least 2%, clean equipment thoroughly, and use fresher produce.
Fix:
5. Too Salty or Too Sour
Too salty:
- Rinse veggies briefly just before eating.
- Mix with unsalted fresh ingredients (like grated carrot) right before serving.
- Use as a flavoring ingredient (finely chopped in salads, dips, or dressings).
- Ferment for a shorter time in your next batch or move to the fridge earlier.
Too sour:
Caring for Your Ferments Long‑Term
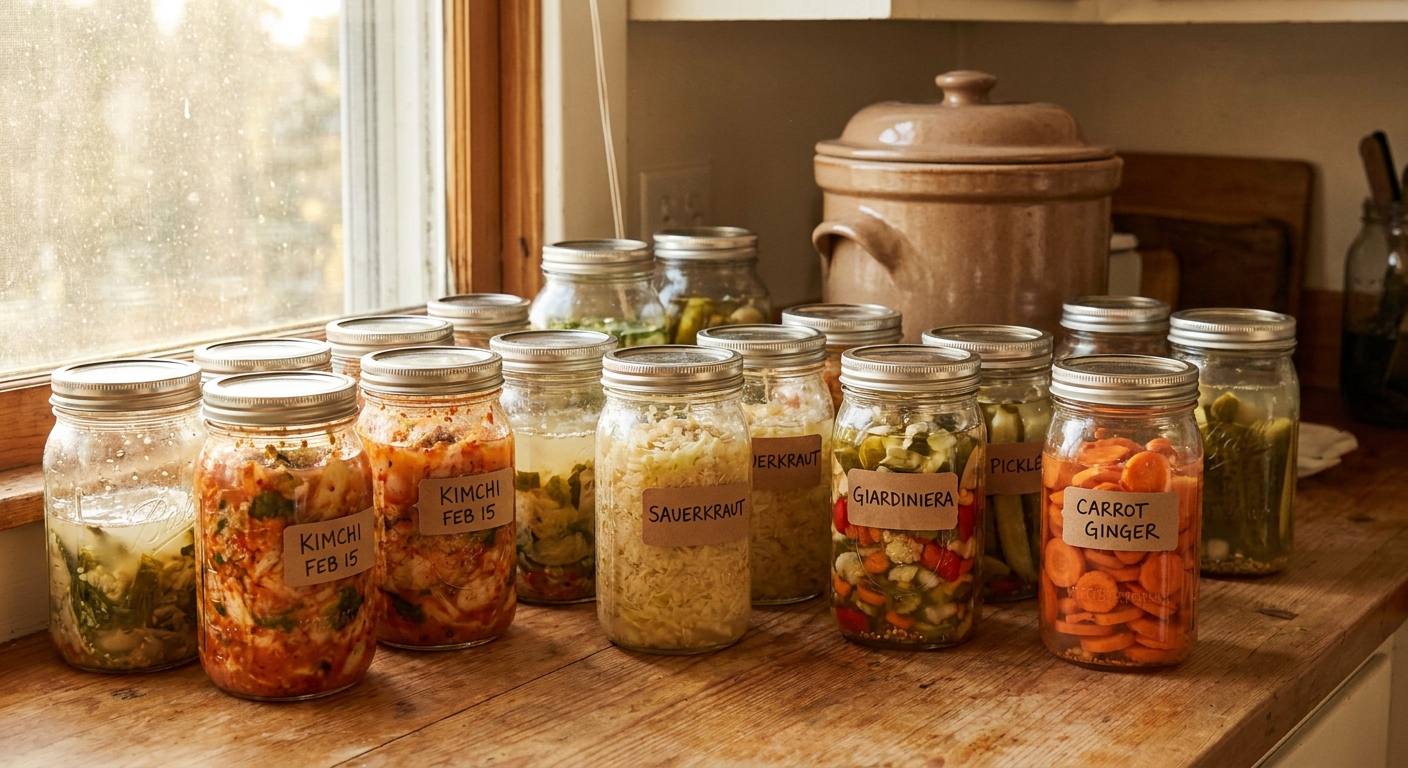
- Store finished jars in the fridge or a cool cellar.
- Expect flavors to continue to slowly evolve.
- Always use a clean utensil when serving.
- If in doubt about safety, trust your senses and err on the side of discarding.
Most fridge‑stored veggie ferments stay good for several months or more.
Building Confidence: A Simple Practice Plan
To really learn, repeat the process:
- Make the same cabbage & carrot ferment three times.
Keep brief notes on:
- Room temperature - Days until you liked the flavor - Any issues (bubbles, surface growth, smell) 3. Adjust time and salt slightly each round.
By the third jar, you’ll not just be following a recipe—you’ll be reading the jar like a pro, understanding what your microbes are asking for and responding calmly.
Fermented vegetables are a conversation between you, your ingredients, and your microbes. With patience, a scale, and a little curiosity, you’ll soon have a lineup of colorful, tangy jars quietly transforming on your counter.