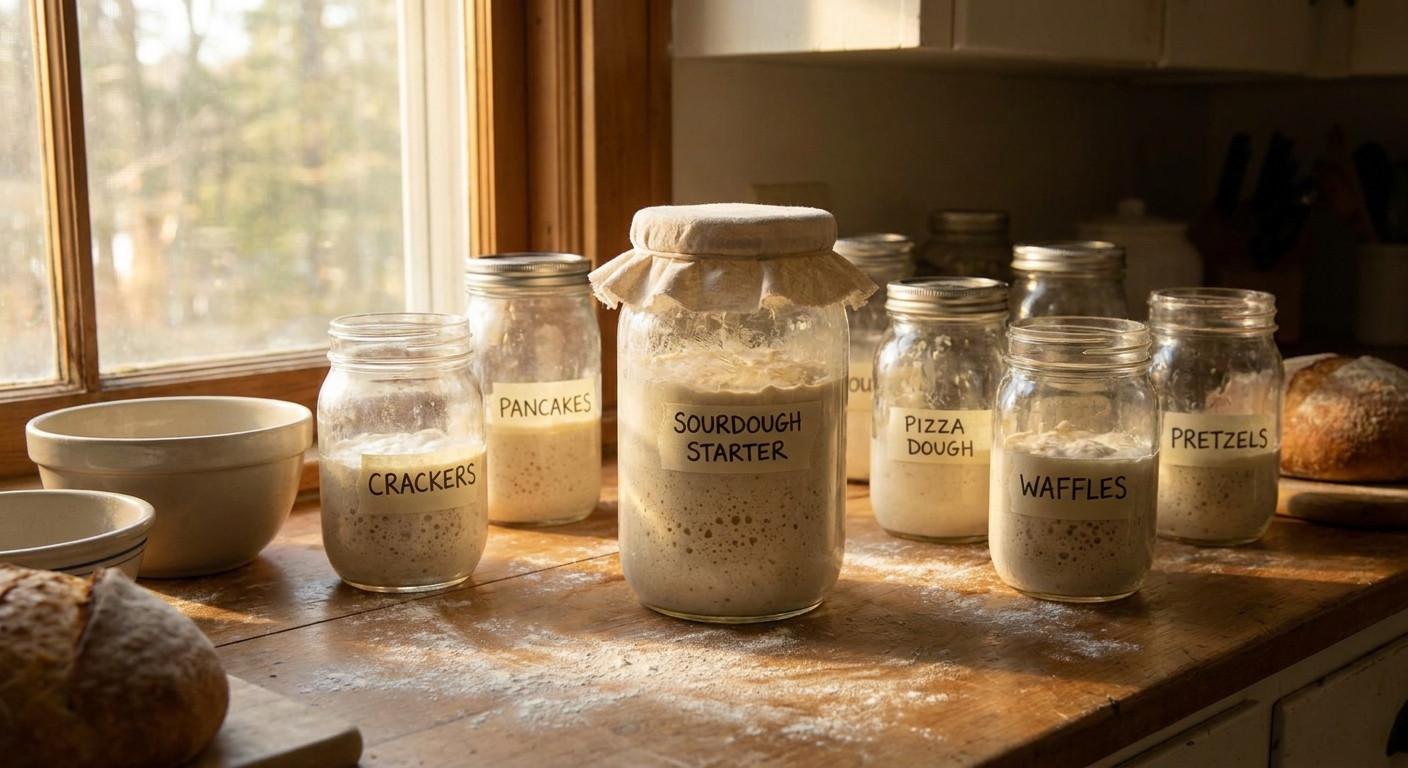
Most sourdough “failures” are communication problems. The dough is speaking in bubbles, smells, and textures—and once you learn that language, troubleshooting becomes calm and methodical rather than frustrating.
Why Your Sourdough Is Misbehaving (and How to Decode It)
In this guide we’ll walk through common sourdough issues, not just with quick fixes but with the microbiology behind them so you understand why each solution works.
Use this like a field manual: spot the symptom, match it to the cause, apply the fix, and adjust your process.
Symptom 1: My Starter Is Weak, Sluggish, or Inconsistent
What You See
- Barely rises after feeding
- Few or no bubbles
- Starts out promising, then collapses for days
What’s Happening Microbiologically
A healthy starter is a balanced ecosystem: yeasts + lactic acid bacteria (LAB) in a stable ratio. A weak starter often means:
- Yeast population is too low (underfed or outcompeted)
- LAB are producing too much acid, stressing the yeast
- Temperature is keeping the whole system half‑asleep
Fixes
Increase feeding frequency
- Move from 1 to 2 feedings per day for 3–5 days. - Use a ratio of 1:3:3 (starter:water:flour) to dilute accumulated acid.
Warm it up
- Aim for 24–27°C (75–80°F). - Use a warm spot: above the fridge, near (not on) a radiator, or inside the oven with the light on.
Add whole grain for nutrients
- Make 20–30% of the flour rye or whole wheat. - These flours bring more minerals and vitamins, feeding both yeast and LAB.
Stabilize your routine
- Feed at consistent times. Microbes love predictable schedules.
Give it 3–7 days of this regimen before declaring it hopeless; microbial ecosystems take time to rebalance.
Symptom 2: Dense, Gummy, or “Brick” Loaves
What You See
- Loaf barely rises in the oven
- Tight crumb with few holes
- Gummy or undercooked texture even when baked through
Likely Causes
Under‑fermentation (most common)
Yeasts didn’t have enough time to generate gas, and LAB didn’t have time to condition the gluten.
Weak starter
Your inoculation wasn’t strong enough, so fermentation lagged from the start.
Flour or water imbalance
Very low hydration can inhibit gas expansion.
How to Diagnose
Ask:
- Did the dough increase at least 50–75% in volume during bulk?
- Did it feel airy and jiggly before shaping?
- Does your starter double within 6–8 hours after feeding?
If the answer is no to any of these, you likely cut fermentation short.
Fixes
Extend bulk fermentation
- Add 30–60 minutes at the same temperature. - Use visual cues: look for more volume, surface bubbles, and jiggle.
Strengthen your starter (see Symptom 1)
Increase hydration slightly
- Add 10–20 g more water next time. - A slightly looser dough allows gases to expand more easily.
Be gentle during shaping
- Don’t squeeze out all the gas. Aim to organize, not deflate.
Microbiology angle: Under‑fermented dough hasn’t given LAB enough time to produce acids that strengthen gluten via ionic bonding to proteins. The result is weaker structure and poor oven spring.
Symptom 3: Overly Sour or Harsh Flavor
What You Taste
- Strong, sharp acidity that overwhelms wheat flavor
- Vinegary or biting sourness instead of mellow tang
What’s Going On Inside
Acidity in sourdough comes from LAB:
- Lactic acid: soft, yogurt‑like sourness
- Acetic acid: sharp, vinegar‑like sourness
Overly sour bread usually means:
- Long, warm ferments that favor acetic acid
- Very acid‑heavy starter carried into the dough
- Extended cold proof with already acidic dough
Fixes
Refresh your starter before baking
- Do 2–3 room‑temperature feedings at 1:3:3 before using in dough. - This resets the acid load.
Shorten cold proof
- Try 8–12 hours in the fridge instead of 16–24. - Taste and adjust.
Use slightly cooler bulk temps
- 22–24°C (72–75°F) instead of 26–28°C (79–82°F). - This tilts the balance toward lactic vs acetic acid.
Reduce whole grain percentage slightly
- If you’re using 70–100% whole grain, drop to 30–50%. - Whole grains ferment faster and can drive acidity higher.
Symptom 4: Flat, Spreading Loaves (Poor Shape, No Ears)
What You See
- Dough turns into a pancake when turned out
- Little oven spring
- Score barely opens; no pronounced “ear”
Under the Microscope
Flat loaves can be:
- Over‑proofed: Gluten network has been broken down by enzymes and acids. Gas escapes instead of lifting the dough.
- Under‑developed gluten: Not enough mixing/folding to build structure.
Fixes
Shorten fermentation
- Cut bulk by 30–45 minutes. - Consider a shorter or cooler cold proof.
Improve gluten development
- Add one or two more fold sessions during bulk. - Make sure your dough passes a basic windowpane test: stretch a small piece; it should stretch thin without tearing easily.
Shape with more tension
- Use your hands or a bench scraper to tighten the surface of the loaf as you shape. - You want a smooth, taut skin that encapsulates the gas.
Chill before scoring
- The cold proof helps firm the dough, making scoring cleaner and supporting structure in the oven.
Microbiology snippet: Over time, proteolytic enzymes (protein‑cutters) and high acidity will weaken gluten strands. There’s a sweet spot: enough acid to strengthen gluten and add flavor, but not so much or so long that it dissolves the network.
Symptom 5: Bland Loaves, Little or No Tang
What You Notice
- Bread looks fine but tastes flat
- Only faint sourness or wheat flavor
Microbial Behind‑the‑Scenes
Your yeast are doing their job (gas production), but LAB may be:
- Under‑represented in your starter
- Starved by very frequent or very large feedings
- Hampered by low fermentation temps and short times
Fixes
Allow longer fermentation
- Slightly extend bulk fermentation. - Use a 12–16 hour cold proof to let LAB work.
Feed starter slightly less often
- If you feed 3x/day at high ratios, scale back to 1–2x/day at 1:2:2 or 1:3:3, allowing mild acidity to build.
Encourage LAB with moderate warmth
- 24–26°C (75–79°F) helps LAB thrive.
Include some whole grain
- Even 10–20% whole wheat or rye can deepen flavor.
Symptom 6: Weird Smells, Colors, or Mold
What You See or Smell
- Pink, orange, or bright colored spots
- Fuzzy growth
- Strong rotten, putrid, or musty odors
Microbial Reality
You’ve got unwanted microbes—molds or bacteria that tolerate or temporarily outcompete your desired yeasts/LAB. Once visible mold appears, it’s not worth salvaging.
Fixes
If mold or bright color is present:
- Discard the starter completely. - Wash jar thoroughly with hot, soapy water and dry fully.
When restarting:
- Use very clean equipment. - Avoid touching inside the jar with your fingers. - Stick to predictable feeding and temps to favor LAB + yeast.
If no visible mold but odd smell:
- Sometimes, a neglected starter just has accumulated alcohol and acids. - Take a spoonful from the middle and feed 1:3:3 for a few days. - If smell improves and there’s healthy rise, you’re fine.
Symptom 7: Crust and Crumb Issues
Pale Crust
Causes:
- Under‑baking
- Low oven temp
- Low sugar due to very long fermentation (sugars fully consumed)
- Increase bake time by 5–10 minutes.
- Confirm true oven temp with a thermometer.
- Slightly shorten fermentation so more residual sugar remains to caramelize.
Fixes:
Thick, Tough Crust
Causes:
- Too little steam in the first 10–15 minutes
- Extended baking at high temp
- Bake in a Dutch oven with lid to trap steam.
- Or add a tray of boiling water and preheated stones for steam.
- Lower temp slightly after initial oven spring.
Fixes:
Huge Tunnels or Uneven Holes
Causes:
- Shaping trapped one or two large pockets of gas.
- Very strong top fermentation with weak lower structure.
- Degas a bit more evenly during shaping.
- Add another set of folds during bulk to redistribute gas.
Fixes:
Building a Simple Troubleshooting Habit
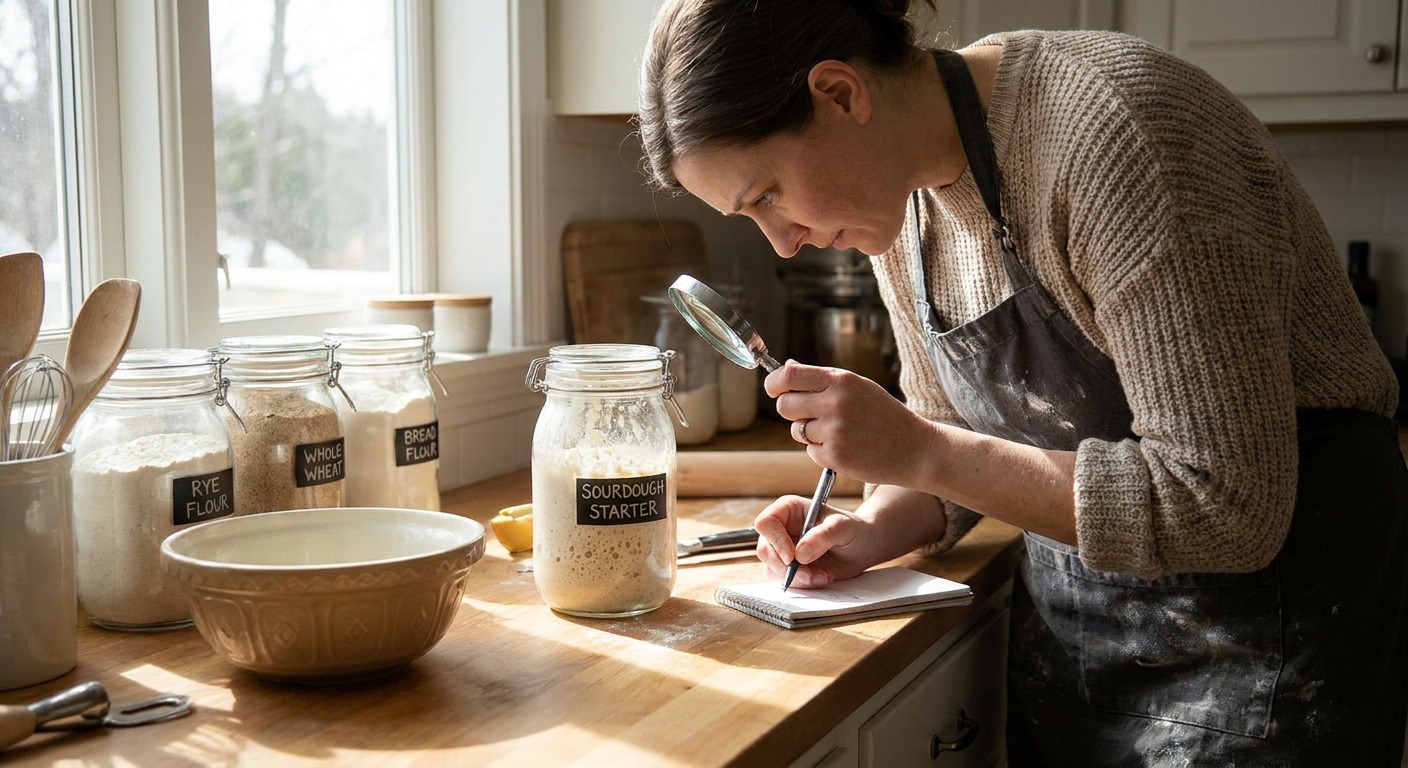
To become your own sourdough scientist, develop a small data habit:
Take notes every bake
- Starter feed ratio and time - Room temperature - Bulk length, proof length - Visual cues at each stage
Change only one variable at a time
- If you adjust both time and hydration, you won’t know which fix helped.
Use your senses deliberately
- Observe: How does the dough look, feel, and smell at each step? - Compare to the result. Over time, you’ll be able to predict the outcome from the dough’s behavior.
Remember: you’re managing a living system. Yeast and LAB are remarkably forgiving if you give them stable food, water, and warmth. With a calm, observational approach, every “failed” loaf turns into a useful experiment instead of a dead end.