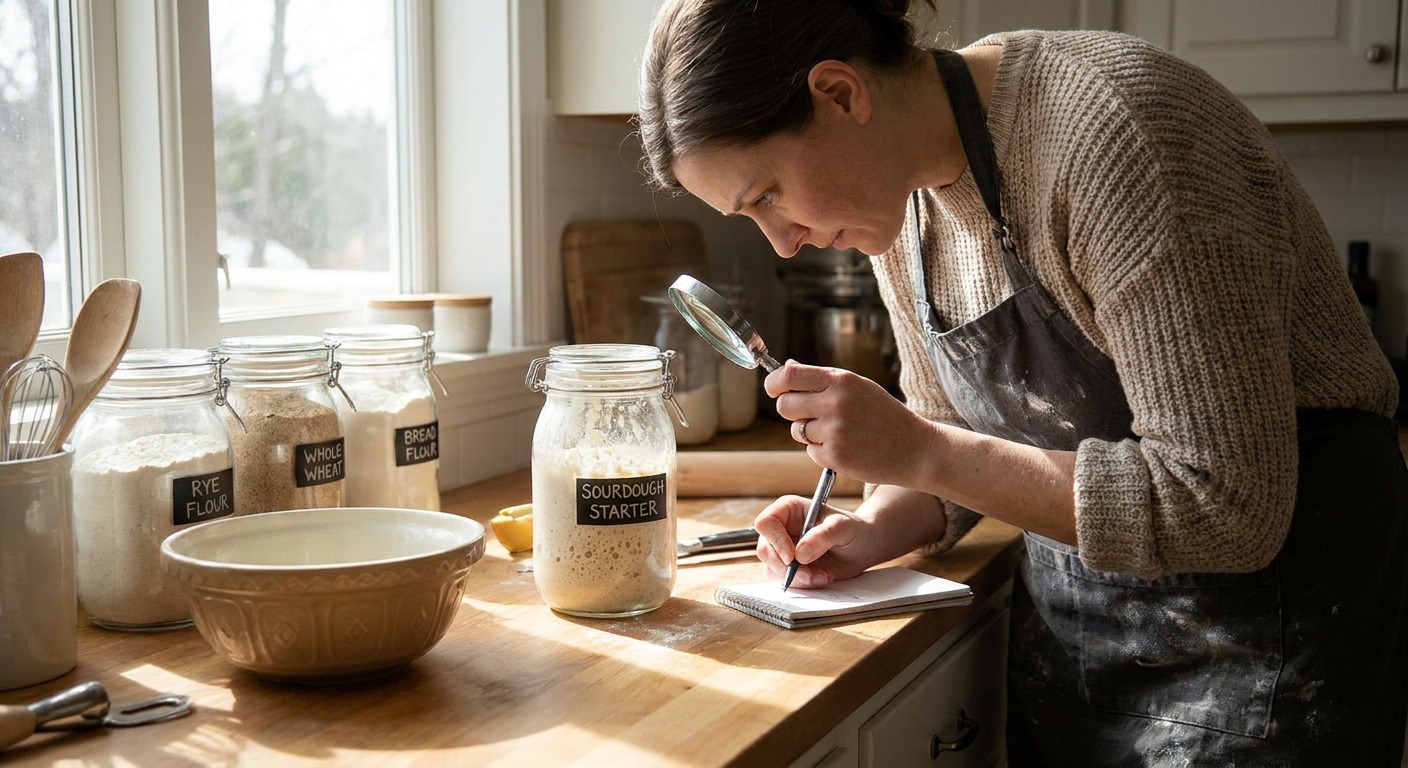
Sourdough starters feel mysterious until you realize they’re just a tiny, flour‑fed ecosystem. In this guide, we’ll walk slowly through each step of building, feeding, and troubleshooting a starter from scratch. We’ll measure in grams, not vibes, and we’ll talk about what the microbes are doing at every stage.
Introduction
If you’ve ever “killed” a starter, this is for you. You probably didn’t kill it; you just misread the signals.
What Is a Sourdough Starter, Really?
At its core, a starter is:
- Flour (carbohydrates, proteins, trace minerals)
- Water (a medium for life)
- Wild yeasts (mainly Saccharomyces species)
- Lactic acid bacteria (LAB) (mainly Lactobacillus and friends)
The Microbiology in Plain Language
- Wild yeast eat sugars in flour and burp out carbon dioxide (bubbles) and a little alcohol.
- LAB eat different sugars and produce lactic and acetic acids—this is your sour aroma and flavor.
- Over time, the starter environment gets acidic enough that unwanted microbes can’t compete, and a stable culture forms.
Your job is to give this community predictable food, water, and warmth so the “good guys” win.
Gear and Ingredients You Actually Need
Equipment
- 1 glass jar (at least 500 ml / 2 cups, wide‑mouthed)
- Kitchen scale (grams)
- Spoon or small spatula
- Rubber band or tape (to mark the level)
- Breathable cover (loose lid, coffee filter, or cloth)
- Unbleached wheat flour (all‑purpose or bread flour)
- Optional: 20–30% whole grain flour (rye or whole wheat) to speed things up
- Room‑temperature water (non‑chlorinated if possible)
Ingredients
Day‑by‑Day Starter Schedule (Days 1–7)
We’ll use a simple 1:1:1 ratio by weight (starter:water:flour) once the culture is active. Early on, we start with equal water and flour.
Day 1: Mix and Wait
Weigh and mix
- 50 g flour (or 35 g white + 15 g whole grain) - 50 g water Stir until no dry bits remain. The consistency should be like thick pancake batter.
- Mark the level with a rubber band or tape.
- Cover loosely and keep at 22–26°C (72–79°F) if possible.
- Do nothing for 24 hours.
What’s happening microbiologically?
At this stage, lots of microbes wake up—some we want, some we don’t. You may smell grass, flour, or nothing at all. That’s fine.
Day 2: Early Activity (or Stillness)
- Check for bubbles, a slight rise, or aroma (fruity, yeasty, or even cheesy).
- Mark the level again and rest at room temperature for 24 hours.
Add food regardless of how it looks:
- Add 50 g water and 50 g flour to the jar. Mix well.
Note: Early bubbles can be from gas‑producing bacteria that will disappear later. Don’t celebrate or panic yet.
Day 3: The “Is It Dying?” Phase
On Day 3, many people quit. Don’t.
Check your starter:
- It may be bubbly and then go quiet. - It might smell sour, cheesy, or even a touch like nail polish.
Discard and feed:
- Stir the starter. Remove all but 50 g (you can compost or trash the rest). - To the 50 g starter, add 50 g water + 50 g flour. - Mix, mark the level, and rest 24 hours.
What’s happening?
Earlier “party bacteria” are running out of steam. Acid‑tolerant yeasts and LAB are starting to take over, but they’re still building population. Smells can be weird. That’s normal.
Days 4–5: Establishing a Rhythm
By now, you should see something like this each 24 hours:
- Visible rise (even 25–50% is progress)
- Bubbles throughout, not just on top
- A tangy, fruity, or yogurty smell, sometimes lightly alcoholic
Daily Routine (1 Feeding/Day)
- Stir starter and discard down to 50 g.
- Add 50 g water + 50 g flour. Mix well.
- Mark level, cover loosely, and rest at room temperature.
If your kitchen is cool (below 20°C / 68°F), things may lag by a day or two.
Microbiology check‑in:
- LAB are producing more lactic acid (mild sour, yogurty) and some acetic acid (sharper, vinegar‑like).
- Yeasts are multiplying and starting to produce consistent gas.
Days 6–7: Readiness Test and Twice‑Daily Feeding
When your starter can double in volume within 6–8 hours at room temperature after a feeding, it’s ready to bake with.
If it’s close but not quite there:
- Switch to twice‑daily feedings (~12 hours apart).
Twice‑Daily Routine
- Every 12 hours, discard to 30–40 g starter.
Feed 1:1:1 by weight:
- 30–40 g starter - 30–40 g water - 30–40 g flour 3. Note how long it takes to peak (maximum rise) after feeding.
When it can double in 6–8 hours consistently for 2–3 feedings in a row, it’s mature enough to bake with.
How to Know Your Starter Is Healthy
Use this simple checklist:
- Rise: Doubles in 6–8 hours at room temperature after feeding
- Smell: Pleasantly tangy, fruity, or like mild yogurt/yeast; not like rotting garbage
- Texture: Bubbly, airy, and slightly elastic when stirred
- Color: Pale cream to light beige with no brightly colored spots (pink, orange, green)
If you pass these checks, you can bake.
Common Problems and Patient Fixes
1. “My Starter Won’t Rise”
Likely causes:
- Temperature too low
- Infrequent feedings
- Flour with very low nutrients
- Move to a warmer spot: aim for 24–26°C (75–79°F) if you can.
- Feed twice daily for several days.
- Switch 20–30% of your flour to rye or whole wheat.
Fixes:
2. “It Smells Terrible”
Early on, funky smells (cheese, socks, even faint nail polish) are common.
If it improves over days: That’s normal. Acids are pushing out the early bacteria.
If it smells like rot or decay and has colored mold:
- Discard everything. Start again with very clean equipment.
3. “There’s Liquid on Top (Hooch)”
That grayish liquid is alcohol (yeast byproduct).
What it means: The starter is hungry.
Fix:
- Stir the liquid back in or pour it off.
- Feed more frequently or increase the amount of flour and water at each feeding.
4. “I Forgot to Feed It for a Few Days”
If there’s no visible mold and no rotten smell:
- Scrape off any dark, dry crust.
- Take a spoonful from the cleanest part underneath.
- Feed with fresh flour and water (1:1:1 by weight).
- Repeat twice daily until it’s rising strongly again.
You’d be surprised how resilient the microbes are.
When and How to Store in the Fridge
Once your starter is strong and you’re not baking daily, you can refrigerate.
- Feed your starter and let it rise at room temp until it’s just starting to peak.
- Cover and place in the fridge.
- Maintenance: Take it out once a week, let it warm up, discard and feed once or twice, then return to the fridge.
Before baking after a long rest:
- Plan on 2–3 room‑temperature feedings to fully wake it up.
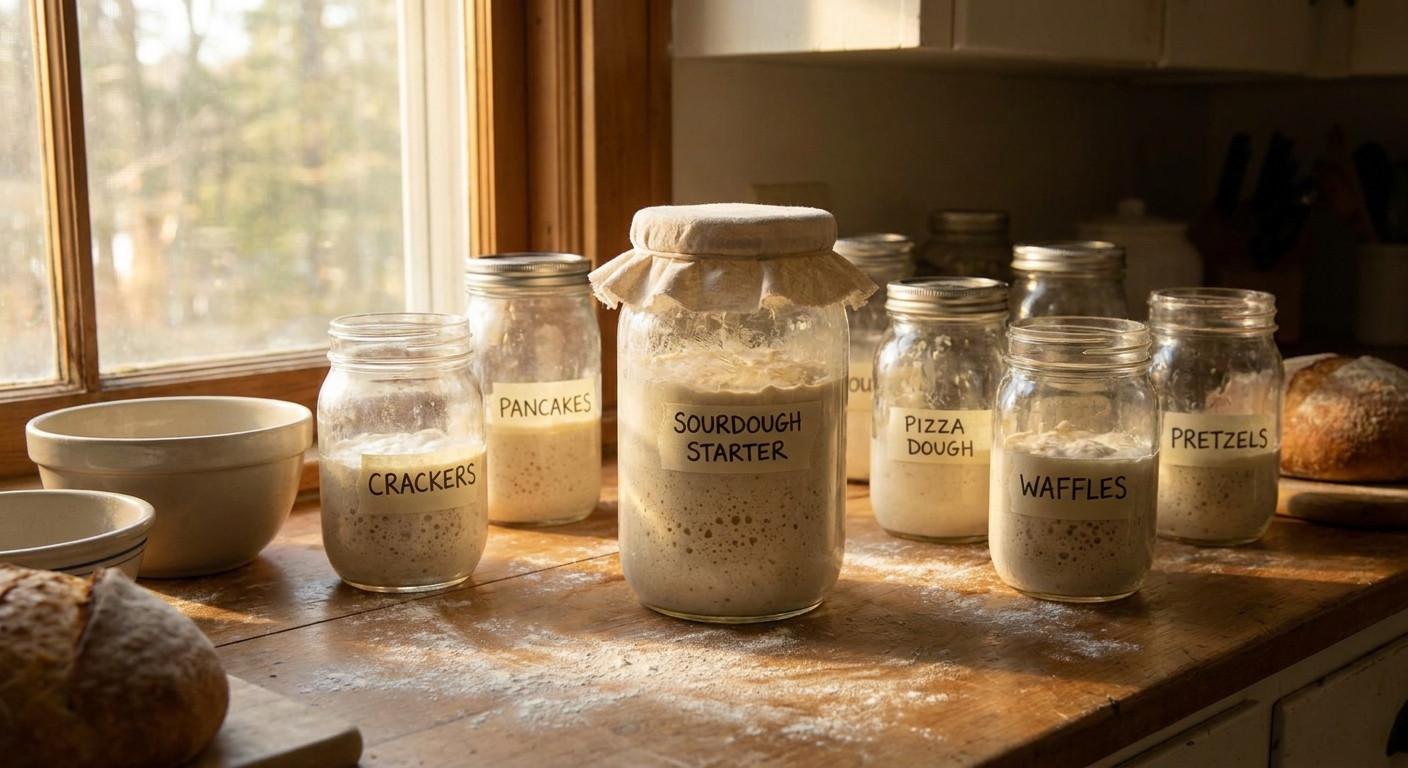
Flour Choices and Their Microbial Effects
- White flour: Mild flavor, steady performance.
- Whole wheat: Faster fermentation, more nutrients; can be more sour.
- Rye: Extremely fermentation‑friendly—lots of sugars and enzymes. Great as a booster flour.
Using 10–30% rye or whole wheat in your feedings can:
- Speed up fermentation
- Encourage robust LAB populations
- Add complexity to aroma and flavor
Final Notes: Your Starter Is a Relationship, Not a Recipe
Your kitchen has its own climate and local microbes, so exact timings will vary. Treat the schedule above as a map, not a law.
Watch for:
- How quickly your starter rises and falls after feeding
- How the aroma changes as it matures
- How temperature and flour choices affect speed and sourness
With a scale, a bit of patience, and an eye on the bubbles, you’ll end up with a hardy starter that’s hard to kill and ready to fuel years of bread.