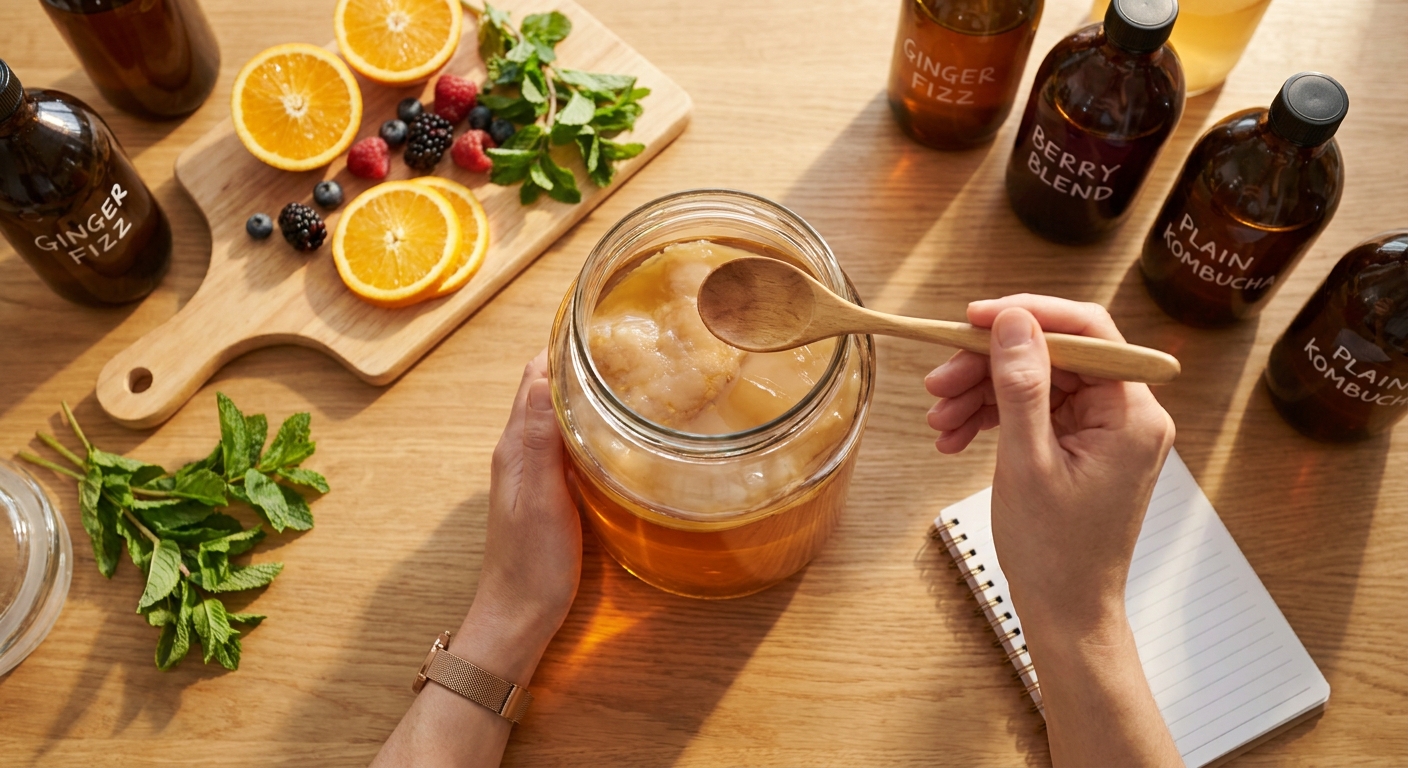
Plain kombucha is a great baseline: tart, tea-forward, a little funky. Flavoring transforms it into something you’ll reach for daily—and it’s also where your second fermentation (F2) can really shine.
Why Flavoring Matters
We’ll walk through 12 proven flavor ideas, exact amounts, and realistic timing so you get fizz and flavor without bottle bombs.
Quick Refresher: First vs Second Ferment
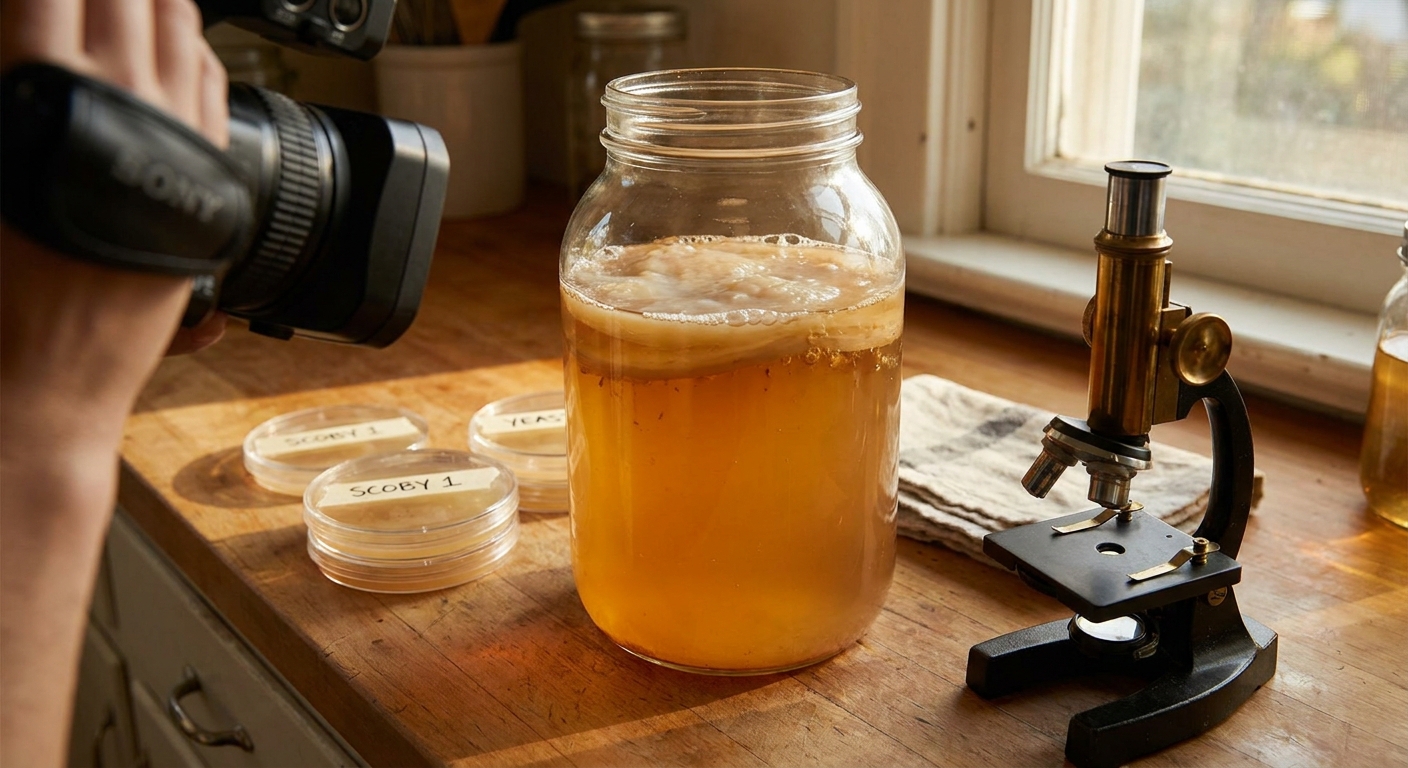
- First Ferment (F1):
Sweet tea + SCOBY + starter tea in an open jar. Main goal: develop acidity and base flavor.
- Second Ferment (F2):
Strained kombucha + sugar source (fruit, juice, etc.) in sealed bottles. Main goal: carbonation and layered flavors.
Starting point for all recipes below:
- Kombucha just finished F1
- Taste: slightly sweet, pleasantly tart (usually 6–10 days at 21–24°C / 70–75°F)
How Much Fruit or Juice Should You Use?
For a 500 ml (16 oz) bottle of kombucha:
- Fresh fruit:
40–80 g (about ¼–½ cup chopped)
- Fruit juice:
2–4 tbsp (30–60 ml)
- Sugar or honey:
1–2 tsp (5–10 ml)
These ranges give yeasts enough sugar to create good fizz without extreme pressure—assuming typical room temp and a few days’ fermentation.
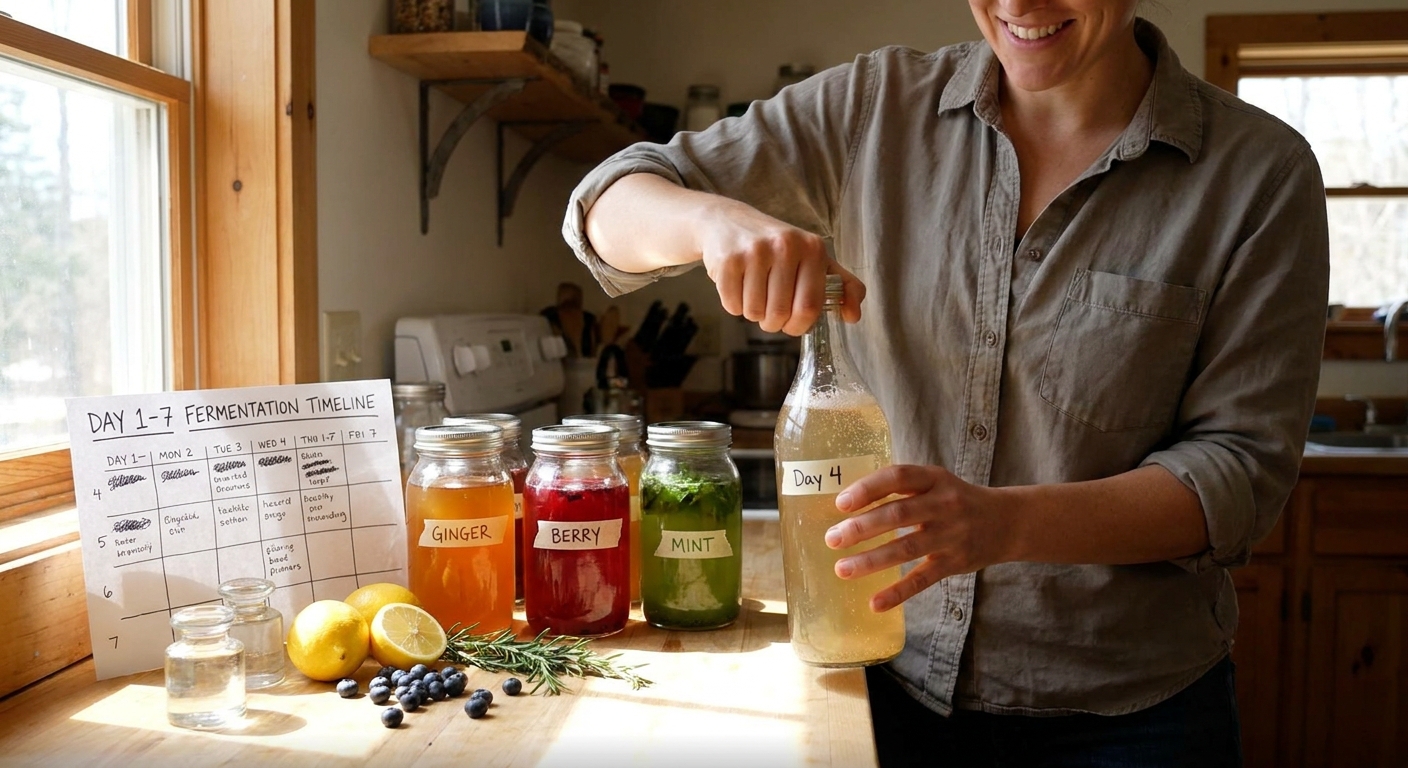
General Second Ferment Timing Guide
At around 22–24°C / 72–75°F:
- Light fizz: 1–2 days
- Moderate fizz: 2–4 days
- Very fizzy: 3–5 days (burp bottles daily)
Colder rooms will need more time; warmer rooms, less.
Flavor 1: Classic Ginger Fizz
Profile: Spicy, bright, warming. Great digestion tonic.
Per 500 ml bottle:
- 1–2 tbsp freshly grated or finely sliced ginger
- Optional: 1–2 tsp sugar or honey
Steps:
- Add ginger (and sweetener if using) to bottle.
- Fill with kombucha, leaving ~2–3 cm (1 inch) headspace.
- Seal and leave at room temp.
Timeline:
- Day 2: Light fizz, mild ginger
- Day 3–4: Stronger ginger and carbonation
Tip: Ginger ferments vigorously. In warm temperatures, burp bottles daily to release pressure.
Flavor 2: Lemon Lavender Cooler
Profile: Floral, citrusy, refreshing.
Per 500 ml bottle:
- 2–3 tbsp fresh lemon juice
- ½–1 tsp dried culinary lavender (or 1–2 tsp fresh)
- 1–2 tsp sugar if you like it sweeter
Steps:
- Lavender into bottle first (in a tea bag/infuser if you prefer less sediment).
- Add lemon juice and optional sugar.
- Fill with kombucha, seal.
Timeline:
- Day 1–2: Gentle fizz, delicate lavender
- Day 3: Stronger floral note; chill to slow extraction if it’s getting perfumey
Tip: Over-long F2 can make lavender taste soapy. Taste daily.
Flavor 3: Strawberry Mint Spritz
Profile: Juicy, lightly herbal, very drinkable.
Per 500 ml bottle:
- 3–4 medium strawberries, chopped (about ¼–⅓ cup)
- 3–6 fresh mint leaves, lightly bruised
Steps:
- Add strawberries and mint to bottle.
- Fill with kombucha, seal.
Timeline:
- Day 2: Pink color begins, fruity aroma
- Day 3–4: Robust strawberry flavor, noticeable fizz
Tip: Mint can oxidize and brown; that’s cosmetic. Strain before drinking if you prefer.
Flavor 4: Mango Chili Lift
Profile: Tropical with a gentle (or bold) kick.
Per 500 ml bottle:
- ¼ cup ripe mango, chopped (fresh or thawed from frozen)
- 1 thin slice of fresh chili (jalapeño or similar), seeds removed for mild heat
Steps:
- Add mango and chili.
- Fill with kombucha, seal.
Timeline:
- Day 2: Mild mango, slight heat
- Day 3–4: Intense tropical nose, more chili warmth
Tip: For safety in glass, keep F2 shorter (2–3 days) if using very ripe, sugary mango.
Flavor 5: Apple Spice Fall Brew
Profile: Cider-like, cozy, dessert-adjacent.
Per 500 ml bottle:
- ¼–⅓ cup diced apple (firm, sweet-tart)
- 1 small cinnamon stick piece (2–3 cm / 1 inch)
- Optional: small pinch of grated nutmeg or clove
Steps:
- Add apple and spices.
- Fill with kombucha, seal.
Timeline:
- Day 2: Light apple aroma, gentle spice
- Day 3–5: Pronounced cider character, moderate fizz
Tip: Cinnamon extracts more slowly—taste daily to avoid overpowering clove/nutmeg.
Flavor 6: Blueberry Basil Twist
Profile: Deep berry with a savory-herbal edge.
Per 500 ml bottle:
- ¼ cup fresh or frozen blueberries
- 2–3 small basil leaves
Steps:
- Lightly crush blueberries to expose juice.
- Add basil leaves.
- Fill with kombucha, seal.
Timeline:
- Day 2: Rich color, early fizz
- Day 3–4: Fuller berry flavor, basil more pronounced
Tip: Too much basil can dominate. Start small; you can add more in the glass later.
Flavor 7: Pineapple Coconut “Faux Colada”
Profile: Tropical, dessert-like, best served cold.
Per 500 ml bottle:
- 3–4 tbsp pineapple juice (or ¼ cup chopped pineapple)
- 1–2 tbsp coconut water (or a few drops natural coconut extract)
Steps:
- Add pineapple and coconut components.
- Fill with kombucha, seal.
Timeline:
- Day 1–2: Lightly fizzy, bright pineapple
- Day 3: Stronger pineapple, gentle coconut note
Tip: Avoid canned coconut milk in the bottle—fat can interfere with carbonation and cleaning.
Flavor 8: Hibiscus Lime Punch
Profile: Tart, bright red, very refreshing.
Per 500 ml bottle:
- 1–2 tsp dried hibiscus petals (in a tea bag/infuser is handy)
- 2–3 tbsp lime juice
- 1–2 tsp sugar if needed
Steps:
- Add hibiscus and lime juice.
- Fill with kombucha, seal.
Timeline:
- Day 1: Intense color already, light tartness boost
- Day 2–3: Strongly tangy, good carbonation
Tip: Hibiscus is naturally tart—start with a slightly sweeter F1 base so it doesn’t turn too sharp.
Flavor 9: Raspberry Rose Glow
Profile: Berry-forward with a delicate floral top note.
Per 500 ml bottle:
- ¼ cup raspberries (fresh or frozen)
- ¼–½ tsp food-grade rose water (start small!)
Steps:
- Add raspberries, lightly crush with a clean utensil.
- Add rose water.
- Fill with kombucha, seal.
Timeline:
- Day 2: Strong raspberry, subtle rose
- Day 3–4: Fully carbonated; monitor rose intensity
Tip: Too much rose gets perfumey. You can always add a drop more in the glass if needed.
Flavor 10: Grapefruit Hop Tonic (Kombucha “Radler”)
Profile: Citrusy, slightly bitter, reminiscent of a light beer shandy.
Per 500 ml bottle:
- 4 tbsp fresh grapefruit juice
- 3–6 hop pellets or ½–1 tsp loose hops (in a tea bag)
Steps:
- Place hops in a fine mesh bag or tea infuser.
- Add grapefruit juice.
- Fill with kombucha, seal.
Timeline:
- Day 1–2: Citrus-forward with gentle bitterness
- Day 3: More hop aroma; bitterness intensifies
Tip: Hops are antimicrobial in high amounts; keep modest quantities and don’t use as your only flavoring long-term.
Flavor 11: Carrot Ginger Turmeric Tonic
Profile: Earthy, spicy, wellness-bar style.
Per 500 ml bottle:
- 3 tbsp carrot juice
- 1 tbsp ginger juice or 1 tbsp grated ginger
- ½–1 tsp turmeric juice or ½ tsp grated turmeric
Steps:
- Add all juices/roots.
- Fill with kombucha, seal.
Timeline:
- Day 1–2: Lightly tangy, earthy
- Day 3–4: Strong spice, visible sediment
Tip: Turmeric stains. Use bottles and utensils you don’t mind turning yellow.
Flavor 12: Vanilla Chai Nightcap
Profile: Dessert-like, creamy-scented (though still non-dairy).
Per 500 ml bottle:
- ¼ tsp vanilla extract
- 1–2 tsp sugar or a splash of simple syrup
- Small piece of cinnamon stick + 1–2 cardamom pods, lightly crushed
Steps:
- Add spices, vanilla, and sugar.
- Fill with kombucha, seal.
Timeline:
- Day 2: Gentle chai vibe, light fizz
- Day 3–4: Fuller spice character
Tip: This is great with a slightly less sour F1 so it feels round and soft.
Safety and Consistency Tips for F2
1. Use the Same Bottle Size Whenever Possible
Consistency makes life easier. If you always use 500 ml bottles:
- The same fruit amounts will behave similarly batch to batch.
- You’ll quickly learn whether your room needs 2 or 4 days for ideal bubbles.
2. Temperature Awareness
- Summer: F2 may need just 1–2 days before chilling.
- Winter: Expect 3–5 days.
Adjust time, not ingredient amounts, first.
3. Watch for Pressure
Signs bottles are very carbonated:
- Rock-hard sides (for plastic) or very firm feeling glass
- Hissing when you gently press the cap
- Chill bottles before opening.
- Cover the cap with a towel and open slowly over a sink.
When in doubt:
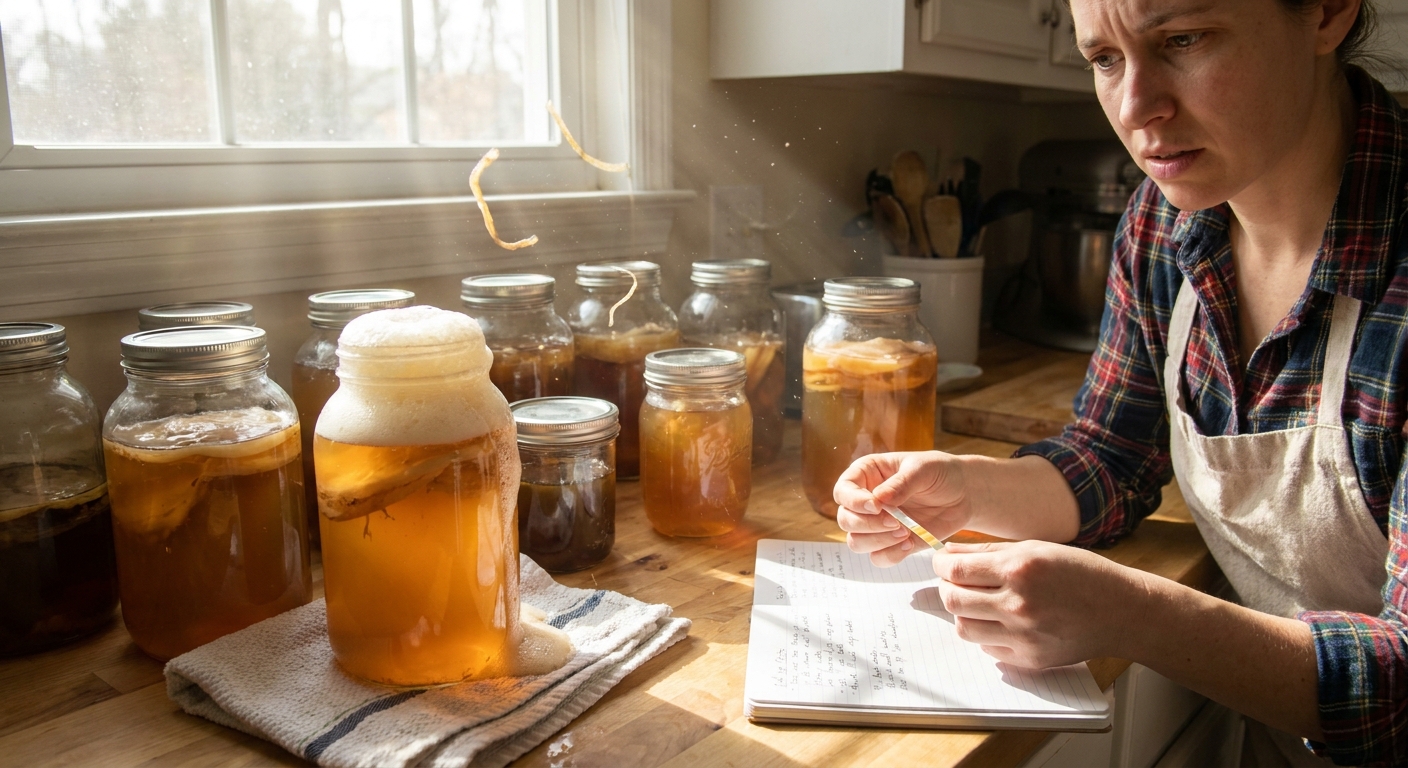
4. Keep a Simple Flavor Log
For each batch, jot down:
- Base kombucha sweetness at bottling (1–10 scale)
- Flavor combo and exact amounts
- Days at room temp for F2
- Final fizz rating (1–10)
In a few cycles, you’ll have your own custom reference: “Ginger in summer? Only 2 days. Apple spice in winter? Needs 4.”
Bringing Flavor and Fermentation Together
Flavors aren’t just about taste—they’re fuel for yeast in that second ferment. More sugar means:
- More CO₂
- More pressure
- More need for watchfulness
Start with these proven ratios and timelines, taste often, and adjust patiently. Within a handful of batches, you’ll know instinctively when a raspberry-basil bottle needs one more day or when that mango-chili is ready now.
You’re not just copying recipes—you’re learning to read the bubbles, the bottles, and the subtle changes in smell. That’s how flavoring becomes a craft, not a guess.