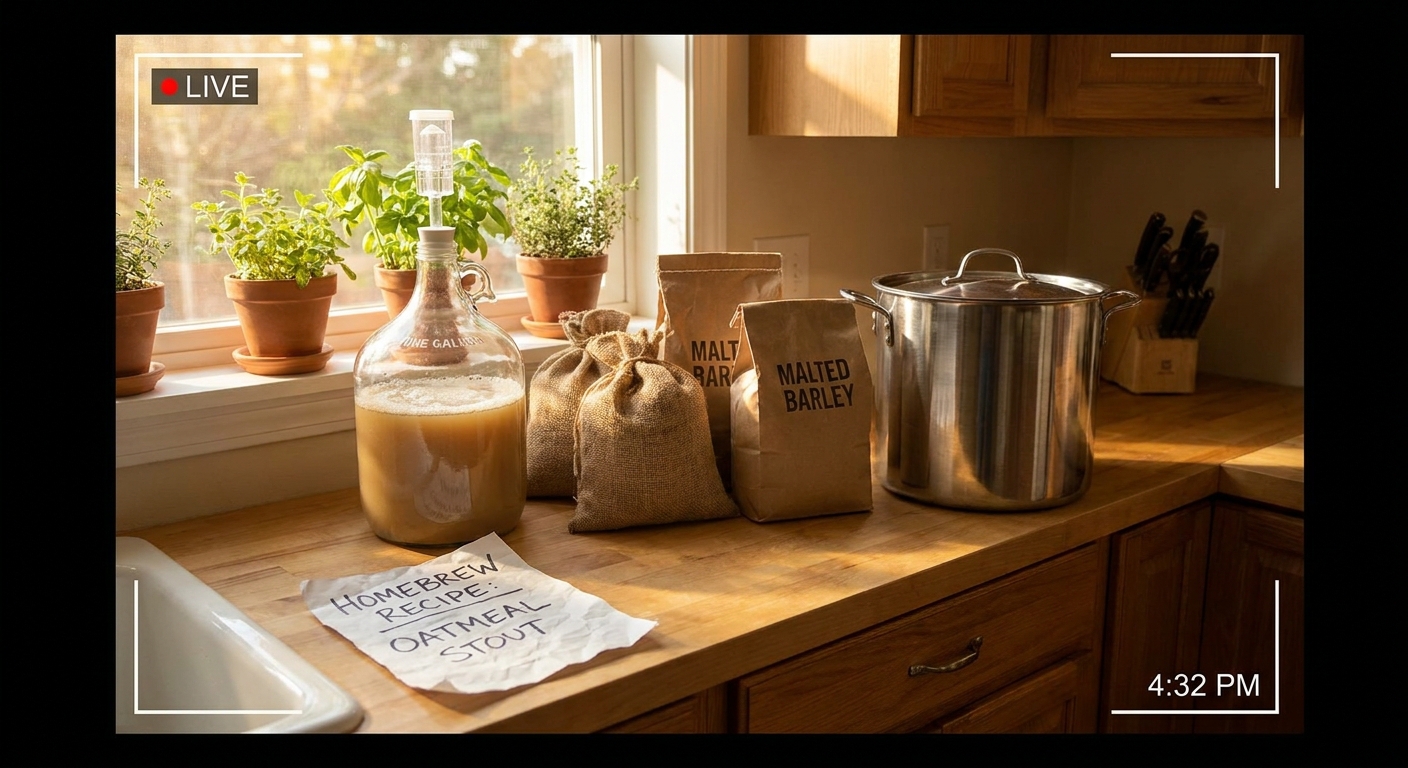
Following recipes teaches technique. Designing your own turns brewing into true kitchen craft. You don’t need a degree in biochemistry—just a structured way to think about ingredients, flavor, and the microbes doing the work.
You’re Ready to Go Off-Recipe
This blueprint walks through designing a simple, reliable ale recipe from scratch, with clear decision points, timing, and a peek into the microbiology behind each choice.
Step 1: Define the Beer’s Job
Before picking grains or hops, answer three practical questions:
When will this beer be served?
- Hot weather? You may want something dry, crisp, and refreshing. - Cold evenings? Maybe richer and malt-forward.
Who is drinking it?
- Hop lovers, lager fans, or mixed company?
How strong should it be?
- Everyday sipper (~4–5% ABV) - Weekend treat (~6–7%) - Special occasion sipper (8%+)
For this walkthrough, let’s design: a 5-gallon (19 L) easy-drinking pale ale around 5% ABV, balanced but with noticeable hop aroma.
Step 2: Choose the Yeast First
Yeast determine a huge portion of flavor, so pick them before you build the grain bill.
For our pale ale, we want a clean, versatile workhorse:
- Example dry yeasts: Safale US-05, Nottingham
- Example liquid yeasts: Wyeast 1056, White Labs WLP001
Microbiology Moment: Yeast and Flavor
These strains are neutral top-fermenting Saccharomyces cerevisiae. At typical ale temperatures (18–21°C / 65–70°F), they:
- Produce relatively low ester levels (light fruitiness).
- Clean up diacetyl and acetaldehyde efficiently if given time.
- Attenuate well (eat a good proportion of available sugars), giving a balanced dryness.
Lock in the yeast, and its temperature range becomes one of your main design constraints.
Step 3: Target Gravity and Bitterness
Original Gravity (OG) and ABV
For ~5% ABV, a good starting OG is about 1.048–1.052.
Rule of thumb:
ABV ≈ (OG − FG) × 131
If we aim for OG 1.050 and FG 1.010:
(1.050 − 1.010) × 131 ≈ 5.2% ABV
Bitterness (IBU)
For a balanced pale ale:
- Target 25–35 IBU.
A simple center target: 30 IBU.
We’ll calculate exact IBU later using a hop schedule, but having this range helps guide hop choices.
Step 4: Build the Grain Bill
We’re designing an all-grain recipe, but you can convert later to extract.
A. Base Malt (70–95%)
For a pale ale:
- 2-row pale malt (domestic or Maris Otter) makes a great base.
Let’s choose 90% base malt for a clean, versatile canvas.
B. Specialty Malts (5–10%)
We want mild caramel sweetness and a little color, nothing heavy.
- Crystal 40 (medium caramel) for light toasty sweetness.
- Maybe a touch of Vienna or Munich for malt complexity.
C. Actual Numbers
Let’s aim for a 5-gallon batch with OG ~1.050.
A rough approximation: about 9–10 lb (4–4.5 kg) total grain for a homebrew efficiency around 70–75%.
Example grain bill:
- 4.0 kg (8.8 lb) 2-row pale malt (~88–90%)
- 0.25 kg (0.55 lb) crystal 40 (~5.5%)
- 0.25 kg (0.55 lb) Munich or Vienna (~5.5%)
This combination:
- Provides a pale-amber color.
- Adds gentle caramel and bready depth without becoming heavy.
Mash Plan
- Mash temp: 66–67°C (151–153°F) for 60 minutes.
- Effect: Balanced fermentability—neither too dry nor too sweet.
Microbiologically, this favors both alpha- and beta-amylase, producing a mix of simple and complex sugars so yeast can ferment well but leave some body.
Step 5: Structure the Hop Schedule
We want noticeable hop aroma, moderate bitterness, and pleasant flavor.
Choose a Hop Profile
For a classic pale ale:
- Citrus-forward American hops (Cascade, Centennial, Amarillo, Citra).
- Or more floral/earthy English hops.
Let’s pick Cascade for simplicity.
Allocate Bitterness vs. Flavor vs. Aroma
- 60-minute addition: Provides bulk of bitterness.
- 15–10 minute addition: Adds flavor.
- 5–0 minute addition (or whirlpool): Boosts aroma.
- Dry hop (optional): Intense aroma and freshness.
Example Hop Schedule (Cascade, 5.5–6.0% AA)
For about 30 IBU total (approximate values):
- 14 g (0.5 oz) @ 60 minutes (~18–20 IBU)
- 14 g (0.5 oz) @ 15 minutes (~6–7 IBU)
- 28 g (1 oz) @ 5 minutes (~3–5 IBU)
- Optional: 28 g (1 oz) dry hop for 3–5 days post-primary
You can refine exact IBUs with a brewing calculator, but this structure keeps bitterness smooth and aroma lively.
Step 6: Plan the Fermentation Schedule
With yeast and wort profile decided, outline fermentation step by step.
Timeline for This Pale Ale
Day 0: Brew Day
- Oxygenate wort (vigorous shaking, splashing pre-pitch). - Pitch one fresh pack of US-05 at ~18–20°C (64–68°F).
Days 1–3: Active Fermentation
- Maintain 18–20°C (64–68°F). - Expect vigorous activity and thick krausen.
Days 4–7: Slowing Phase
- Yeast shifting to slower sugar consumption and cleanup. - Keep temperature steady or allow a gentle rise to ~20–21°C (68–70°F) to encourage full attenuation.
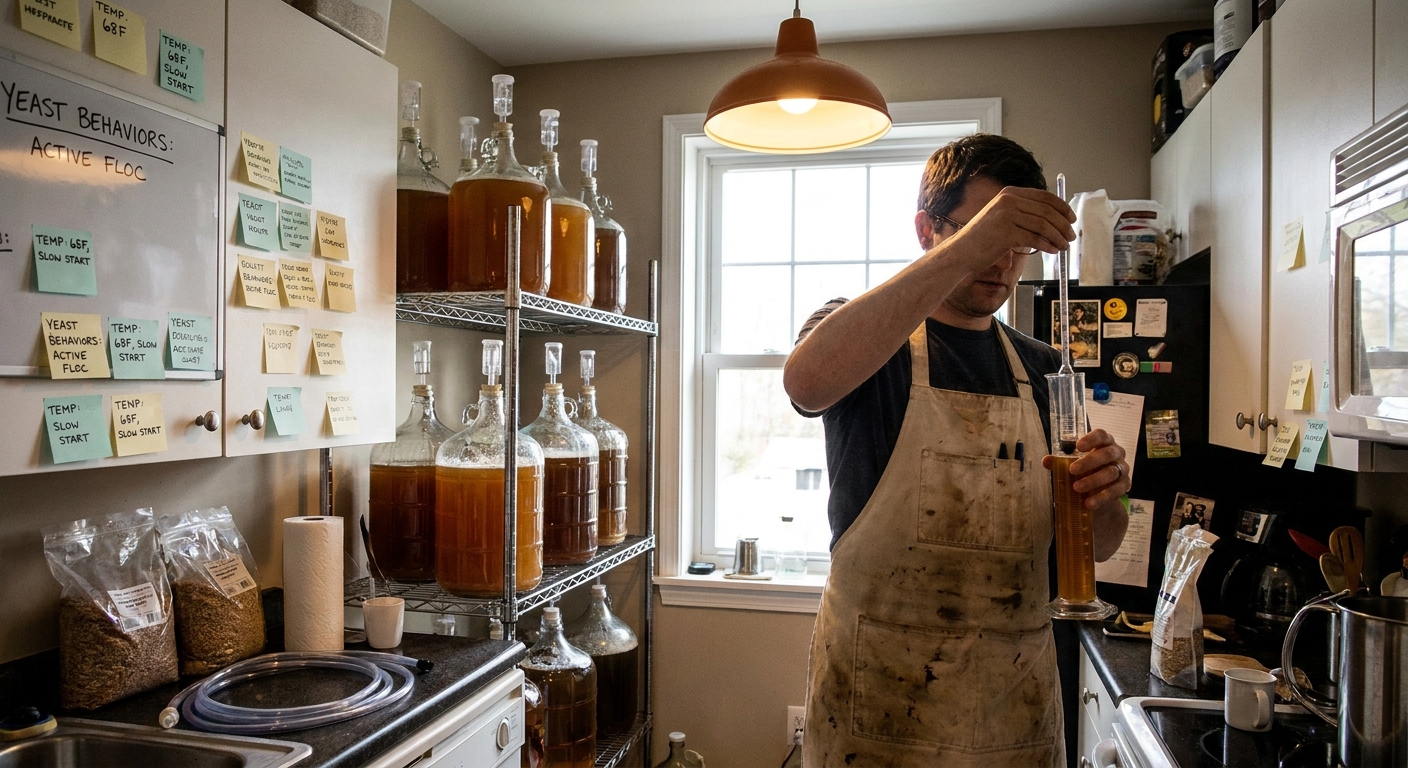
Day 7–10: Check Gravity and Flavor
- Take gravity readings on Day 7 and Day 9; if stable and near 1.010, fermentation is done. - Taste for off-flavors (butter, green apple). If present, give it a few more days warm.
Optional Dry Hop: Days 10–14
- Add 28 g (1 oz) Cascade to the fermenter (sanitized bag/weight if desired). - Steep 3–5 days at fermentation temperature.
Day 14–21: Package and Condition
- Bottle with ~120 g (4.2 oz) table sugar for 5 gallons (adjust for your preferred carbonation level via a calculator). - Condition at room temperature for ~2 weeks, then chill and enjoy.
Microbiology Moment: Why This Schedule Works
- The early stable temp favors clean fermentation and moderate ester production.
- The slight temp rise encourages yeast to finish harder-to-ferment sugars and clean up intermediates (diacetyl, acetaldehyde).
- The dry hop timing avoids intense fermentation that would scrub away delicate hop aromatics.
Step 7: Convert to Extract (If Needed)
If you brew with malt extract, keep the hop and yeast schedule almost identical. Just rewrite the grain bill.
Extract Version of Our Pale Ale
Replace base malt with light DME or LME:
- About 3.0–3.3 kg (6.6–7.3 lb) light liquid malt extract, or
- About 2.6–2.8 kg (5.7–6.2 lb) dry malt extract.
Keep the specialty malts:
- 0.25 kg (0.55 lb) crystal 40 (steeped)
- 0.25 kg (0.55 lb) Munich or Vienna (steeped)
Steeping Method:
- Heat ~6–8 L (1.5–2 gal) water to 68–71°C (155–160°F).
- Steep crushed specialty grains for 20–30 minutes in a bag.
- Remove bag, then add extract off heat and stir thoroughly.
- Top up water and proceed with the boil and hops.
The fermenter and yeast don’t mind how you made the wort—they just need clean, oxygenated, sugar-rich liquid.
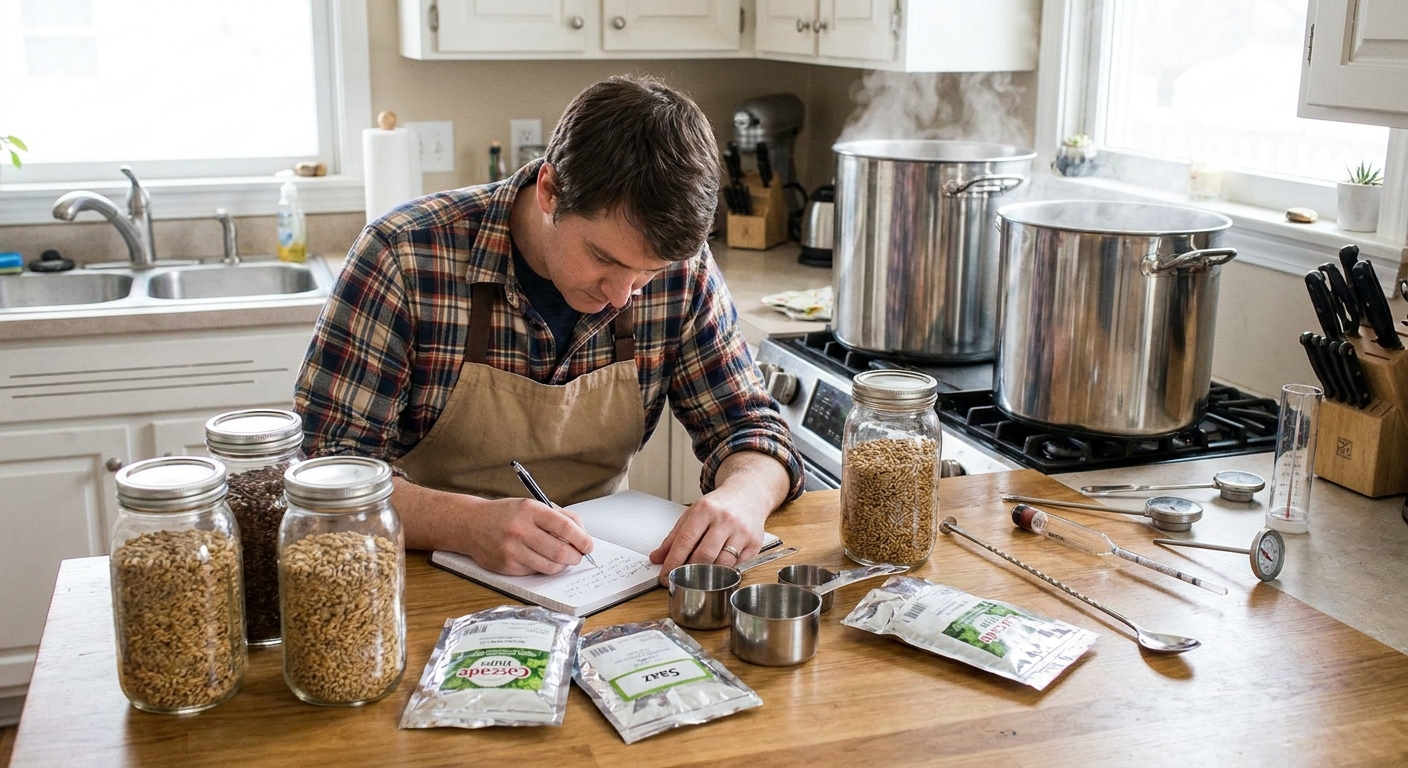
Step 8: Build a Simple Tasting and Note-Taking Habit
Designing recipes is iterative. After your beer is ready, run through a short, consistent checklist:
- Appearance: Color, clarity, head, and retention.
- Aroma: Malt, hops, yeast character, any off-notes.
- Flavor: Balance between malt sweetness and bitterness, finish dryness.
- Mouthfeel: Body, carbonation, creaminess or thinness.
Overall: What would you change next time?
Write down:
- Mash temp (or steeping details).
- Actual OG and FG.
- Yeast strain and fermentation temps.
- Hop varieties, amounts, and timings.
One small tweak per batch (mash temp, a hop addition, or a yeast change) will teach you more than wild reinvention every time.
Example Recipe Blueprint: Cascade Kitchen Pale Ale
Putting it all together, here’s the full recipe in summary form.
Batch Size: 19 L (5 gal)
Style Goal: Balanced, aromatic American Pale Ale ~5% ABV
Grain Bill (All-Grain):
- 4.0 kg (8.8 lb) 2-row pale malt
- 0.25 kg (0.55 lb) crystal 40
- 0.25 kg (0.55 lb) Munich or Vienna
Mash:
- 66–67°C (151–153°F) for 60 minutes; batch or fly sparge as usual.
Hops (Cascade ~5.5–6.0% AA):
- 14 g (0.5 oz) @ 60 min
- 14 g (0.5 oz) @ 15 min
- 28 g (1 oz) @ 5 min
- Optional: 28 g (1 oz) dry hop (3–5 days)
Yeast:
- US-05 or equivalent American ale strain; pitch 1 properly rehydrated packet.
Fermentation:
- 18–20°C (64–68°F) for first 3–4 days.
- Allow to rise to 20–21°C (68–70°F) for another 3–5 days.
- Optional dry hop Days 10–14.
- Package once FG stable around 1.010.
Conditioning:
- 2 weeks at room temp in bottles, then chill and taste.
Your Next Step: One Small Customization
Now, repeat the steps but change a single variable to design your own version:
- Swap Cascade for another hop (Citra, Amarillo, or an English variety).
- Change mash temp by 1–2°C (2–3°F) to see effect on body.
- Try a different yeast (English vs American) and compare fermentation character.
By walking through this blueprint slowly and curiously, you’ll build recipes that match your tastes and respect the yeast’s needs. That’s the sweet spot where both science and flavor thrive.