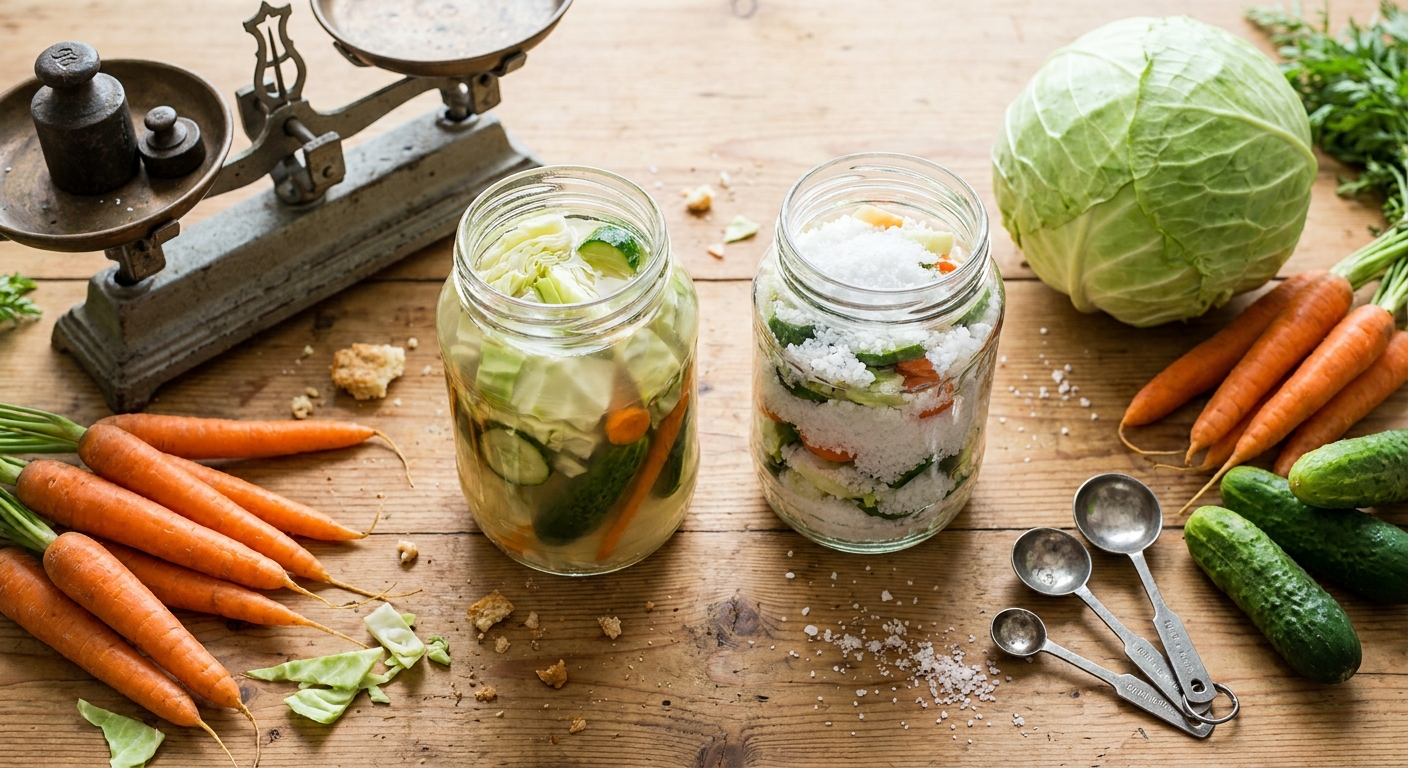
Most vegetable ferments fall into one of two methods:
Two Roads to Tangy Veggies
- Dry salting – Sprinkle salt directly on vegetables, massage, and let them make their own brine.
- Brining – Make a salty water solution and pour it over vegetables.
Both methods rely on the same microbiology—lactic acid bacteria thriving in salty, low‑oxygen conditions. But each suits different vegetables and textures.
This guide compares the methods, shows when to use which, and walks through step‑by‑step examples so you can confidently match technique to your produce.
Method 1: Dry Salting (a.k.a. Self‑Brining)
Best For
- Cabbage (sauerkraut, kimchi base)
- Thinly sliced root vegetables (carrots, beets, turnips)
- Shredded slaws and mixed veggie blends
How It Works
Salt draws water out of cut vegetables via osmosis. You create a concentrated, vegetable‑derived brine. This:
- Pulls sugars into the liquid, feeding lactic acid bacteria.
- Quickly lowers water activity, limiting spoilage microbes.
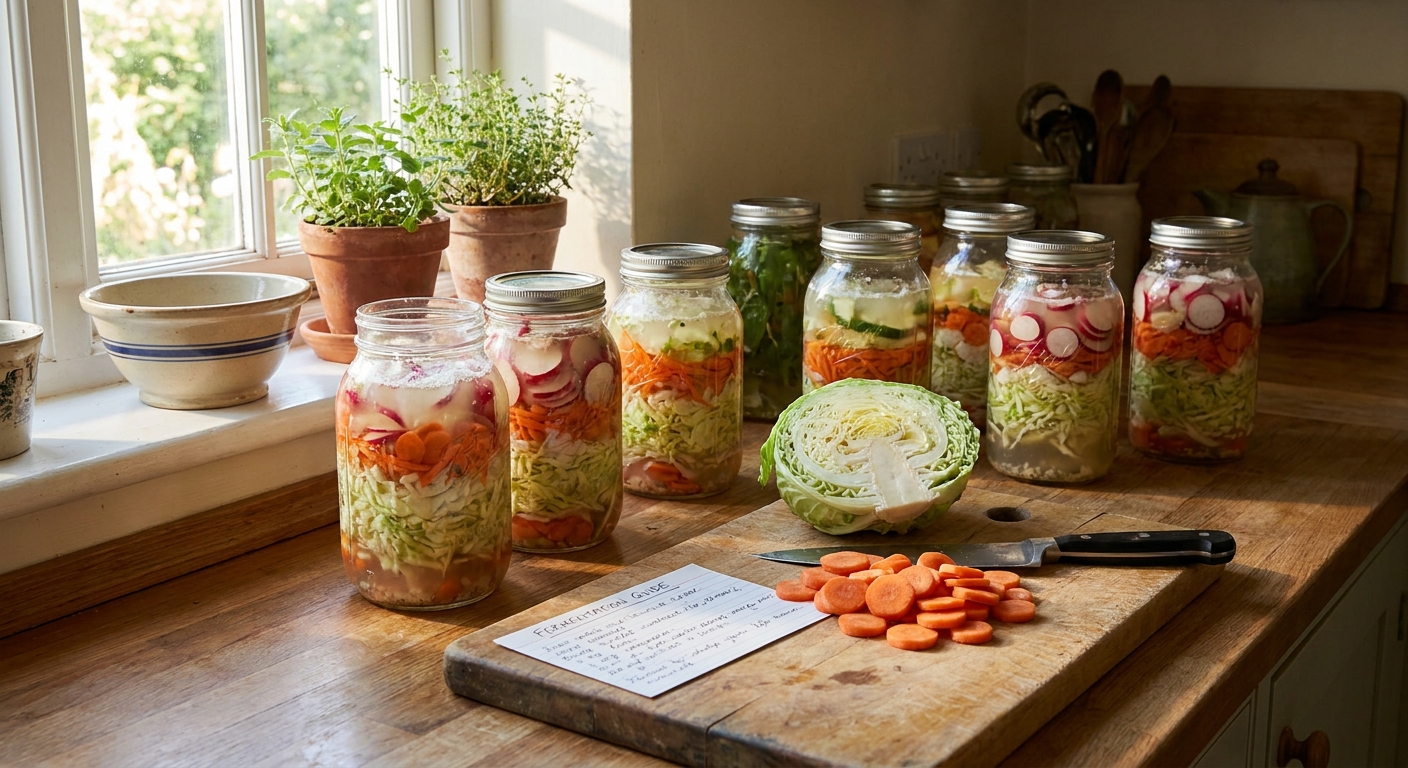
Step‑By‑Step: Dry‑Salted Cabbage & Beet Slaw
Ingredients (1.5 L jar)
- 600 g green cabbage, shredded
- 200 g beetroot, julienned or grated
- 200 g carrots, grated
- 20–25 g salt (2–2.5% of total weight)
- Optional: 1–2 tsp caraway or cumin seeds
1. Weigh and Salt
- Combine all prepped veggies in a large bowl.
- Weigh the mixed vegetables.
- Multiply weight by 0.02–0.025 for your salt amount.
- Sprinkle salt and spices evenly over the vegetables.
2. Massage to Create Brine
- With clean hands, massage firmly for 5–10 minutes.
- Veggies will soften and release a vivid brine.
- Stop when a squeeze yields abundant liquid and you see several millimeters of brine at the bottom of the bowl.
3. Pack the Jar
- Pack veggies into the jar a handful at a time.
- Press down firmly with your fist or a tamper to remove air pockets.
- Pour in remaining brine from the bowl.
- Ensure vegetables are fully submerged; top with a folded cabbage leaf and a weight.
4. Ferment
- Leave 2–3 cm (about 1 inch) of headspace.
- Close with a loose lid or airlock.
- Ferment at room temperature for 7–14 days, tasting after day 5.
Pros of Dry Salting
- More intense flavor from concentrated vegetable juices.
- Great texture for shredded or finely sliced veg.
- Fewer ingredients (no extra water needed).
Cons of Dry Salting
- Harder to use with large chunks or whole vegetables.
- If your veggies are very dry, you may struggle to get enough brine.
Troubleshooting Dry Salts
- Not enough brine after massaging:
- Massage longer.
- Let veggies rest 15–30 minutes, then massage again.
- As a last resort, add a little 2% brine (see brining section) until just covered.
- Top layer drying out:
- Press down and re‑submerge.
- Add a bit of 2% brine if needed.
Method 2: Brining (Salt Water + Veggies)
Best For
- Whole or large chunks of vegetables (carrots, radishes, turnips)
- Cucumbers (for pickles)
- Garlic, green beans, small onions
- Very crunchy textures
How It Works
You dissolve salt in water to a target percentage, then submerge vegetables. This creates a controlled salty habitat where:
- Surface sugars and nutrients slowly leach into brine.
- LAB colonize the brine and vegetables, acidifying over time.
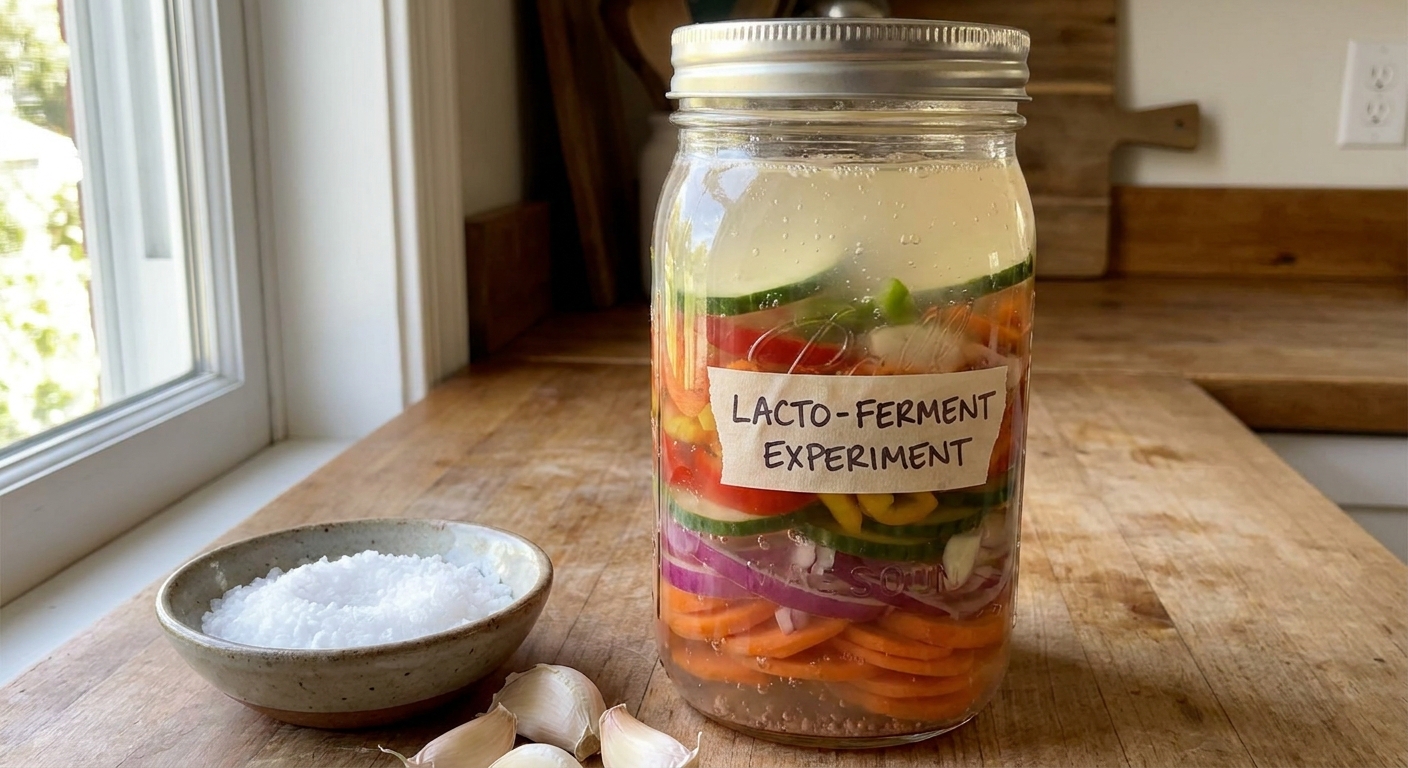
Step‑By‑Step: Brined Mixed Veggie Pickles
Ingredients (1 L jar)
- 150 g carrot sticks
- 150 g cauliflower florets
- 150 g green beans, trimmed
- 100 g radish halves or quarters
- 15–18 g salt
- 600 ml water (for ~2.5–3% brine)
- 3 garlic cloves
- 1 tsp black peppercorns
- 1–2 bay leaves
1. Make the Brine
- Warm some of the water.
- Dissolve 15–18 g salt into 600 ml total water.
- Let cool to room temperature.
2. Pack the Vegetables
- Add garlic, peppercorns, and bay leaves to the bottom of the jar.
- Layer the vegetables, packing them snugly.
- Leave 2–3 cm of headspace.
3. Add Brine and Weigh Down
- Pour cooled brine over vegetables until fully submerged.
- Add a weight or small jar to keep everything under the brine.
- Close with a loose lid or airlock.
4. Ferment
- Keep at room temp for 5–10 days.
- Expect cloudiness and bubbles around day 3–5.
- Taste daily after day 5.
Move to the fridge when veggies taste pleasantly sour but still crisp.
Pros of Brining
- Perfect for large, chunky, or whole vegetables.
- Easier to submerge everything under liquid.
- Convenient to scale up or down; just match brine strength.
Cons of Brining
- Flavor may be slightly diluted compared to dry‑salt ferments.
- Requires measuring water and salt carefully for consistent brine strength.
Troubleshooting Brines
- Floating vegetables:
- Use a weight.
- Pack more snugly.
- Use a brine‑filled bag to cover the surface.
- Too weak or too strong brine:
- Stick to 2–3% for most veggies.
- If fermenting in hot weather, lean closer to 3% for stability.
Comparing the Two Methods at a Glance
| Question | Dry Salting | Brining |
| --- | --- | --- |
| Best for | Shredded, thinly sliced veg | Whole or chunky veg |
| Extra water needed | No | Yes (saltwater brine) |
| Flavor intensity | Often bolder, more concentrated | Cleaner, sometimes milder |
| Texture control | Great for krauts/slaws | Excellent for crisp pickles |
| Ease of submersion | Can be trickier | Usually easier |
Choosing Method by Vegetable
Here’s a quick guide to help you decide:
Cabbage
- Best method: Dry salting
- Why: High water content and structure are perfect for self‑brining.
- Use for: Sauerkraut, kimchi base, slaws.
Carrots
- Both methods work:
- Shredded or thin slices → dry salting.
- Sticks or coins → brine.
- Texture tip: Brined carrots stay especially crisp.
Cucumbers
- Best method: Brining
- Why: Whole or spears hold up well in brine; dry salting is awkward on large shapes.
Radishes and Turnips
- Both methods work:
- Thin slices for salads → dry salting.
- Halved or whole → brining.
- Note: Strong aromas are normal; cool storage helps.
Cauliflower and Broccoli
- Best method: Brining
- Why: Florets are awkward to massage and don’t give enough brine.
- Tip: Ferment in cool conditions to avoid strong odors.
Green Beans
- Best method: Brining
- Why: Whole beans retain wonderful crunch in brine.
Mixed Jars
- If most volume is shredded cabbage or leafy veg → dry salt.
- If most volume is chunky roots or whole veg → brine.
Microbiology: Same Cast, Different Stage Setup
Whether you dry salt or brine, you’re inviting the same main actors:
- Early LAB (e.g., Leuconostoc species) that tolerate moderate salt and kickstart acid production.
- Later LAB (e.g., Lactobacillus plantarum) that thrive in the increasingly acidic brine.
Differences:
- Dry‑salted ferments often acidify a bit faster in the early days because vegetable sugars are concentrated in a smaller liquid volume.
- Brined ferments may have a more gradual flavor development curve.
But with proper salt and submersion, both methods lead to a low‑pH, LAB‑dominated environment that is:
- Hostile to pathogens
- Protective of your vegetables
- Deliciously tangy
A Simple Practice Plan: One Vegetable, Two Methods
To truly feel the difference, run a side‑by‑side experiment with carrots.
Jar A: Dry‑Salted Carrot Ribbon Kraut
- 400 g carrot ribbons (use a peeler or spiralizer)
- 8–10 g salt (2–2.5%)
- Salt and massage ribbons until very wet.
- Pack into jar, submerge with its own brine.
- Ferment 5–7 days.
Jar B: Brined Carrot Sticks
- 400 g carrot sticks
- 10–12 g salt
- 500 ml water (for ~2–2.5% brine)
- Pack sticks, pour brine to submerge.
- Ferment 5–10 days.
Compare:
- Texture: snap, crunch, softness
- Flavor intensity and brightness
- Brine clarity and aroma
After one simple A/B test, you’ll have a much clearer gut sense of which method you prefer for which results.
Putting It Into Practice in Your Kitchen
When you’re staring at a pile of vegetables wondering, “What now?” ask:
How big will I cut these pieces?
- Small/thin → consider dry salting. - Large/whole → consider brining.
Do I want intense or lighter flavor?
- Intense → dry salt is often the winner. - Light, delicate → brine can be ideal.
How easy will it be to keep this submerged?
- If difficult without a lot of extra liquid → use brine.
You don’t have to choose a side forever. The most flexible fermenters comfortably use both methods, switching tools based on the vegetable, season, and texture they’re after.
With practice, you won’t just be following recipes—you’ll be choosing the right fermentation strategy for each harvest that comes through your kitchen.